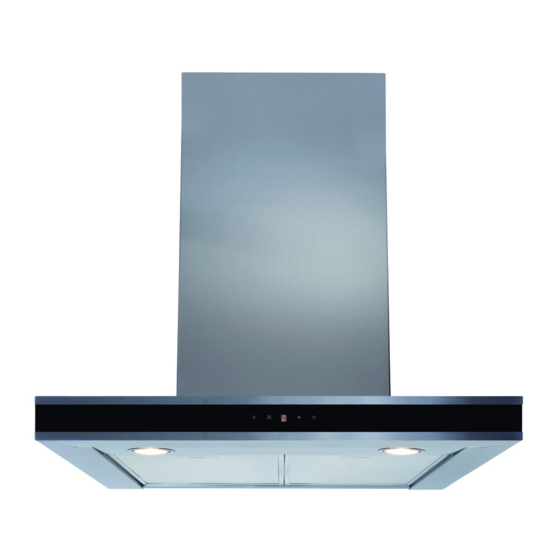
CDA EVP61 Installation, Use And Maintenance Manual

CDA EVP61 Installation, Use And Maintenance Manual

Hide thumbs Also See for EVP61:

Advertisement

EVP61/91/101/121
Extractors
Installation, Use and Maintenance
Customer Care Department • The
Group Ltd. • Harby Road • Langar • Nottinghamshire • NG13 9HY
Customer Care Department • The
Group Ltd. • Harby Road • Langar • Nottinghamshire • NG13 9HY
T : 01949 862 012 F : 01949 862 003 E : customer.care@cda.eu W : www.cda.eu
www.cda.eu
T : 01949 862 012 F : 01949 862 003 E : customer.care@cda.eu W : www.cda.eu
1

Advertisement

Table of Contents
loading

Summary of Contents for CDA EVP61

  • Page 1 Customer Care Department • The Group Ltd. • Harby Road • Langar • Nottinghamshire • NG13 9HY T : 01949 862 012 F : 01949 862 003 E : customer.care@cda.eu W : www.cda.eu www.cda.eu T : 01949 862 012 F : 01949 862 003 E : customer.care@cda.eu W : www.cda.eu...
  • Page 2 Appliance information: Please enter the details on the appliance rating plate below for reference, to assist CDA Customer Care in the event of a fault with your appliance and to register your appliance for guarantee purposes. Appliance Model...
  • Page 3 CE Declarations of Conformity: This appliance has been manufactured to the strictest standards and complies with all applicable legislation, including Gas safety, Electrical safety (LVD) and Electromagnetic interference compatibility (EMC). IMPORTANT INFORMATION FOR CORRECT DISPOSAL OF THE PRODUCT IN ACCORDANCE WITH EC DIRECTIVE 2002/96/EC. At the end of its working life, the product must be taken to a special local authority waste collection centre or to a dealer providing appliance recycling services.
  • Page 4: Using Your Extractor

    • Steam cleaners must not be used when cleaning this appliance. • The performance of your extractor will vary depending on a number of factors. These include: type of extraction, length of ducting, room volume, ventilation available and cleanliness of the filters. Using your Extractor For best performance, you should switch on the extractor 15 minutes before starting to cook and leave it to run for approximately 15...
  • Page 5 To switch on the extractor • Touch either key “B” or “D”. The appliance will switch on at the first speed. • To increase the speed touch key “D”. • To switch the extractor off, touch and hold key “B” for two seconds when the extractor is working at higher speeds, or touch key “B”...
  • Page 6: Care And Maintenance

    Care and Maintenance IMPORTANT : DO NOT PERFORM MAINTENANCE OR CLEANING OF THE EXTRACTOR WITHOUT FIRST SWITCHING OFF THE ELECTRICITY SUPPLY. Cleaning Fig. 2 You should use a nonabrasive cleaner. Any abrasive cleaner (including Cif) will scratch the surface and could erase the control panel markings.
  • Page 7 To remove the grease filters 1. Pull open the handle on each grease filter as shown in fig. 2. It will release at the handle side. 2. Lower the grease filter to remove it completely. To replace the grease filters Repeat the steps above in reverse order.
  • Page 8: Changing The Light

    Changing the Light DO NOT CHANGE THE LIGHT BULB IMMEDIATELY AFTER USE AS THE BULB WILL BE HOT. ALLOW IT TO COOL BEFORE REMOVING IT. Unscrew the light bulb cover, see fig. 4. Unscrew the light bulb and replace with Fig.
  • Page 9: Mains Electricity Connection

    Mains Electricity Connection DOUBLE POLE SWITCHED THIS APPLIANCE MUST BE FUSED SPUR OUTLET CONNECTED TO THE MAINS SUPPLY BY A COMPETENT PERSON, USING FIXED WIRING VIA A DOUBLE POLE SWITCHED FUSED SPUR OUTLET AND PROTECTED BY A 3A FUSE. USE A 3 AMP FUSE We recommend that the appliance is connected by a qualified electrician, who is a member of the N.I.C.E.I.C.
  • Page 10: Electrical Information

    Assembly and electrical connection should be carried out by competent personnel. When installing this product we recommend you seek the help of another individual. IMPORTANT: THIS APPLIANCE IS A CLASS II APPLIANCE (DOUBLE INSULATED) AND IS NOT INTENDED TO BE EARTHED. DO NOT FIT AN EARTH LEAD TO THIS EXTRACTOR.
  • Page 11 Mounting your Extractor When the extractor is to be installed above an electric hob, the minimum distance between the hob and extractor must exceed 600mm (650mm is recommended). When the extractor is to be installed Gas: 750mm recommended. Gas: 750mm recommended. above a gas hob, the minimum Electric: 650mm recommended.
  • Page 12: Ducting And Ventilation

    Ducting and Ventilation For best performance and lowest noise output, we recommend the use of 125mm or 150mm ducting. You can also use 100mm ducting but this will reduce performance and increase the noise from your extractor.
  • Page 13: Installation

    4 plugs and fixing screws, see fig. 6. 1. Mark the wall with the positions of Model Dim “D” (mm) the fixing holes at the required height. EVP61 126.5 The height of the hood holes should EVP91 take into account the minimum height EVP101 EVP121 specified in the instructions.
  • Page 14 Mounting the Chimney Section 1. Adjust the width of the mounting bracket to suit the chimney size of your extractor and mark 2 points on the wall, 20mm down from the ceiling for the fixings (fig 7). 2. Drill and insert 2 plugs suitable for Fig.
  • Page 15 Sound power level Grease Filter Efficiency 73 (D) 74 (D) Hood Lamp efficiency 5 (F) 5 (F) Hood E & O E. All instructions, dimensions and illustrations are provided for guidance only. CDA reserve the right to change specifications without prior notice.
  • Page 16 T : 01949 862 012 F : 01949 862 003 E : customer.care@cda.eu Customer Care Department • The Group Ltd. • Harby Road • Langar • Nottinghamshire • NG13 9HY T : 01949 862 012 F : 01949 862 003 E : customer.care@cda.eu W : www.cda.eu www.cda.eu Copyright © CDA 2015...

This manual is also suitable for:

Evp91Evp101Evp121

Table of Contents