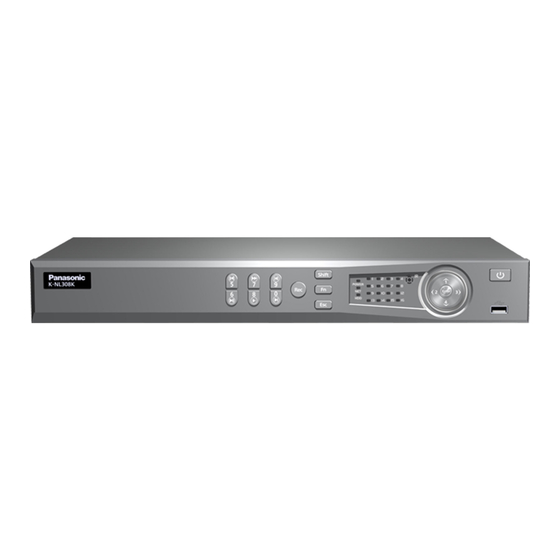
Panasonic K-NL308K Basic Setup / Operation Manual
E-series
Hide thumbs
Also See for K-NL308K:
- User manual (198 pages) ,
- User manual (200 pages) ,
- Quick start manual (20 pages)
Summary of Contents for Panasonic K-NL308K
- Page 1 E-Series Basic Setup/ Operation Guide V1. 7th Nov 2014 V2. 30th Jan 2015 Security Systems Business Division Panasonic System Networks Co., Ltd.
- Page 2 <NOTICE> This document is supplementary to the operation manual. Depending on the firmware version used for E-Series NVR or camera, the screens may differ from the actual screens.
- Page 3 Set Up Flow <Hardware Setup of NVR> HDD Installation Display and Power Supply connection <Startup Wizard on NVR> <Additional Settings on NVR> Camera Encode Setting SYSTEM Log in General Setting (Camera Image Setting) <Additional Settings on Camera> Network Setting Camera and PC LAN Connection Camera Registration Camera NTSC Setting if required Recording Schedule Setting...
- Page 4 Hardware Set up of NVR...
- Page 5 HDD Installation...
- Page 6 (VGA or HDMI) USB Mouse (front or back) DC Power (48V) DC Power (12V) NOTE : 2 DC powers are required K-NL308K/G LAN Port (192.168.0.x) AC Power (100 -240 V,) USB Mouse (front or back) Display Output (VGA or HDMI)
- Page 7 Setup Wizard on NVR...
- Page 8 Startup Wizard(1/3) Password : 12345 Uncheck the button, the setup wizard is cancelled next time General Setting General Setting / Date & Time Select local time Change if necessary Recommend to set NTP server if internet is available...
-
Page 9: Camera Registration
Startup Wizard(2/3) Camera Registration Network Setting Change if necessary <Step1> <Step3> Make sure you decide “Device Search” and “Device Add” which camera to are executed automatically. go to which channel. Check channel # and Port# are same Port3 Port4 Port1 Port2 After CH1 camera registration, <Step2>... - Page 10 Startup Wizard(3/3) Schedule Setting End of Startup Wizard 24/7 recording is set as default...
- Page 11 Additional Setting on NVR/ Camera...
- Page 12 Additional Settings(1/6) Click here to start additional setting...
- Page 13 Additional Settings(2/6) Camera Encode Setting CBR is recommended Max 2M bps recommended...
- Page 14 Additional Settings(3/6) Change if necessary Camera Image Setting Video image adjustment Change if you want to keep color mode during night time...
- Page 15 Additional Settings(4/6) Camera and PC LAN Connection Connect the camera and PC to LAN switch. Pull out LAN cable connected to camera (Require to configure IP address setting from PoE port “10.1. 1. x” for PC)
- Page 16 Additional Settings(5/6) Camera Browser Access Start Config. Tool Right Click The Camera is listed together with another devices Right Click, then select “Open Device Web” connected the same LAN switch ID : admin PWD : 12345...
- Page 17 Additional Settings(6/6) NTSC Setting if max 30fps is required Select NTSC If max 30 fps is required • Factory Default is PAL PAL : Max fps is 25...
- Page 18 Easy Operation...
- Page 19 Camera Preview (Live View) Interface Real time Playback button : latest time playback Digital Zoom button Manual Record button : record on USB memory Preview control interface Snapshot button Point cursor to upper side of the screen Right Click! Shortcut Menu Playback and Search Mode...
- Page 20 Playback and Search Interface Video / Snapshot selection for playback “Record” : Video select “PIC” : Snapshot select Calendar for playback (Blue Highlighted date) There is recorded data (Yellow colored date) Currently selected for playback Playback Control Pane (Play/Pause/Play Backwards/ Fast Playback/Rewind/Slow Play) Window split mode(1/4/9) Playback channel selection...


Need help?
Do you have a question about the K-NL308K and is the answer not in the manual?
Questions and answers