Yamaha YSP-1600 Quick Reference Manual
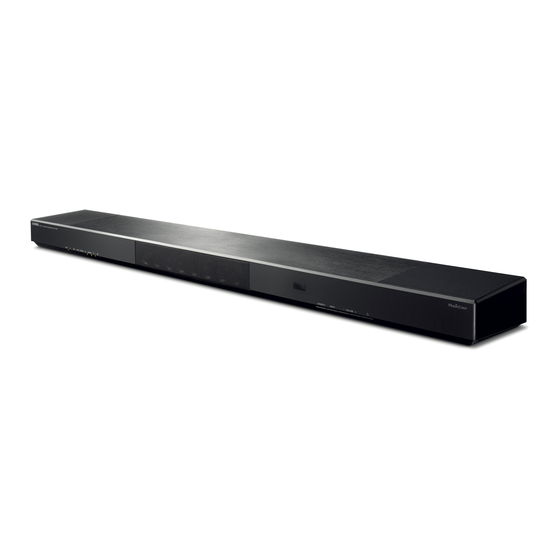
Digital sound projector
Hide thumbs
Also See for YSP-1600:
- Service manual (103 pages) ,
- Quick reference manual (13 pages) ,
- Owner's manual (76 pages)

Related Manuals for Yamaha YSP-1600


Summary of Contents for Yamaha YSP-1600
-
Page 1: Quick Reference Guide
Digital Sound Projector Quick Reference Guide For more detailed information, refer to the Owner’s Manual on the CD-ROM. Caution: Do not attempt to play this CD-ROM in an audio player. -
Page 2: Important Safety Instructions
– and, most importantly, without affecting your sensitive hearing. Since Keep these instructions. hearing damage from loud sounds is often undetectable until it is too late, Yamaha Heed all warnings. and the Electronic Industries Association’s Consumer Electronics Group recommend you to Follow all instructions. - Page 3 714-522-9011 CA 90620, USA. Type of Equipment: Digital Sound Projector The above statements apply ONLY to those products distributed by Yamaha Corporation of America Model Name: YSP-1600 or its subsidiaries. This device complies with Part 15 of FCC Rules and Industry Canada licence-exempt RSS tandard(s).
- Page 4 Yamaha Music Europe GmbH 14 Do not attempt to modify or fix this unit. Contact qualified Yamaha service personnel when any service is needed. The cabinet should never be opened for any reasons.
- Page 5 The Owner’s Manual contained in the CD-ROM can be downloaded from the following described below. website. http://download.yamaha.com/ Note The plug severed from the mains lead must be destroyed, as a plug with bared flexible cord is hazardous if engaged in a live socket outlet.
-
Page 6: Supplied Accessories
About this Quick Reference Guide Supplied accessories The Quick Reference Guide provides instructions for connecting a TV and BD/DVD player to the unit, applying settings, and playing content. For more information on Before connecting, make sure you have received all of the following items. operations, refer to the Owner’s Manual in the supplied CD-ROM. -
Page 7: Preparing Remote Control
Preparing remote control Before installing batteries or using the remote control, be sure to read battery and remote control precautions in this booklet. Installing the batteries Operation range Peel off the protection sheet before use. Battery × 2 (AAA, R03, UM-4) Within 6 m (20 ft) Preparing remote control... -
Page 8: Recommended Place For Installation
1 2 3 4 Installation Place the unit on a flat surface. When installing this unit on a rack behind which there is limited space, for example, it may be easier to connect external devices to this unit first. See page 10 for information regarding the connection of external devices. -
Page 9: Raising The Antenna
1 2 3 4 ❑ Unit installation position and surround sound effects Raising the antenna The unit achieves surround sound by reflecting sound beams off walls. Raise the antenna on the rear panel of the unit when connecting a wireless router (access point) to use a network. -
Page 10: Connecting A Tv And Bd/Dvd Player
1 2 3 4 Connections Connecting a TV and BD/DVD player For the cable connection, follow the procedure below. See page 16 in the Owner’s Manual when connecting other playback devices such as a game console. HDMI cable (optional) The digital audio/video signals from the BD/DVD Video signals player are input to this unit. -
Page 11: Turning On The Unit
1 2 3 4 Turning on the unit Press the z key. Connecting the unit to a wireless network When the unit is turned on for the first time after purchase, Press the ENTER key. indicator on the front panel will flash slowly. The screen below will be displayed on the TV when the TV is The screen below is displayed. - Page 12 1 2 3 4 Surround sound effect for the installation Select the network (access point) of which you want to share the settings with the unit. position iOS (an example of English version) The surround sound is achieved by reflecting the sound beams off walls as shown in Tap here to start setup the illustration below.
-
Page 13: Playing A Dvd Or Bd
1 2 3 4 Playback Enjoying TV Press the VOL (+/-) key to adjust the volume. When the volume is adjusted, indicators on the front panel Select the desired TV channel. indicate volume level. The number of lighted indicators increases when the volume is turned Press the TV key. - Page 14 English customers in EEA* and Switzerland For detailed guarantee information about this Yamaha product, and Pan-EEA* and Switzerland warranty service, please either visit the website address below (Printable file is available at our website) or contact the Yamaha representative office for your country. *EEA:European Economic Area http://europe.yamaha.com/warranty/...
Need help?
Do you have a question about the YSP-1600 and is the answer not in the manual?
Questions and answers