Table of Contents
Advertisement
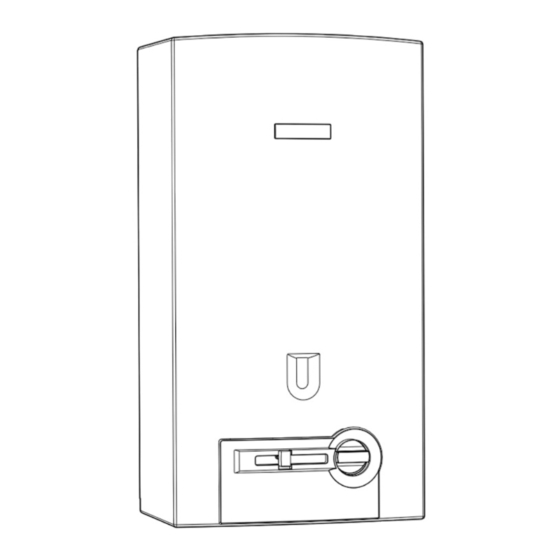
INDOOR MODEL Flow Modulated with Standing pilot
330 PN
330-PN-N - for use with Natural Gas / 330-PN-L - for use with Liquefied Petroleum (LP) Gas
Suitable for heating potable water only - Not approved for space heating purposes
(Intended for variable flow applications with steady cold water inlet temperatures)
Warning:
If the information in this manual is not followed exactly, a fire or
explosion may result causing property damage, personal injury or death.
Do not store or use gasoline or other flammable vapor and liquids in the vicinity
of this or any other appliance.
Improper installation, adjustment, alteration, service or maintenance can
cause injury or property damage. Refer to this manual. For assistance or addi-
tional information consult a qualified installer, service agency or the gas sup-
plier. In the Commonwealth of Massachusetts this product must be installed
by a licensed plumber or gas fitter.
Upon completion of the installation, these instructions should be handed to
the user of the appliance for future reference.
What to do if you smell gas
•
Close gas valve. Open windows.
•
Do not try to light any appliance.
•
Do not touch any electrical switch; do not use any phone in your building.
•
Immediately call your gas supplier from a neighbor's phone. Follow the
gas supplier's instructions.
•
If you cannot reach your gas supplier, call the fire department.
•
Installation and service must be performed by a qualified installer, ser-
vice agency or the gas supplier
Advertisement
Table of Contents


Need help?
Do you have a question about the 330-PN-N and is the answer not in the manual?
Questions and answers
Water connection hot-cold?