Advertisement
Advertisement
Table of Contents

Related Manuals for McIntosh MC7100


Summary of Contents for McIntosh MC7100
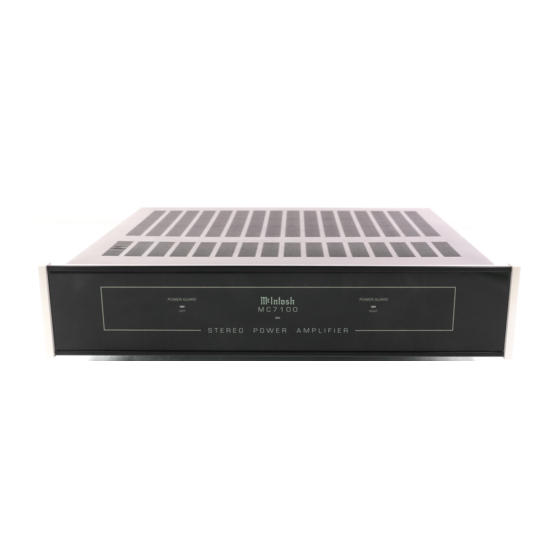
- Page 1 MC7100 POWER AMPLIFIER...
- Page 3 MC7100 POWER AMPLIFIER...
- Page 4 YOU AND THE be placed on a bed, sofa, rug, or similar surface that may block ventilation openings; or, placed McINTOSH in a built-in installation, such as a bookcase or cabinet, that may impede the flow of air through the ventilation openings.
-
Page 5: Table Of Contents
The serial number, purchase date, and Mclntosh Laboratory Service Contract number are important to you for possible insurance claim or future service. Record this information here. Serial Number Purchase Date Service Contract Number Upon application, Mclntosh Laboratory provides a Service Contract to the original purchaser. Your Mclntosh Authorized Service Agency can expedite repairs when you provide the Ser- vice Contract with the instrument for repair. - Page 6 TAKE ADVANTAGE OF 3 YEARS OF CONTRACT SERVICE. . . FILL IN THE APPLICATION NOW. Your MC7100 Power Amplifier will give you many years of satisfactory performance. If you have any questions, please contact, Mclntosh Laboratory Inc. 2 Chambers Street...
-
Page 7: Installation
MC7100. LOCATION The MC7100 may be installed on a shelf or table, in a Mclntosh cabinet, or custom install- INSTALLATION ed in furniture of your choice. Always provide adequate ventilation for the amplifier. The trou- ble free life of any electronic instrument is greatly extended by providing sufficient ventila- tion. -
Page 8: Installation 5
INSTALLING IN A McINTOSH CABINET Guide the amplifier AC power cord through the front panel opening to the back of the cabinet. -
Page 9: Installation 5
SAW THE PANEL CUTOUT INSTALLATION First make the two long horizontal cuts. Then make the two short vertical cuts. After the cutout is finished, use a file to square the corners and smooth any rough edges. INSTALL THE PANLOC MOUNTING STRIPS The hardware package includes two mounting strips and two black flat head 6/32 x 1 1/4 inch (31.8mm) screws and two... -
Page 10: How To Connect Inputs
Use shielded single conductor cable with RCA type connectors. Connect a cable from the LEFT channel of a preamplifier output to the L (left) INPUT jack on the MC7100. Connect the RIGHT channel preamplifier output to the R (right) INPUT jack on the MC7100. -
Page 11: How To Connect Outputs
The plug blades are polarized; so be certain the plug is fully inserted in the outlet to prevent blade exposure. (The MC7100 has no AC power switch, so it must be switched on and off by a preamplifier or other accessory component.) Make certain that the AC outlet used can supply at least 6 amperes of current. -
Page 12: Connecting Diagrams
STEREO CONNECTION STEREO MONO MUST BE IN STEREO POSITION FOR STEREO PROGRAMS LEFT RIGHT SPEAKER SPEAKER PREAMPLIFIER 4 OR 8 4 OR 8 OHMS OHMS BRIDGED MONOPHONIC CONNECTION STEREO MONO MUST BE IN MONO POSITION FOR MONO PROGRAMS 8 OHM SPEAKER MONO INPUT... -
Page 13: Specifications
INTERMODULATION DISTORTION. SMPTE Mclntosh instrument. We promise you that 0.005% maximum if instantaneous peak when you purchase a new MC7100 from a power output does not exceed twice the out- Mclntosh Franchised Dealer, it will be put power rating. -
Page 14: Performance Charts
PERFORMANCE CHARTS... -
Page 15: Technical Description
All power transistors have limits for the maximum amount of power they can handle. The MC7100 output transistors and power supply have been designed to allow very high current flow into properly matched load impedances. However, if a short circuit or very low load im- pedance is connected to the MC7100 outputs, destructive current levels could be reached if it was not controlled by the SENTRY MONITOR circuit. - Page 16 A unique and patented feature of Mclntosh power amplifiers insures that each channel of the MC7100 will deliver full power, free of clipping distortion. Clipping occurs when an amplifier is overdriven past its output design capabilities. An overdriven amplifier can pro- duce both audible and ultrasonic distortion levels approaching 40%.
-
Page 17: Block Diagram
BLOCK DIAGRAM... - Page 18 039942...
Need help?
Do you have a question about the MC7100 and is the answer not in the manual?
Questions and answers