Brocade Communications Systems M5424 Manuals
Manuals and User Guides for Brocade Communications Systems M5424. We have 5 Brocade Communications Systems M5424 manuals available for free PDF download: Administrator's Manual, Hardware Reference Manual, Quick Start Manual
Brocade Communications Systems M5424 Administrator's Manual (268 pages)
Brocade Web Tools Administrator's Guide v7.1.0 (53-1002756-01, March 2013)
Brand: Brocade Communications Systems
|
Category: Software
|
Size: 2.8 MB
Table of Contents
-
-
-
-
Logging in39
-
Logging out41
-
-
-
-
-
Configuring ALPA105
-
Gige Port Modes112
-
-
Printing Graphs129
-
Modifying Graphs129
-
-
Zoning Overview131
-
-
Renaming Zones141
-
Cloning Zones141
-
Deleting Zones142
-
-
-
-
Trace Dumps151
-
-
Port Icon Colors158
-
-
-
-
Viewing EX-Ports162
-
-
-
-
-
Ipsec Concepts216
-
-
-
Advertisement

Brocade Communications Systems M5424 Administrator's Manual (96 pages)
Access Gateway Supporting Fabric OS v6.4.0
Brand: Brocade Communications Systems
|
Category: Switch
|
Size: 0.79 MB
Table of Contents

Brocade Communications Systems M5424 Administrator's Manual (82 pages)
Brocade Access Gateway Administrator's Guide v6.3.0 (53-1001345-01, July 2009)
Brand: Brocade Communications Systems
|
Category: Switch
|
Size: 0.64 MB
Table of Contents
-
Key Terms16
-
-
-
-
-
-
Failover52
-
Failback55
-
-
Gateway Mode66
-
Advertisement

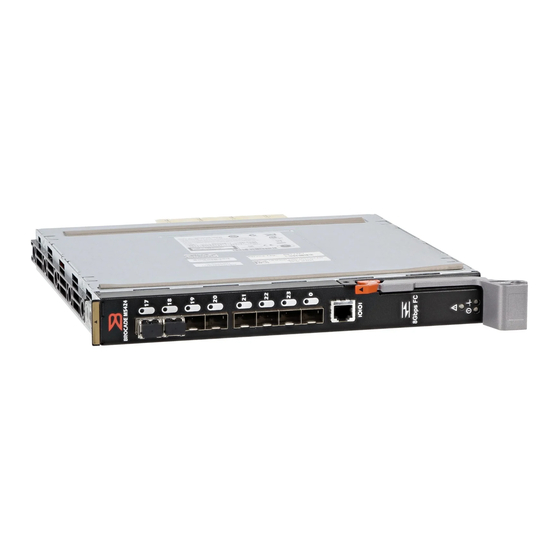
Brocade Communications Systems M5424 Hardware Reference Manual (48 pages)
Fibre Channel SAN I/O Module
Brand: Brocade Communications Systems
|
Category: I/O Systems
|
Size: 2.67 MB
Table of Contents
-
-
-
Port Side14
-
Nonport Side15
-
Labeling15
-
Sfps16
-
-
-
-
Electrical37

Brocade Communications Systems M5424 Quick Start Manual (15 pages)
SAN I/O Module
Brand: Brocade Communications Systems
|
Category: I/O Systems
|
Size: 0.28 MB
Table of Contents
Advertisement
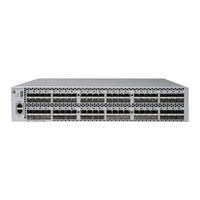
Related Products
- Brocade Communications Systems PowerEdge M520
- Brocade Communications Systems PowerEdge M600
- Brocade Communications Systems PowerEdge M420
- Brocade Communications Systems PowerEdge M910
- Brocade Communications Systems PowerEdge M915
- Brocade Communications Systems Brocade M6505
- Brocade Communications Systems MLXe-4
- Brocade Communications Systems MLXe-8
- Brocade Communications Systems MLXe-32
- Brocade Communications Systems MLX-8