Grandstream Networks UCM6510 How To Configure
Configure t1 trunk on ucm6510
Hide thumbs
Also See for UCM6510:
- User manual (483 pages) ,
- Basic configuration manual (30 pages) ,
- Quick installation manual (21 pages)
Table of Contents
Advertisement
Quick Links
Advertisement
Table of Contents

Summary of Contents for Grandstream Networks UCM6510
- Page 1 Grandstream Networks, Inc. How to Configure T1 Trunk on UCM6510...
-
Page 2: Table Of Contents
2. CONFIGURING T1 CHANNELS............. 5 3. CONFIGURING DIGITAL PORT ............. 8 4. CONFIGURING DIGITAL TRUNK ............11 5. CONFIGURING DATA TRUNK ............. 13 6. MONITORING DIGITAL PORT AND DIGITAL CHANNEL STATUS ..15 How to Configure T1 Trunk on UCM6510 Page 1 of 17... - Page 3 Reproduction or transmittal of the entire or any part, in any form or by any means, electronic or print, for any purpose without the express written permission of Grandstream Networks, Inc. is not permitted. How to Configure T1 Trunk on UCM6510...
-
Page 4: Overview
This document introduces how to set up T1 trunk on the UCM6510 as a configuration sample. Figure 1: Sample T1 Topology Using UCM6510 For more information about how to configure UCM6510, please refer to the UCM6510 user manual in www.grandstream.com/support. How to Configure T1 Trunk on UCM6510... -
Page 5: Connecting T1 Port
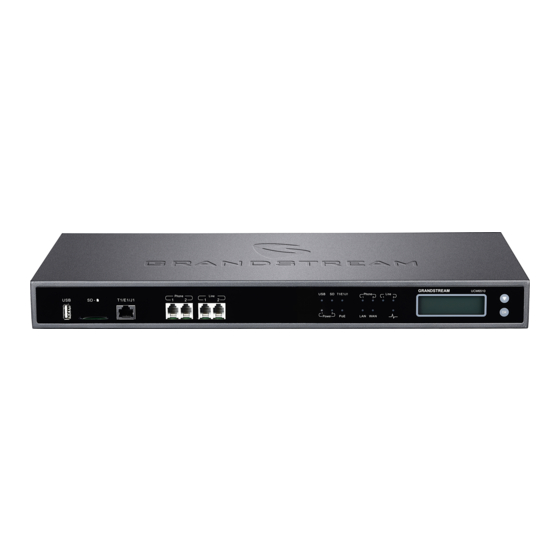
Figure 2: UCM6510 Front View Use a T1 crossover cable to plug one end into the UCM6510 T1/E1/J1 port. Plug the other end into the T1/E1/J1 walljack. Please check if the T1 crossover cable can be provided from the service provider. The proper T1 crossover cable pin-out is shown in the following figure. -
Page 6: Configuring T1 Channels
2. CONFIGURING T1 CHANNELS 2.1. Go to UCM6510 web UI->PBX->Ports Config->Digital Hardware page. Click on to configure the digital hardware type. Figure 4: Configure Digital Hardware Span Type 1 2.2. Select Span Type “T1”. And click on “Update” on the bottom of the dialog. -
Page 7: Figure 7: Configure Default Group 2
As long as there are available channels, users will be able to create new group and assign channels. 2.6. Assign channels for the new group. In this example, we assigned channel 11 to 23 in the new group (for data). How to Configure T1 Trunk on UCM6510 Page 6 of 17... -
Page 8: Figure 9: Add New Group 2
Figure 9: Add New Group 2 2.7. Click on “Update” to save the setting. How to Configure T1 Trunk on UCM6510 Page 7 of 17... -
Page 9: Configuring Digital Port
[1. CONNECTING] connected. 3.2. Go to UCM6510 web UI->PBX->Ports Config->Digital Hardware page. Click on to configure the digital port. Figure 10: Configure Digital Port 1 3.3. -
Page 10: Figure 11: Configure Digital Port - Basic Settings
Figure 11: Configure Digital Port – Basic Settings Advanced Settings: this includes switch type and dial plan configurations. How to Configure T1 Trunk on UCM6510 Page 9 of 17... -
Page 11: Figure 12: Configure Digital Port - Advanced Settings
Figure 12: Configure Digital Port – Advanced Settings Click on “Update” to save the settings. How to Configure T1 Trunk on UCM6510 Page 10 of 17... -
Page 12: Configuring Digital Trunk
4. CONFIGURING DIGITAL TRUNK 4.1. Go to UCM6510 web UI->PBX->Basic/Call Routes->Digital Trunks page. Click on “Create New Digital Trunk”. Figure 13: Create New Digital Trunk 4.2. Configure trunk name to identify this digital trunk. Select “Channel Group” to the default group for this trunk. -
Page 13: Figure 15: Digital Trunk Status
4.7. Configure outbound routes for this digital trunk under web UI->PBX Status->Basic/Call Routes-> Outbound Routes. Until now the digital trunk has been completely configured and users should be able to make inbound and outbound calls. How to Configure T1 Trunk on UCM6510 Page 12 of 17... -
Page 14: Configuring Data Trunk
5.3. Click on “Save” on the bottom of the dialog. 5.4. Reboot the UCM6510 for the data trunk configuration to take effect. 5.5. Once the UCM6510 boots up, go to UCM6510 web UI->PBX->Basic/Call Routes->Data Trunk page How to Configure T1 Trunk on UCM6510... -
Page 15: Figure 18: Data Trunk Status
If it shows , the data trunk is available to connect to Internet. Otherwise, please check the data trunk configuration or click on to Reconnect. Figure 18: Data Trunk Status How to Configure T1 Trunk on UCM6510 Page 14 of 17... -
Page 16: Monitoring Digital Port And Digital Channel Status
6. MONITORING DIGITAL PORT AND DIGITAL CHANNEL STATUS So far the UCM6510 has both digital trunk and data trunk successfully configured. Users should be able to use it for phone calls and Internet connection. In this example, 10 channels (channel 1 to channel 10) are used for voice, 13 (channel 11 to channel 23) channels are used for data. -
Page 17: Figure 20: Digital Channels Status
Connected and in ringing status Data Channel Always shows blue square D Channel Always shows grey with channel number in blue. Monitor data trunk status under web UI->PBX->Basic/Call Routes->Data Trunk page. How to Configure T1 Trunk on UCM6510 Page 16 of 17... -
Page 18: Figure 21: Data Trunk Status
Figure 21: Data Trunk Status Table 3: Data Trunk Status Indicators Connected Not connected How to Configure T1 Trunk on UCM6510 Page 17 of 17...


