Hotpoint GC640BK Operating Instructions Manual
Hide thumbs
Also See for GC640BK:
- Operating instructions manual (16 pages) ,
- Operating instructions manual (16 pages)
Table of Contents
Advertisement
GC640BK
GC640IX
GC640TK
GC640TX
GC640WH
GC641IK
GC641IX
GC750X
GC751TX
GCA641IX
GCB641X
GCB751X
GCL640TK
GCL641TX
GF751TX
English
Operating Instructions
HOB
Contents
Operating Instructions,1
Warnings,2
Advertisement
Table of Contents

Related Manuals for Hotpoint GC640BK


Summary of Contents for Hotpoint GC640BK
-
Page 1: Table Of Contents
GC640BK GC640IX GC640TK GC640TX GC640WH GC641IK GC641IX GC750X GC751TX GCA641IX GCB641X GCB751X GCL640TK GCL641TX GF751TX English Operating Instructions Contents Operating Instructions,1 Warnings,2 Description of the appliance,3 Installation,4 Start-up and use,8 Precautions and tips,8 Maintenance and care,9 Troubleshooting,9 Product Guarantee and Repair Information,10... -
Page 2: Warnings
Warnings WARNING: The appliance and its accessible parts become hot during use. Care should be taken to avoid touching heating elements. Children less than 8 years of age shall be kept away unless continuously supervised. This appliance can be used by children aged from 8 years and above and persons with reduced physical, sensory or mental capabilities or lack of experience and knowledge if they have been... -
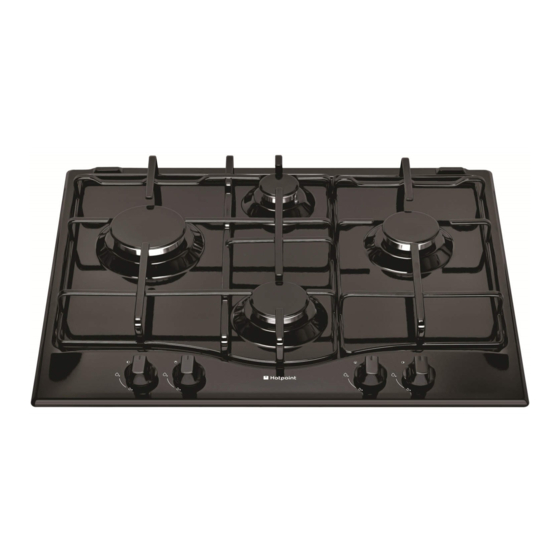
Page 3: Description Of The Appliance
Description of the appliance Overall view 1. Support Grid for COOKWARE 2. GAS BURNERS 3. Control Knobs for GAS BURNERS 4. Ignition for GAS BURNERS 5. SAFETY DEVICES • GAS BURNERS differ in size and power. Use the diameter of the cookware to choose the most appropriate burner to cook with. -
Page 4: Installation
Installation Fitting the appliance The following precautions must be taken when installing the hob: • Kitchen cabinets adjacent to the appliance and taller than the top of the ! Before operating your new appliance please read this instruction booklet hob must be at least 200 mm from the edge of the hob. carefully. -
Page 5: Gas Connection
• Where the hob is not installed over a built-in oven, a wooden panel must ! The wires in the mains lead are coloured in accordance with the following be installed as insulation. This must be placed at a minimum distance of code: 20 mm from the lower part of the hob. - Page 6 2. Unscrew the nozzles using a 7 mm socket spanner, and replace them DATA PLATE with nozzles for the new type of gas (see table 1 “Burner and nozzle characteristics”). Electrical see data plate connections 3. Reassemble the parts following the above procedure in the reverse order. 4.
-
Page 7: Burner And Nozzle Specifications
Natural P.C.S. = 37.78 MJ/m³ Gas section Electric section Model Class Rated power (kW) Voltage and frequency Power (W) GC640IX GC640WH GC640BK GC641IX II2H3+ 7,30 (531 g/h - G30) (521 g/h - G31) 220-240V~ 50/60Hz GCA641IX GCB641X GC641IK GC640TK II2H3+... -
Page 8: Precautions And Tips,8
Start-up and use Precautions and tips ! The position of the corresponding gas burner is shown on every knob. ! This appliance has been designed and manufactured in compliance with international safety standards. The following warnings are provided for safety Gas burners reasons and must be read carefully. -
Page 9: Maintenance And Care
the appliance it must be separately collected. The flame dies in models with a safety device. Consumers should contact their local authority or retailer for information Check to make sure that: concerning the correct disposal of their old appliance. • You pressed the knob all the way in. •... -
Page 10: Product Guarantee And Repair Information
12 Months Parts and Labour Guarantee As part of Hotpoint’s continued commitment to helping the environment, Hotpoint reserves the right to use quality, recycled components to keep down Your appliance has benefit of our manufacturer’s guarantee, which covers customer costs and minimise material wastage. - Page 12 195126178.02 03/2015 - XEROX FABRIANO Indesit Company S.p.A. Viale Aristide Merloni,47 60044 Fabriano (AN) www.hotpoint.co.uk...