MicroBoards Technology GX User Manual
Gx disc printer for microsoft windows 7, vista, and xp
Hide thumbs
Also See for GX:
- User manual (19 pages) ,
- Quick reference manual (2 pages) ,
- Quick reference manual (1 page)
Table of Contents
Advertisement
Quick Links
Download this manual
See also:
Quick Reference Manual
Advertisement
Table of Contents

Related Manuals for MicroBoards Technology GX


Summary of Contents for MicroBoards Technology GX
-
Page 1: Users Manual
GX Disc Printer ® For Microsoft Windows 7, Vista, and XP Users Manual Microboards Technology LLC Version 1.4... - Page 2 • Introduction...
-
Page 3: Table Of Contents
................................5 NCLUDED ..............................6 YSTEM EQUIREMENTS ASSEMBLY AND INK INSTALLATION........................6 ..............................6 SSEMBLY NSTRUCTIONS GX Disc Printer Assembly ............................6 ............................7 NSTALLING ARTRIDGES Supported Ink Cartridges .............................7 Loading / Replacing Ink Cartridges ..........................7 GX DISC PRINTER INSTALLATION ...........................8 PC ...............................8 ONNECTING TO A ......................9... - Page 4 Tested to comply with FCC Standard FOR HOME AND OFFICE USE. NOTE: This equipment has been tested and found to comply with the limits for a Class B digital device, pursuant to Part 15 of the FCC Rules. These limits are designed to provide reasonable protection against harmful interference in a residential installation. This equipment generates, uses, and can radiate radio frequency energy and, if not installed and used in accordance with the instructions, may cause harmful interference to radio communications.
-
Page 5: Introduction
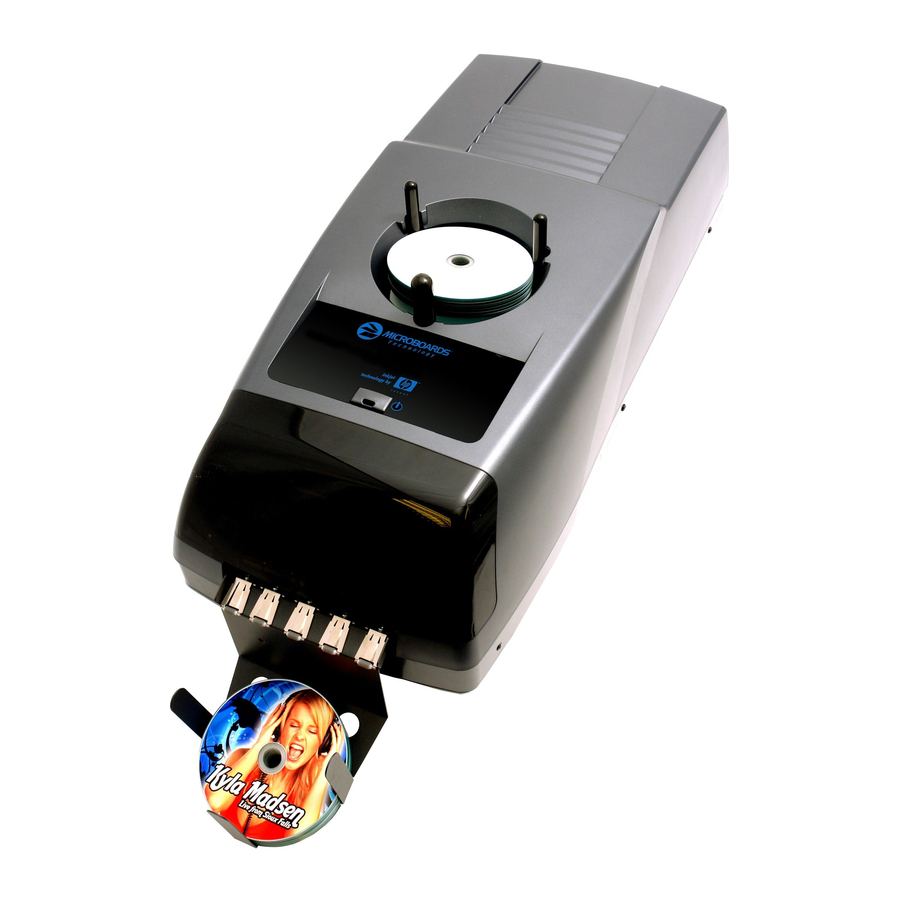
GX DISC PRINTER Introduction The Microboards GX Disc Printer is a manually loaded CD, DVD, and BD disc printer . Microboards and HP co-developed the printer technology, allowing up to 4800 x 1200 dpi printing. SureThing Disc Labeler is packaged with the GX Disc Printer, providing you with an easy tool for designing and printing your labels. -
Page 6: System Requirements
Remove the GX Disc Printer system from the shipping box and confirm you received all of the items. Place the GX Disc Printer on a stable, flat surface. You will need room both above and in front of the system, as discs will be accessed from both locations. -
Page 7: Installing Ink Cartridges
Loading / Replacing Ink Cartridges Cartridges can be changed while the GX Disc Printer is on, but it should never be turned on without an ink cartridge in place. The GX Disc Printer system ships with one GX-300HC color ink cartridge. -
Page 8: Gx Disc Printer Installation
The following installation sections are intended only as a reference for the installation process, not as a guide to installing the GX Disc Printer. Performing the installation out of order could result in an unsuccessful installation. -
Page 9: Windows 7 And Vista Hardware Installation
Insert the Microboards GX Disc Printer CD into a drive in your computer. Follow the instructions provided by the Installer. Connect the GX Disc Printer to the PC only when you are prompted to. Once the GX Disc Printer is connected, the operating system will next display the following screen: 1. - Page 10 9. Select No, not this time and click Next. 5. Select No, not this time and click Next. 10. Click Next. 6. Click Next. 11. Click Continue Anyway. 7. Click Continue Anyway. 12. Click Finish. 8. Click Finish for the next screen. • GX Disc Printer Installation...
-
Page 11: Setting Printer Alignment
Setting Printer Alignment Alignment The GX Disc Printer system has been aligned at the factory. The factory alignment values are on a label on the back of the GX Disc Printer. Follow these steps to enter the factory values: •... -
Page 12: Using The Gx Disc Printer
DVD, or BD 120 mm (12 cm) inkjet printable discs. If the disc does not have an inkjet printable surface, the ink will not adhere to the surface of the disc. The GX Disc Printer will only accept 12 cm discs. -
Page 13: Printing Preferences
MICROBOARDS TECHNOLOGY, LLC GX DISC PRINTER Printing Preferences Access the Printing Preferences by clicking the Start Button on your Windows computer. Select Settings and then select Printers. Right click on the Microboards G Series icon, then select Printing Preferences. There are 7 tabs across the top of the window. Click each tab to see the available settings. -
Page 14: Advanced Tab
The Outer and Inner Diameters will change the size of the area to be printed. To avoid excessive ink buildup, these values should never be set so that the GX Auto Printer is printing off the media. The Parameter Unit should remain on 0.1mm setting maximum precision. -
Page 15: Ink Tab
To avoid excessive ink buildup, these values should never be set so that the GX Auto Printer is printing off the media. The default diameter settings are 1180 for the Outer and... -
Page 16: Print Quality Tab
Print Quality Tab The Print Quality tab controls the print resolution. Print Quality • Best • Normal Print Modes • Text and Graphics • Photo Printing Recommendations Text and Graphics mode is used for printing mainly text information and small, simple graphics. Below are some examples for images in Fast, Normal and Best Modes: Text and Graphics –... -
Page 17: Manual Software Re-Installation
This section will only apply to a manual re-installation of the SureThing software package. If you have not yet installed the GX Disc Printer using the Installer, it is recommended that you do so. There are 3 methods of reinstalling SureThing should the need arise: A. -
Page 18: Troubleshooting
Also check to make sure the correct printer port is selected. Red LED Flashing This indicates an out of media state. Load media and press the OK button on the GX Disc Printer to clear the error state. If a dialog appears on the PC stating that the printer did not recognize any media, you will need to press the OK button on the printer and click the OK button in the dialog to clear the error state. -
Page 19: Printing Specifications
For technical questions or support issues, contact Microboards Technology technical support: United States Europe Japan PH: 952-556-1639 PH: +44 (0) 845 230 7800 PH: 03-3561-2266 FAX: 952-556-1628 www.microboards.co.uk www.microboards.co.jp support@microboards.com www.microboards.com Please have the Model and Serial Number of your GX Disc Printer available when contacting Technical Support.