
Related Manuals for Keys Fitness Health Trainer 700


Summary of Contents for Keys Fitness Health Trainer 700
- Page 1 HEALTH TRAINER 700 TREADMILL OWNER’S MANUAL KEYS Fitness Products, LP P.O. Box 551239 Dallas, Texas 75239...
-
Page 2: Table Of Contents
Table of Contents Information Table of Contents Specification Sheet Important Safety Information Before You Start Warm Up Exercises Assembly, Moving Instructions Power Requirements Console Functions and Descriptions Program and Operating Instructions Program Descriptions and Profiles Belt Adjustments and Tension Maintenance Instructions Change to MPH or KM Troubleshooting Guide Parts and Diagrams... -
Page 3: Specification Sheet
Specification Sheet Horsepower (Continuous) Display Type Electronics Pre-Set Programs Custom Programs Speed/Incline Toggles Switches Power Incline Roller Diameter Cushioned Deck Speed Range Belt Size Side Hand Rails Foot Print Foot Print Folded Warranty Motor Warranty Parts Warranty Labor Warranty Frame HT700 1.75hp 4 Window LCD... -
Page 4: Important Safety Information
Never insert any object or body parts into any opening. For safety and to prevent damage to your treadmill, no more than one person should use the treadmill at a time. Always unplug the treadmill before cleaning and/or servicing. Service to your treadmill should only be performed by an authorized service representative, unless authorized and/or instructed by the manufacturer. -
Page 5: Before You Start
Before You Start Thank you for purchasing a KEYS treadmill! The HEALTH TRAINER 700 treadmill was designed to meet your needs for cardiovascular exercise. Before you start, please read the Owner’s Manual and become familiar with the operation of your new treadmill. -
Page 6: Warm Up Exercises
Warm Up Exercises EXERCISE GUIDELINES ! Before beginning this or any exercise program, you should consult your physician. This is es- WARNING pecially important for individuals over the age of 35 or individuals with pre-existing health problems. Warming up prepares the body for the exercise by increasing circulation, supplying more oxygen to the muscles and raising body temperature. -
Page 7: Assembly, Moving Instructions
TREADMILL. With the treadmill in the folded locked position (safety latch is engaged), grasp the handrails and place one foot on the base as shown in the photo below. Next, with a firm grasp on handrails, place one foot on the center of the base crossbar and carefully tilt the treadmill back until it rolls freely on the wheels. -
Page 8: Power Requirements
This treadmill can be seriously damaged by sudden voltage changes in your home’s electrical power. Voltage spikes, surges, and noise interference can result from weather conditions or from other appliances being turned on or off. To reduce the possibility of treadmill damage, always use a surge protector (not included) with your treadmill. -
Page 9: Console Functions And Descriptions
Console Functions and Descriptions There are four display windows on the control panel to provide feedback information. TIME WINDOW TIME: Indicates elapsed time after pressing start in minutes and seconds (0-99 minutes, 0-59 seconds) INTERVAL TIME: Indicates countdown in seconds to the next interval starting at 5 seconds and counting to 0 seconds SPEED WINDOW SPEED: Indicates MPH (miles per hour) or KMH (kilometer per hour) in .1 increments... -
Page 10: Program And Operating Instructions
Plug into a surge protector outlet. Attach RED Safety Key to treadmill console. Stand on the treadmill and straddle belt. Attach safety key clip to your clothes. Press POWER button.There will be an eight (8) second delay after pressing the POWER button before data can be entered. - Page 11 Press POWER button. There will be an eight (8) second delay before data can be entered. The TIME window will flash. There are three (3) pre-set and six (6) custom pre-set programs on the DCV100. The treadmill includes FAT BURN, CARDIO, and WARM-UP programs. To select the program press the MODE button until desired program is illuminated on console display.
-
Page 12: Program Descriptions And Profiles
1 2 3 4 5 6 7 8 9 10 The Warm Up Program is designed to gradually increase the treadmill Speed and Elevation in the first segment (warm up) and gradually decrease the treadmill Speed and Elevation in the last segment (cool down). -
Page 13: Belt Adjustments And Tension
WALKING BELT IS SHIFTING TO THE LEFT (Diagram 1) First, turn treadmill on to run at 1 mph. Using the hex key provided, turn the left rear roller adjustment bolt ¼ turn in the clockwise direction. -
Page 14: Maintenance Instructions
CLEANING Routine cleaning of your Keys Fitness treadmill will extend the life of your treadmill. WARNING! To prevent electrical shock, be sure the power to the treadmill is OFF and the unit unplugged from the wall electrical outlet before attempting any cleaning or maintenance. -
Page 15: Change To Mph Or Km
1) Turn power OFF on the console. (Do not unplug treadmill) Attach the magnet safety key to the console. 2) Activate the calibration mode switch by inserting the eraser end of a pencil into the opening in the backside of the console (see diagram below). -
Page 16: Troubleshooting Guide
(Refer to “Power Requirements” on page 8) 3) Check the circuit breaker located on the front of the treadmill. If the switch protrudes, it has tripped. Wait five minutes and then press the switch back in. -
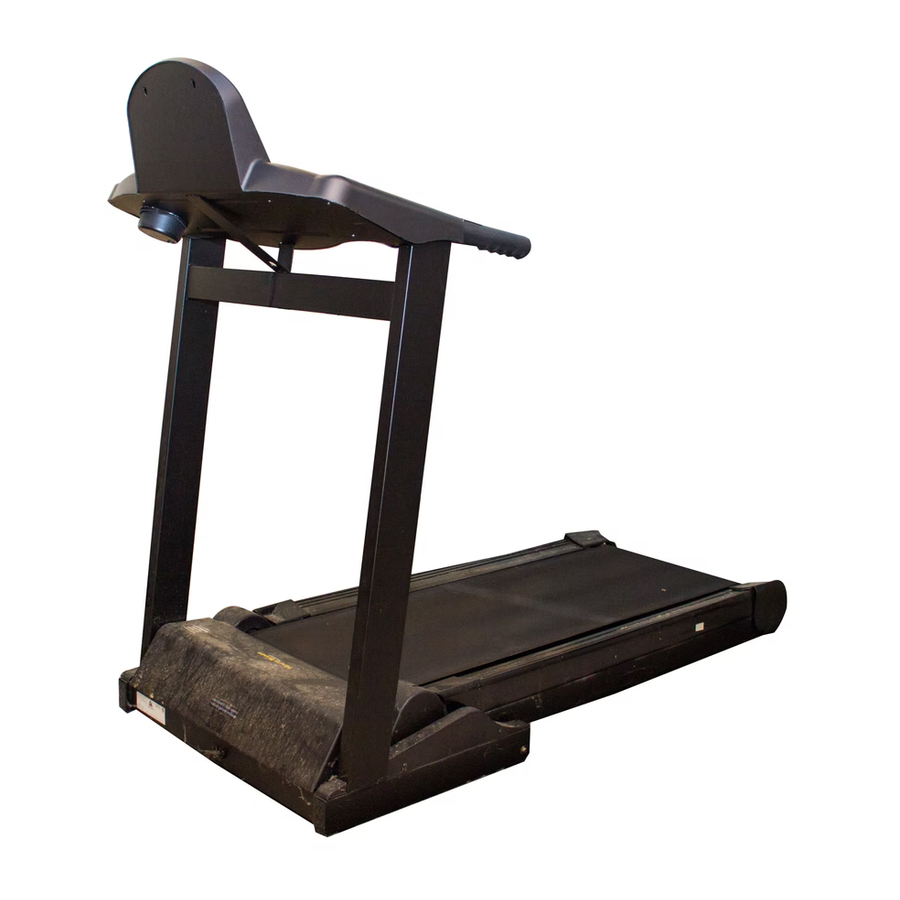
Page 17: Parts And Diagrams
Parts & Diagrams 05-0041-Extrusion side board deluxe/left 05-0041-Extrusion side board deluxe/right 04-0019-Belt walk spliced 19.5 x 113.75WW 24-0176-Front roller assembly 09-0020-Rear roller assembly 03-0014-Walking board 06-0159-End cap 12-0022-Actuator 400lb Maytech 06-0156-Motor base pan 06-0080-Small motor fan 12-0023-Motor MCM 1.5HP 04-0004-Poly V belt 190J8 06-0157-Motor cover w/wings 10-0020-Hand grips 15. -
Page 18: Parts List
HT700 PARTS LIST PART # 02-0002A SPRINT-DECK LIFT 02-0004 SCREW-8x5/8 PHIL PH AB BLACK 02-0005 SCREW-8x5/8 PPH HILO BLACK TPB 02-0007 NUT 5/16-18 NYLOCKZP 02-0009 BOLT-HEX 5-16-18x3/4"GRADE 2-ZP 02-0011 WASHER-FLAT 5/16 16GA 7PUSS 02-0013 WASHER LOCK 1/4" 02-0015 WASHER-SPRING 02-0018 NUT-PUSH 3/8 HAT BLACK 375012 02-0019 BOLT-CARRIAGE 10-24x1 1/2... -
Page 19: Warranty Registration (Mail In Form)
All exchanged parts and Products replaced under this warranty will become the property of Keys. Keys reserves the right to change manufacturers of any part to cover any existing warranty. To obtain warranty service, you must contact a Keys authorized service technician or Keys Fitness at our phone numbers located in this manual. Any parts determined to be defective must be returned to Keys to obtain warranty service.