Advertisement
Quick Links
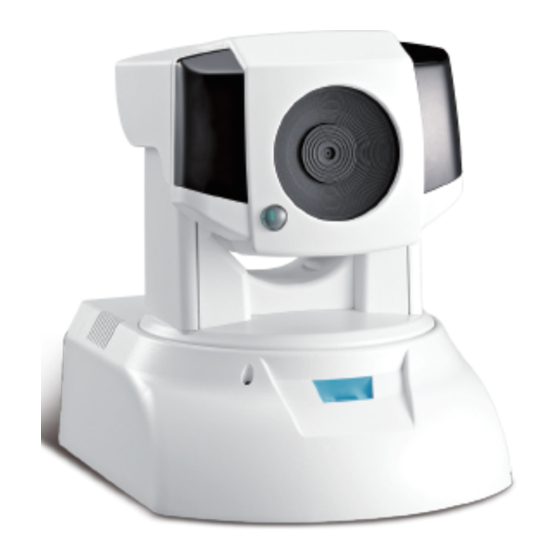
TN600R/TN600RW
TN900R/TN900RW
Cloud Network Camera
Quick Start Guide
This Quick Start Guide includes the QR-code to
install your IP camera. Please keep this guide in case
of you need to reinstall the network camera.
Compro Technology, Inc. www.comprousa.com
Tel. +886 2 2918 0169 | Fax +886 2 2915 2389
Wireless Setup
Press the WPS button for 2 seconds to setup
Search for available Wi-Fi access points and enter the passphrase manually
˙Make sure the IP camera is connected to the local network via network cable.
˙If you have the wireless adaptor for TN600, make sure it is plugged into the IP
camera.
˙The smartphone must be in the same local network in order to successfully
search and con gure the camera.
˙Start C4Home app and enter "iWizard" on the "Add Camera" page to search
your camera and set up wireless connection.
˙After the wireless connection is successfully set up, you can remove the
ethernet cable.
Using WPS setup
˙Make sure your Wi-Fi router supports WPS and enabled, press the WPS button
on the router, then press the RESET button on the IP camera for 2 seconds. The
blue LED will be blinking during the WPS setup process and resume to steady
lighting when the connection is completed.
˙Add the camera to the list of your C4Home app.
˙Connect an Ethernet cable between IP camera and your
network switch/router. ( If you have purchased a Compro USB
wireless adapter, please plug into the USB port of IP camera. )
˙Attach the power adapter to the camera's power connector
and connect the power plug to a power outlet.
˙Make sure your smartphone is able to access the internet via
your switch/router.
3GA0310941
Name of Each Part
IR Remote
Transmitter
IR LEDs
Light
Sensor
Microphone
Status LED
Pinhole
Wireless
Adapter
Port
microSD
Card Slot
microSD
AUDIO
MIC
OUT
IN
WPS/RESET
LAN
LAN
Audio Output
Microphone
Input
˙Using iPhone or Android phone to scan the QR code above
for download and install the C4Home app.
( Also you can download the C4Home app from App Store or
Google Play. )
˙Start the C4Home app and register your personal account.
Follow the instructions below to mount the camera on the wall or ceiling
Lens
IR LEDs
Speaker
IR Remote
Fix the mounting plate.
Receiver
Temperature
Detection
Sensor
Power Adapter
Port
DC5V
Reset/WPS
Let fastening bracket slide into its position
Button
on the camera base (as circled).
Click the QR-code icon on the "Add
Camera" page of C4Home app and
scan the QR-code above to add
camera.
˙Login the C4Home app and click
1. Scan the QR code above or on the bottom side of camera (
Or direct input the 10 digits camera ID under the QR code )
2. Click "iWizard" to search/install camera from local network.
˙After installation, now you can watch the live video of camera
from C4Home app or login to the www.c4home.com from PC.
Mount the Camera
Attach the IP camera.
Loosen the screw that
trapezoid-shaped fastening bracket
Push and hold the fastening bracket to
Tighten the screw on the fastening
the right.
bracket.
to add new camera:
xes the
Advertisement

Related Manuals for COMPRO TN600R


Summary of Contents for COMPRO TN600R
- Page 1 ˙Login the C4Home app and click to add new camera: network switch/router. ( If you have purchased a Compro USB for download and install the C4Home app. 1. Scan the QR code above or on the bottom side of camera ( This Quick Start Guide includes the QR-code to wireless adapter, please plug into the USB port of IP camera.
- Page 2 When the IP camera receive the control code and save When learning a certain key you want, please press from Compro technology, you can fill out the online help form (between the 90° horizontal, 135° vertical and within 6.0 m to the IP camera, it will shows the “New key learned”...