Cisco 7942G User Manual
Unified
Hide thumbs
Also See for 7942G:
- Administration manual (204 pages) ,
- Phone manual (98 pages) ,
- User manual (23 pages)
Table of Contents
Advertisement
Quick Links
Advertisement
Table of Contents

Related Manuals for Cisco 7942G


Summary of Contents for Cisco 7942G
- Page 1 Cloud Voice Service Cisco Unified IP Phone 7942G User Guide (Version 1.0)
-
Page 2: Table Of Contents
Cloud Voice Service Table of Content Phone Set Features and Functions ................. 2 Operation for IP Phone 7942G ..................3 Adjusting the Height of the Footstand ................. 4 Preference Setup ......................5 Changing the Ringer Type ................... 5 Adjusting the Ringer Volume ..................5 Adjusting the Handset, Speakerphone, and Headset Volume ........ -
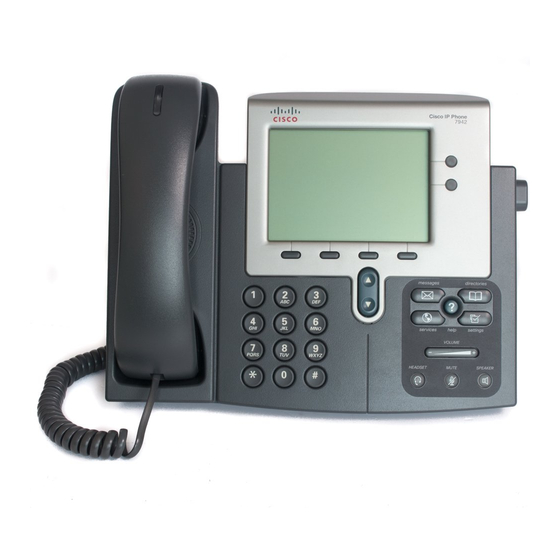
Page 3: Phone Set Features And Functions
Built-in headset port and integrated Ethernet Switch come with the IP Phone 7942G. It also includes audio controls for full duplex speakerphone, handset and headset. A large, pixel-based LCD display provides features such as date and time, calling party name, calling party number, and digits dial. -
Page 4: Operation For Ip Phone 7942G
3. Connect the power plug to the DC48V AC Adapter port. 4. Lastly, plug in the AC Adaptor to the power outlet. Notes: IP Phone 7942G cannot function properly when there is a failure in power supply. Version 1.0 ©Wharf T&T Limited 2013... -
Page 5: Adjusting The Height Of The Footstand
Cloud Voice Service Adjusting the Height of the Footstand 1. Push in the footstand adjustment knob on the right-hand side of the phone. 2. With the button depressed, adjust the footstand to the desired height. 3. Depress the footstand adjustment knob. Version 1.0 ©Wharf T&T Limited 2013... -
Page 6: Preference Setup
Cloud Voice Service Preference Setup Changing the Ringer Type 1. Press the Settings button. 2. Use the Scroll keys to highlight Ring Type in the Settings menu. 3. Press the Select soft key to display a list of Ring Types. 4. -
Page 7: Basic Features
Cloud Voice Service Basic Features Placing a Call There are 4 options for placing a new call: 1. Lift up the Handset and dial the number. 2. Place a call by pressing the Line button. 3. Press the Speaker button and dial the number. 4. -
Page 8: Call Management Features
Cloud Voice Service Call Management Features Placing a Call on Hold When you put a call on hold, the call remains active even though you and the other party cannot hear each other. You can answer or place another call while a call is being on hold. -
Page 9: Forwarding All Calls
Cloud Voice Service Forwarding all Calls 4.5.1 Setting up Call Forwarding from your IP Phone 1. Press the CFwdALL soft key. 2. Dial the destination number to which you want to forward all calls. 3. To cancel forwarding all calls, press the CFwdALL soft key. Note: Please remember to add ‘9’... -
Page 10: Call Pickup
Cloud Voice Service Call Pickup 4.7.1 Call Pickup within your Group When the phone of your pickup group member rings, you can use your own phone to pick up and answer the call directly. 1. Press the PickUp button to transfer a ringing call within your pickup group to your phone. -
Page 11: Switching Phone Conversation From Mobile Back To Ip Phone
Cloud Voice Service 3. The call will be in ‘Hold’ status and transferred to your mobile within a few seconds. 4. Pickup the call on your mobile and you can continue the phone conversation on your mobile. 4.8.3 Switching Phone Conversation from Mobile back to IP Phone If you pickup the call dialed at your Cloud Voice Number on your mobile, you can switch the call back to your IP phone. -
Page 12: Voicemail Service
Cloud Voice Service VoiceMail Service Activating VoiceMail on your IP Phone 1. Press the Message button on your IP Phone 2. Enter your VoiceMail PIN followed by “#” 3. Follow the voice prompts to change the VoiceMail PIN to activate the VoiceMail service. -
Page 13: Remote Access To Voicemail
Cloud Voice Service Remote Access to VoiceMail 1. Dial the access number 2112-1234. [Please dial (852) 2112-1234 when you are accessing Voice Mail service from overseas] 2. A welcome greeting message will be announced and please select the language by pressing ‘1’ for Cantonese / ‘2’ for English. 3. -
Page 14: Using Call History
Cloud Voice Service Using Call History 1. Press the Directories button to display the directory menu. 2. Use the Scroll keys to highlight the desired call history option: Missed Calls, Received Calls, or Placed Calls. 3. Press the Select soft key to display the desired call history. -
Page 15: Extension Mobility
Logging into Extension Mobility The login service is accessed through the Services button on IP Phone 7942G. The user enters login information in the form of a UserID and a Personal Identification Number (PIN). -
Page 16: Password Management
New Cloud Voice Password will be applied to the following services: Cloud Voice User Portal Presence Communicator Service – Cisco Unified Personal Communicator (Account and VoiceMail Login) Mobility Apps Services – Cisco Jabber (Configuration of VoiceMail, Desk Phone Integration and Corporate Directory) Retrival of VocieMail via Outlook 2000 Version 1.0... -
Page 17: Change The Ip Phone Pin
Cloud Voice Service Change The IP Phone PIN Visit Wharf T&T Cloud Voice User Portal at http://www.wharftt.com/cloudvoice Enter your Cloud Voice Number and Cloud Voice Password Click Login Click here in the foot note of the Call Management page Enter your Cloud Voice Number and Cloud Voice Password Click Login Click User Option and choose User Setting Enter Current PIN...