Makita LH1040 Instruction Manual
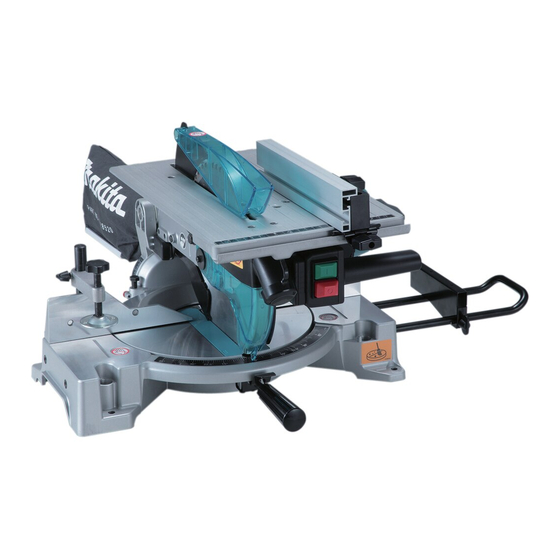
Table top miter saw
Hide thumbs
Also See for LH1040:
- Instruction manual (152 pages) ,
- Original instruction manual (112 pages) ,
- Technical information (20 pages)

Related Manuals for Makita LH1040


Summary of Contents for Makita LH1040
- Page 1 INSTRUCTION MANUAL Table Top Miter Saw LH1040 LH1040F 012649 DOUBLE INSULATION IMPORTANT: Read Before Using.
-
Page 2: Specifications
ENGLISH (Original instructions) SPECIFICATIONS Model LH1040 / LH1040F Blade diameter 255 mm -260 mm Blade body thickness 1.6 mm - 1.8 mm Riving knife thickness 2.0 mm Hole diameter For all countries other than European countries 25.4 mm and 25 mm... - Page 3 Makita Corporation responsible high or locked up place, out of reach of children. manufacturer declare that the following Makita Do not force the tool. machine(s): It will do the job better and safer at the rate for Designation of Machine: which it was intended.
-
Page 4: Additional Safety Rules For Tool
10. Connect dust extraction equipment. 21. Warning. If devices are provided for the connection of dust The use of any accessory or attachment, other extraction and collection facilities ensure these are than those recommended in this instruction connected and properly used. manual or the catalog, may present a risk of Do not abuse the cord. - Page 5 Select the correct saw blade for the material to examples of these chemicals are: be cut. − lead from lead-based-painted material 10. Do not use saw blades manufactured from and, high speed steel. − arsenic chromium from To reduce the emitted noise, always be sure chemically-treated lumber.
-
Page 6: Installation
WHEN USING IN THE TABLE SAW (BENCH SAW) INSTALLATION MODE: 39. Do not perform any operation freehand. Freehand means using your hands to support CAUTION: or guide the workpiece, in lieu of a rip fence. Keep the floor area around the tool level well maintained 40. -
Page 7: Blade Guard
B If any of these blade guards becomes discolored 3. Top blade guard through age or UV light exposure, contact a Makita service center for a new guard. DO NOT DEFEAT OR REMOVE GUARDS. 1. Lower blade... -
Page 8: Adjusting The Bevel Angle
CAUTION: 1. Top surface of When turning the turn base, be sure to raise the • turn base handle fully. 2. Periphery of After changing the miter angle, always secure the blade • turn base by tightening the grip firmly. 3. - Page 9 Always be sure that the tool is switched off and • 1. Lamps unplugged before installing or removing the blade. Use only the Makita socket wrench provided to • install or remove the blade. Failure to do so may result in overtightening or insufficient tightening of the hex bolt.
-
Page 10: Adjusting Riving Knife
CAUTION: 1. Socket wrench The silver ring 25.4 mm in outer diameter is • 2. Shaft lock factory-installed onto the spindle. The black ring 25 3. Hex. bolt mm in outer diameter is included as standard equipment. Before mounting the blade onto the spindle, always be sure that the correct ring for the arbor hole of the blade you intend to use is installed onto the spindle. - Page 11 2. Rip fence holder properly aligned riving knife. If they are not aligned 3. Saw blade for any reasons, always have Makita authorized service center repair it. Don't remove the riving knife. •...
- Page 12 CAUTION: 1. Rip fence 2. Rip fence holder Be sure to adjust the rip fence so that it is parallel • 3. Square nut with the blade, or a dangerous kickback condition 4. Clamping screw may occur. Be sure to adjust the rip fence so that it does not •...
-
Page 13: Securing Workpiece
the blade cover on the turn table so that the blade cover Vertical vise (optional accessory) is centered over the slit for the blade entrance in the turn table and then lock the handle in the lowest position by 1. Vise rod fully pushing in the stopper pin as shown in the figure. -
Page 14: Operation
before turning again gently clockwise. CAUTION: The maximum width of the workpiece which can be Do not apply excessive pressure on the handle • secured by the horizontal vise is 130 mm. when cutting. Too much force may result in Holders and holder assembly overload of the motor and/or decreased cutting efficiency. - Page 15 full speed. Then gently lower the handle to the fully CAUTION: lowered position while applying pressure in parallel Never attempt to cut thick or round aluminum • with the blade. When the cut is completed, switch extrusions. Thick aluminum extrusions may come off the tool and WAIT UNTIL THE BLADE HAS loose during operation and round aluminum COME TO A COMPLETE STOP before returning...
-
Page 16: Work Helpers
workpiece. Then secure the set plate with the screw. workpieces, or when the ado head is hidden from When the set plate is not used, loosen the screw view while cutting. and turn the set plate out of the way. Work helpers Push sticks, push blocks or auxiliary fence are types of NOTE:... -
Page 17: Carrying Tool
and secure the auxiliary fence to the rip fence holder by 1. Auxiliary fence using a bolt M6 longer than M6x50, washers and nut. 2. Push block Ripping CAUTION: When cutting long or large workpieces, always • provide adequate support behind the table. DO NOT allow a long board to move or shift on the table. -
Page 18: Adjusting The Cutting Angle
revolutions clockwise to tilt the blade to the Adjusting the cutting angle right. This tool is carefully adjusted and aligned at the factory, Carefully square the side of the blade with the but rough handling may have affected the alignment. If top surface of the turn base using the your tool is not aligned properly, perform the following: triangular rule, try-square, etc. -
Page 19: Replacing Carbon Brushes
Only use accessory or attachment for its stated purpose. If you need any assistance for more details regarding these accessories, ask your local Makita Service Center. Steel & Carbide-tipped saw blades • Auxiliary plate • Vise assembly (Horizontal vise) - Page 20 Makita Corporation Anjo, Aichi, Japan www.makita.com 884548G224...