DeWalt DW718 Instruction Manual
(230 volt) 305mm (12") double bevel sliding compound miter saw
Hide thumbs
Also See for DW718:
- Original instructions manual (136 pages) ,
- Manual (128 pages) ,
- Instruction manual (56 pages)

Related Manuals for DeWalt DW718


Summary of Contents for DeWalt DW718
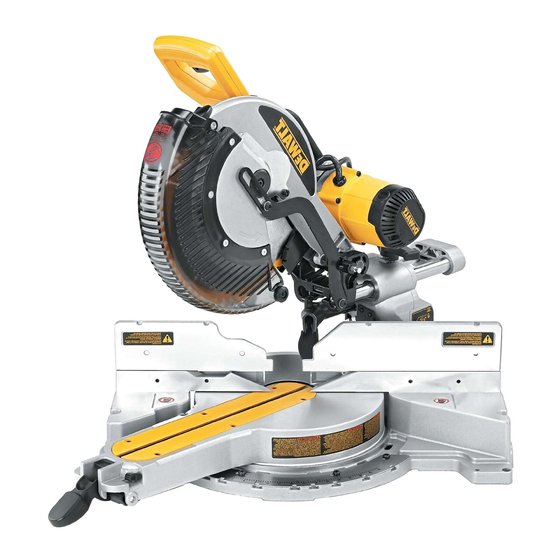
- Page 1 Questions? See us on the World Wide Web at www.dewalt.com INSTRUCTION MANUAL DW718 (230 VOLT) 305MM (12") DOUBLE BEVEL SLIDING COMPOUND MITER SAW...
-
Page 2: Table Of Contents
TABLE OF CONTENTS DOUBLE INSULATION/POLARIZED PLUG INSTRUCTIONS ................2 OPERATION ..............................7 SAFETY INSTRUCTIONS FOR ALL TOOLS ....................2 SWITCH ..............................7 ADDITIONAL SAFETY RULES ........................2 CUTTING WITH YOUR SAW ........................7 ELECTRICAL SAFETY ..........………………………………………………………3 CROSSCUTS ..............................8 ACCESSORIES ..............................3 BEVEL CUTS ..............................8 BLADE DESCRIPTIONS ..........................3 QUALITY OF CUT ..............................8 UNPACKING YOUR SAW ..........................4 BODY AND HAND POSITION ..........................8... -
Page 3: Double Insulation/Polarized Plug Instructions
Important Safety Instructions • EXTENSION CORDS. Make sure your extension cord is in good condition. When using an extension cord, be sure to use one heavy enough to carry the current your product will draw. An undersized cord will cause a WARNING: When using electric tools, basic safety precautions should always be followed to reduce risk of drop in line voltage resulting in loss of power and overheating. -
Page 4: Electrical Safety
• Never use without kerf plate, and replace when kerf plate is damaged because small chip accumulation • Young children and the infirm. This appliance is not intended for use by young children or infirm persons without supervision. Young children should be supervised to ensure that they do not play with this appliance. under saw may interfere with saw blade or may cause instability of workpiece when cutting. -
Page 5: Unpacking Your Saw
Check the contents of your miter saw carton to make sure that you have received all parts. In addition to this instruction manual, the carton should contain: 1. One DW718 miter saw. 2. One D WALT 305mm (12") diameter saw blade. -
Page 6: Bench Mounting
Bench Mounting NOTE: When using blades with a 15.88mm (5/8") diameter blade hole, FIG. 3A the blade adapter will not be used and should be stored in a safe place Holes are provided in all 4 feet to facilitate bench mounting, as shown for future use. -
Page 7: Bevel Pointer
RAIL SET SCREW FIG. 4 LIFTING ADJUSTMENT OPERATING HANDLE HANDLE TRIGGER SWITCH RAIL LOCK MOTOR KNOB HOUSING BELT COVER BLADE BEVEL LOCK GUARD HANDLE RAILS MOTOR ENDCAP FENCE BEVEL LATCH LEVER THUMBSCREW (one each side) BEVEL SCALE GROOVING STOP (one each side) BEVEL LATCH LOCK DOWN PLATES... -
Page 8: Operation
The front section of the guard is louvered for visibility while cutting. MITER LATCH OVERRIDE (FIG. 7) FIG. 5 FIG. 6 MITER Although the louvers dramatically reduce flying debris, they are POINTER The miter latch override allows your saw to override the common stop openings in the guard and safety glasses should be worn at all times angles. -
Page 9: Crosscuts
NOTE: To provide greater crosscut capacity with reduced stroke the blade on the DW718 extends deeper into the table. As a result a greater lifting force FIG. 12 FIG. 11 on the workpiece may be experienced during the cut. -
Page 10: Cutting Trim Molding And Other Frames
For best results, use the DW7080 extension work support to extend the FIG. 14 FIG. 15 table width of your saw. Available from your dealer at extra cost. Support long workpieces using any convenient means such as sawhorses or FIG. 13A similar devices to keep the ends from dropping. -
Page 11: Special Cuts
The two flat surfaces on a given piece of crown molding are at angles FIG. 17 FIG. 19 that, when added together, equal exactly 90 degrees. Most, but not all, crown molding has a top rear angle (the section that fits flat against the ceiling) of 52 degrees and a bottom rear angle (the part that fits flat against the wall) of 38 degrees. -
Page 12: Removing And Replacing The Belt
Be sure to properly secure workpiece. Refer to page 3 for correct saw FIG. 23 FIG. 21 blade. BOWED MATERIAL When cutting bowed material always position it as shown in Figure 21 and never like that shown in Figure 22. Positioning the material incorrectly will cause it to pinch the blade near the completion of the cut. -
Page 13: Warranty
TABLE 1 COMPOUND MITER CUT (Position wood with broad flat side on the table and the narrow edge against the fence.) Guarantee Applicable to hand held Power Tools, Lasers and Nailers. Three Year Limited Warranty WALT will repair, without charge, any defects due to faulty materials or workmanship for three years from the date of purchase. -
Page 14: Troubleshooting Guide
Troubleshooting Guide BE SURE TO FOLLOW SAFETY RULES AND INSTRUCTIONS TROUBLE! SAW WILL NOT START WHAT’S WRONG? WHAT TO DO… 1. Saw not plugged in 1. Plug in saw. 2. Fuse blown or circuit breaker tripped 2. Replace fuse or reset circuit breaker. 3. - Page 16 WALT Industrial Tool Co., 701 East Joppa Road, Baltimore, MD 21286 • 20 Fletcher Road, Mooroolbark, VIC 3138 Australia (MAY05) Form No. 632689-00 DW718-XE Copyright © 2005 D WALT The following are trademarks for one or more D WALT power tools: the yellow and black color scheme; the “D” shaped air intake grill; the array of pyramids on the handgrip; the kit box configuration; and the array of lozenge-shaped...