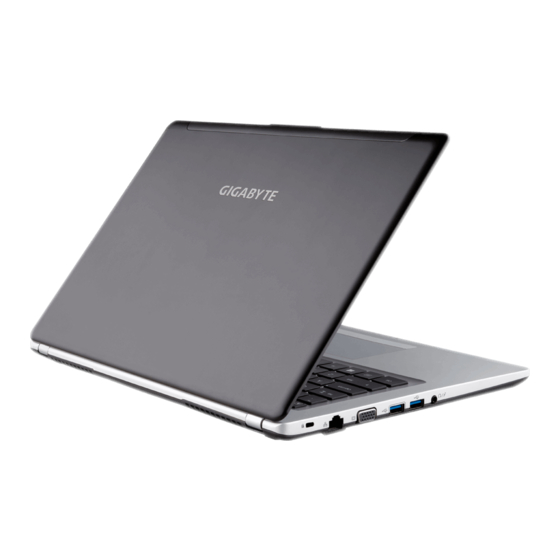
Gigabyte P34 User Manual
Notebook
Hide thumbs
Also See for P34:
- User manual (11 pages) ,
- User manual (101 pages) ,
- User manual (101 pages)
Table of Contents
Advertisement
Quick Links
Download this manual
See also:
User Manual
Advertisement
Table of Contents

Summary of Contents for Gigabyte P34
-
Page 2: Switching On The Power
This manual will help you to get started with setting up your notebook. The final product configuration depends on the model at the point of your purchase. GIGABYTE reserves the right to amend without prior notice. For more detailed information, please visit our website at www.gigabyte.com... -
Page 3: Left View
Your GIGABYTE Notebook Tour Top View Webcam Status LED Indicator Webcam Light sensor Microphone x 2 Power Button TouchPad Battery Indicator Button LED Indicators Press the right button of touchpad to check the remaining battery power. Right-click to show the remaining power percentage. -
Page 4: Right View
Right View USB Port x2 SD Card Reader HDMI Port DC-in Jack Base View Memory Compartment Warning: DO NOT remove the built-in lithium battery. For any service needs, please contact your local GIGABYTE Authorized Service Center. -
Page 5: Hotkeys
Hotkeys The computer employs hotkeys or key combinations to access most of the computer’s controls like screen brightness and volume output. To activate hotkeys, press and hold the <Fn> key before pressing the other key in the hotkey combination. Hotkey Function Description Fn+F1... - Page 6 GIGABYTE Smart Manager „ You can activate GIGABYTE Smart Manager by double clicking on the shortcut icon on the desktop if the machine you purchased has the operation system built-in. GIGABYTE Smart Manager is an icon-based control interface, enabling users to intuitionally access common system setup as well as GIGABYTE exclusive utilities.
- Page 7 Setup Your System for RAID 0/1 WARNING ● Please backup your data before you build and run RAID 0/1 on your system. ● RAID 1 needs two storage drives of the same specification and capacity in your laptop. ● R AID 0 needs two storage drives of the same specification in your laptop. Different capacity is acceptable.
- Page 8 • Insert the driver disk to your optical drive and run the install of “Smart USB Backup” (for none-ODD model, please use USB ODD device or download from http://www.gigabyte.com • Run the “Smart USB Backup” after finishing the install. • Select your USB disk from the drop- down list and start to create the recovery USB disk.
-
Page 9: System Recovery (Restore Your Laptop Operating System)
Recovery Guide System Recovery (Restore your laptop operating system) When something is going wrong with the laptop operating system, the storage of the laptop has a hidden partition containing a full back up image of the operating system that can be used to restore the system to factory default settings. - Page 10 Reboot the laptop after the system recovery is complete. Windows 8 Recovery Guide Turn off and restart the laptop. During the laptop turn on process, press and hold F9 key to launch the tool. Choose your keyboard layout. You can press “See more keyboard layouts” to see next page of languages.
- Page 11 ▓ Choose “Refresh your PC” [Click on “Next”] > [Choose a target operating system.] > [Click on “Windows 8”.] > [Click on “Refresh” to execute recovery function.] Here are what will happen ˙ Your files and personalization settings won’t be changed. ˙...
- Page 12 Windows 8.1 Recovery Guide Turn off and restart the laptop. During the laptop turn on process, press and hold F9 key to launch the tool. Choose “Troubleshoot” to enter the recovery settings. (Also you can choose “Continue” to exit recovery system and continue to Windows 8.1 for files or data backup.) There are two options for system recovery ˙...
- Page 13 Startup Settings Change Windows Startup behavior. Appendix Warranty & Service: „ Warranty and service and related information please refer to the warranty card or GIGABYTE service website as the below link: http://www.gigabyte.com/support-downloads/technical-support.aspx FAQ: „ FAQ (Frequent Asked Questions) please refer to the below link:...


