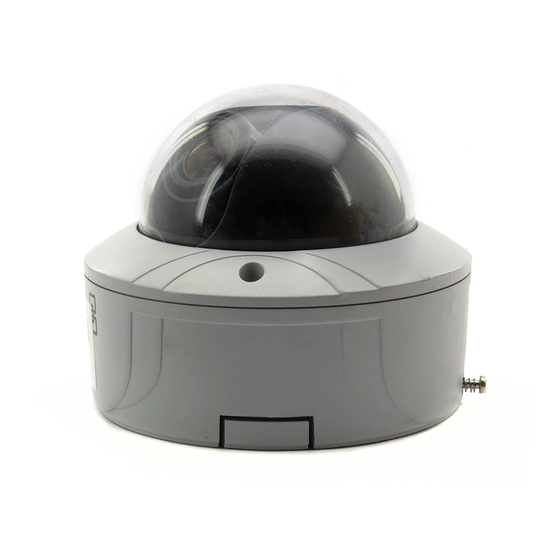
Summary of Contents for Interlogix TruVision Open-Standards
- Page 1 TruVision IP Dome Open-Standards Quick Start Guide P/N 1076512A-EN • REV 1.0 • ISS 07OCT11...
- Page 2 Copyright © 2011 UTC Fire & Security. All rights reserved. Trademarks and Interlogix, TruVision brand and logo are patents trademarks of UTC Fire & Security. Other trade names used in this document may be trademarks or registered trademarks of the manufacturers or vendors of the respective products.
-
Page 3: Table Of Contents
Content Graphics 2 Introduction 6 Package contents 6 Installation environment 6 Camera dimensions 6 Setting up the camera 7 Connecting the devices 7 Accessing the camera over the internet 8 Overview of the camera Web browser 9 Network and streaming configuration 10 Specifications 11 Quick Start Guide 1 EN... -
Page 4: Graphics
Graphics EN 2 Quick Start Guide... - Page 5 Quick Start Guide 3 EN...
- Page 6 EN 4 Quick Start Guide...
- Page 7 Quick Start Guide 5 EN...
-
Page 8: Introduction
Introduction This pocket guide provides basic information on installing the TruVision IP dome and wedge dome open-standard cameras. For detailed information on installing and using the cameras, please refer to the user manual. Package contents The camera is shipped with the following items: ... -
Page 9: Setting Up The Camera
Setting up the camera Note: If the light source where the camera is installed experiences rapid, wide variations in lighting, the camera may not operate as intended. For detailed instructions, please refer to the user manual. To quickly put the camera into operation: 1. -
Page 10: Accessing The Camera Over The Internet
Wedge dome cameras: See Figure (Wedge dome camera connections). 1. Power input connector. Connect +12 VDC power supply. Optional. 2. Ethernet RJ45 PoE connector. Connect to the network devices. 3. Lens. 4. Power LED. 5. Lens positioning screws. 6. Network status LEDs. 7. -
Page 11: Overview Of The Camera Web Browser
3. Click OK. The Web browser window appears in live mode. See Figure Overview of the camera Web browser See Figure (Camera Web browser interface). Item Name Description PTZ controls For future use. Live view Click to view live video. Playback Click to play back video. -
Page 12: Network And Streaming Configuration
Item Name Description Audio setting Click to start/stop bi-directional audio. Note: You need to have a microphone attached to your PC to be able to send out audio. Audio on/off Click to turn the audio function on or off. Network and streaming configuration In the camera Web browser screen click the Configuration button on... -
Page 13: Specifications
Configuration folders Description Serial settings Defines the RS-485 and RS-232 communication settings. Alarm parameters Defines how the camera handles alarms such as input type, notification of alarms, and response schedules and duration. Deployment time Defines the schedules during which events are registered. - Page 14 Weight 1.3 kg (2.8 lbs) Environmental rating Indoor vandal-resistant Wedge dome cameras: Electrical Power consumption 4 W max. Miscellaneous Dimensions (L × W × H) 100 × 98 × 47 mm (3.94 ×3.84 ×1.83 in.) Weight 0.5 kg (1.1 lbs.) Environmental rating IP66 vandal-resistant All cameras:...
- Page 15 Quick Start Guide 13 EN...
- Page 16 EN 14 Quick Start Guide...


