Table of Contents
Advertisement
Quick Links
Advertisement
Table of Contents

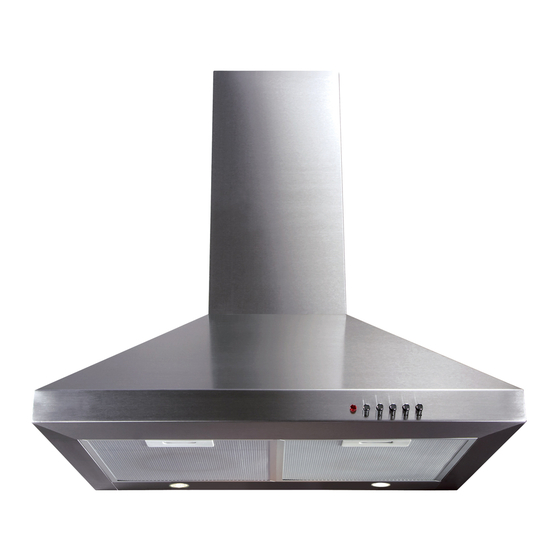
Summary of Contents for CDA ECH
- Page 1 Manual for Installation, Use and Maintenance Passionate about style Customer Care Department • The Group Ltd. • Harby Road • Langar • Nottinghamshire • NG13 9HY T : 01949 862 012 F : 01949 862 003 E : customer.care@cda.eu W : www.cda.eu...
- Page 2 Under no circumstances should any external covers be removed for servicing or maintenance except by suitably qualified personnel. Appliance information: Please enter the details on the appliance rating plate below for reference, to assist CDA Customer Care in the event of a fault with your appliance and to register your appliance for guarantee purposes. Appliance Model...
-
Page 3: Using Your Extractor
Using your Extractor For best performance, you should switch on the extractor 15 minutes before starting to cook and leave it to run for approximately 15 minutes after the end of cooking. Control Panel A – Power indicator light B – Light button C –... -
Page 4: Care And Maintenance
You can clean your extractor effectively by simply using a dilute solution of water and mild detergent and drying to a shine with a clean cloth, for example the CDA E-Cloth. Fig. 2 Cleaning the grease filter The grease filter should be kept clean to minimise the risk of fire. -
Page 5: Changing The Light
Only use bulbs recommended for your extractor. Do not fit bulbs of a higher power rating. Bulbs of a lower power rating may be adequate for use, generally last longer and use less energy. Spare bulbs are available from CDA Customer Care or from your local DIY shop. -
Page 6: Mains Electricity Connection
The wire which is coloured brown must be connected to the terminal marked L (Live), or coloured red. • If the mains cable is damaged, it must be replaced by a CDA approved engineer, agent or similarly qualified persons in order to avoid a hazard. NOTE: USE A 3A FUSE Assembly and electrical connection should be carried out by competent personnel. -
Page 7: Electrical Information
2. Check that the fuse in the spur has not blown. Contact CDA Customer Care A : Customer Care Department, The CDA Group Ltd, Harby Road, Langar, Nottinghamshire, NG13 9HY T : 01949 862 012 F : 01949 862 003 E : customer.care@cda.eu W : www.cda.eu... - Page 8 Mounting your Extractor When the extractor is to be installed above an electric hob, the minimum distance between the hob and extractor must exceed 600mm (650mm is recommended). When the extractor is to be installed above a gas hob, the minimum distance between the hob and extractor must exceed 700mm (750mm is recommended).
- Page 9 INSTALLATION Figu re 2 - M ar k wal l as req ui red (see ta bl e 1) Tools required Mark wall as required (see table 2) Fig. 6 Fig. 7 Drill holes Fit wall fixings and top screws - Ensure that any fixings you use Figu re 3 - D rill h oles are appropriate for the wall type.
- Page 10 Figu re 7 - Mo unt chimne y bracke ts Mount chimney brackets Fix ducting (seal joint) Figu re 8 - Fix ducting (s ea l joint) Fig. 12 Fig. 13 Figu re 9 - Mo unt the chim ne y Mount the chimney Adjust and secure the chimney Figu re 10 - Adj ust an d s ecure the chim ne y...
- Page 11 Ducting and Ventilation For best performance and lowest noise output, we recommend the use of 125mm ducting. 100mm ducting may be used but this will reduce performance and increase the noise of the extractor.
- Page 12 Passionate about style Customer Care Department • The Group Ltd. • Harby Road • Langar • Nottinghamshire • NG13 9HY T : 01949 862 012 F : 01949 862 003 E : customer.care@cda.eu W : www.cda.eu...


