Table of Contents
Advertisement
Quick Links
Advertisement
Table of Contents

Related Manuals for Radio Shack 12-817


Summary of Contents for Radio Shack 12-817
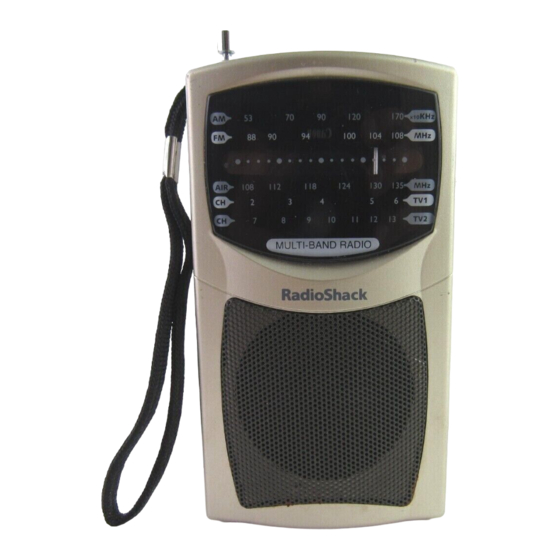
- Page 1 Multiband Portable Radio...
-
Page 2: Fcc Declaration Of Conformity
Your RadioShack MultiBand Portable Radio is ideal for moni- toring transmissions between pilots other planes or air traf- fic control facilities. Or, you can tune to the AM or FM radio band, or audio from a favor- ite TV show. Its handy size and fixed wrist strap let you enjoy news, sports, talk shows, and weather re-... -
Page 3: The Fcc Wants You To Know
Product: Multiband Portable Radio Model: 12-817 Responsible RadioShack Party: 100 Throckmorton Fort Worth, TX 76102 Phone: 817-415-3200 THE FCC WANTS YOU TO KNOW This equipment has been tested and found to comply with the limits for a Class B digital device, pursuant to Part 15 of the FCC Rules . -
Page 4: Power Sources
• Reorient or relocate the receiving antenna. • Increase the separation between the equipment and receiver. • Connect the equipment into an outlet on a circuit different from that to which the receiver is connected. • Consult your local RadioShack store or an experienced radio/TV technician for help. -
Page 5: Using Batteries
Using Batteries 1. Remove the battery compartment cover by sliding it in the direction of the arrow. 2. Install three fresh AA batteries over the ribbon in the compartment, as indicated by the polarity symbols (+ and –) inside the compartment. Cautions: •... -
Page 6: Using Ac Or Dc Power
Using AC or DC Power You can power the radio using a 4.5V, 150mA AC or DC adapter and a size M Adaptaplug™ adapter (neither supplied). Both are available at your local RadioShack store. Cautions: You must use a (Class 2 for AC power) power source that supplies 4.5V DC and deliv- ers at least 150 mA. -
Page 7: Connecting The Earphone
2. Insert the Adaptaplug’s twin connectors into the adapter cord’s smaller end so it reads TIP POS. 3. Insert the adapter’s barrel plug into the radio’s DC 4.5V jack. 4. Plug the adapter into a standard AC outlet (for AC power) or a vehicle’s ciga- rette-lighter socket (for DC power). -
Page 8: Traffic Safety
begin listening, adjust the volume to a comfortable level. • Once you set the volume, do not increase it. Over time, your ears adapt to the volume level, so a volume level that does not cause discomfort might still damage your hearing. Traffic Safety Do not wear earphones while operating a motor vehicle or riding a bicycle. -
Page 9: Operation
OPERATION The radio lets you listen to AM, FM, TV1, TV2 and AIR band radio broadcasts. Playing the Radio 1. To turn on VOLUME radio, turn VOL- Earphone toward Jack TUNING until it DC 4.5V clicks. Jack 2. Set BAND desired AM/FM/TV1/TV2/AIR band. - Page 10 4. Adjust VOLUME to a comfortable lis- tening level. 5. To turn off the radio, turn VOLUME towards OFF until it clicks. CARE Keep the radio dry; if it gets wet, wipe it dry immediately. Use and store the radio only in normal temperature environments.
-
Page 11: Specifications
SPECIFICATIONS Frequency Range: AM .......... 530 – 1710 kHz FM ..........88 – 108 MHz TV1 (Channel 2 – 6) ....59 – 88 MHz TV2 (Channel 7 – 13) ....178 – 217 MHz AIR .......... 108 – 135 MHz Power Output (at 10% THD) ........ - Page 12 This warranty gives you specific legal rights, and you may also have other rights which vary from state to state. RadioShack Customer Relations, 200 Taylor Street, 6th Floor, Fort Worth, TX 76102 We Service What We Sell 12/99 11A00 12-817 Printed in China...