Table of Contents
Advertisement
Advertisement
Table of Contents

Related Manuals for Alesis Performance Pad Pro


Summary of Contents for Alesis Performance Pad Pro
- Page 1 DRUM MACHINE REFERENCE MANUAL...
-
Page 2: Ground Rules
INTRODUCTION WELCOME TO THE PerformancePad Pro MULTI-PAD INSTRUMENT The PerformancePad Pro includes high-fidelity drum, percussion and bass sounds, and is easy to operate. You can easily switch among the different instrument layers in real-time. As you strike the 8 pads (each of which can be assigned to any of the available sounds), the PerformancePad Pro's on- board sequencer records exactly when you triggered the sounds and the dynamics of your playing. - Page 3 The Two Types of Patterns The PerformancePad Pro introduces exciting new Song construction techniques. The PerformancePad Pro excels at live performance—something usually not associated with drum machines. The key to using these advanced features is to understand the different types of available Patterns. Preset Patterns provide a variety of rock, jazz, pop, and other rhythms programmed by professional drummers.
-
Page 4: Connection Diagram
CONNECTION DIAGRAM MP3 PLAYER SPEAKERS POWER HEADPHONES EXTERNAL SOUND MODULE As you hook up the PerformancePad Pro, the volume control on your power amp and the PerformancePad Pro should be all the way down, and power to both units should be off. FOOTSWITCHES Plug 1/4"... -
Page 5: Top Panel Physical Layout
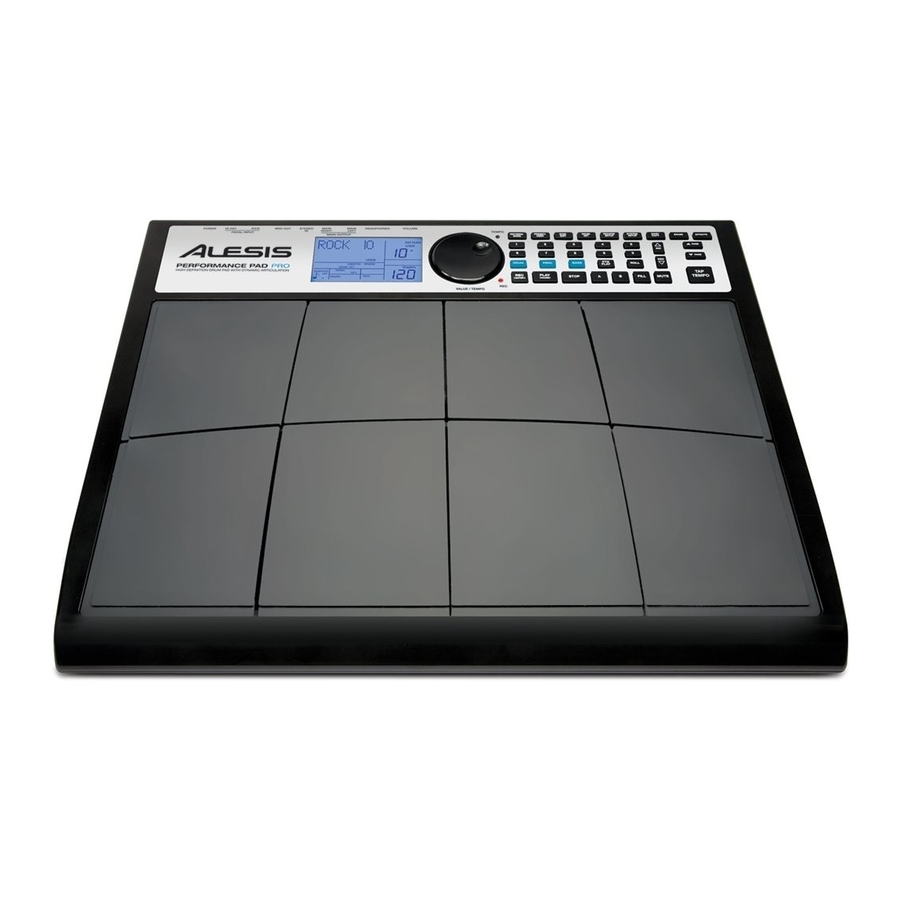
TOP PANEL PHYSICAL LAYOUT 16 17 18 GENERAL CONTROLS LCD – The display helps you keep track of system parameters and settings as you use the PerformancePad Pro. PADS – The 8 pads are used to trigger sounds on the PerformancePad Pro. The pads can address 3 different types of sounds: drums, percussion and bass. -
Page 6: Navigation Buttons
FILL – Each Pattern also includes two Fills associated with each of the two sub-patterns. The Fills are used to transition from one sub-pattern to another (i.e. transition from verse to chorus). ERASE – This button allows you to erase Patterns or Songs. Hold this button down and the screen will prompt you to verify that you want to erase the selected element. -
Page 7: Setup Buttons
SETUP BUTTONS SYSTEM SETUP – Pressing this button calls up various system settings and preferences, such as MIDI options, note assignments, clocking. The display will indicate SYSTEM and SETUP when you are in System Setup. You can move between the different pages of settings with the PAGE UP / DOWN buttons and change the settings on the selected page with the VALUE dial or the INC / DEC buttons. -
Page 8: Rear Panel Physical Layout
REAR PANEL PHYSICAL LAYOUT DC IN – The supplied power adapter should be connected to a live outlet to power the unit. ON/OFF SWITCH – This switch turns the unit on and off. VOLUME – This knob controls the overall volume of the PerformancePad Pro. ¼”... -
Page 9: Display Layout
DISPLAY LAYOUT The LCD is divided into several "windows." Each window contains information that helps you monitor the PerformancePad Pro's status, and/or indicates what type of data should be entered. Name, "dialog" box, real time Song/Pattern readout, beat counter. - This is the most commonly-used area of the display. - Page 10 BASICS HOW TO COMMUNICATE WITH THE PerformancePad Pro The Cursor When the PerformancePad Pro wants you to enter a number in the "Dialog" box, the display will show the previously-entered number (or the default number), and the first digit will have a small underline called the cursor.
-
Page 11: Steps To Instant Gratification (Setup And Checkout)
10 STEPS TO INSTANT GRATIFICATION (SETUP AND CHECKOUT) Connect the Main outputs (either left or right for a mono monitoring system, or both for stereo) to a musical instrument amplifier, PA, or plug headphones into the headphone output on the back of the PerformancePad Pro. -
Page 12: The Instrument Layers
THE INSTRUMENT LAYERS The PerformancePad Pro allows you to play three different kinds of sounds with the pads. These sounds are available in three different Play Modes or Banks. These are DRUM, PERC and BASS and are accessible by pressing the corresponding button on the top panel. DRUM –... - Page 13 Selecting Individual Patterns Make sure the PerformancePad Pro is in Pattern Mode. Enter a two-digit Pattern number (remember to enter a leading 0 if necessary). Press the A button to select the A Main Pattern, or B to select the B Main Pattern. To select a Fill Pattern, first select the desired Main Pattern (A or B) then press the Fill Button.
- Page 14 Conversely, if B Main is playing and you press Fill, after B Fill has played, the PerformancePad Pro will transition to the A Main Pattern. You can select the Fill at any time while the Main Pattern is playing. However, Fills do not have to be transitional Patterns.
-
Page 15: Steps To Recording A Pattern
RECORDING PATTERNS Note: An empty Pattern defaults to an 8 beat length (2 Bars), with 16th note quantization and swing off (50%). If you need to change the length, it is best (though not essential) to do so before recording. Other parameters can be changed while you're recording. -
Page 16: Pattern Play Mode
PATTERN PLAY MODE Pattern Play mode allows you to play sequences of Patterns by triggering Patterns with the pads. To enter Pattern Play Mode, press the PTN PLAY button. PLAYING PATTERN SEQUENCES WITH THE PADS Press the PTN PLAY button. Press a pad and the Pattern associated with the pad will begin playing. -
Page 17: Selecting, Editing And Creating Drum Sets
SELECTING, EDITING AND CREATING DRUM SETS What is a Drum Set? The PerformancePad Pro features different “sets” of sounds which you can use in your Patterns and Songs. A Drum Set is a collection of settings that affect the Drums, Percussion and Bass sounds within the set as well as the mix parameters and effects setup. -
Page 18: Pad Volume
PAGE 2: INSTRUMENT LAYER VOLUME This page allows you to adjust the volume of each instrument layer (drums, percussion, bass). Adjusting this level will affect all the sounds in the selected layer. To adjust the volume of an instrument layer: Select the instrument layer which you would like to edit by pressing DRUM, PERC or BASS. - Page 19 PAGE 5: PANNING Each pad can also be assigned to one of seven positions within the stereo spectrum. To change a pad’s panning position: Select the sound set which you would like to edit by pressing DRUM, PERC or BASS. Please note that the Panning setting will affect all Bass sounds similarly.
- Page 20 PAGE 7: ATTACK ENVELOPE (BASS ONLY) The attack envelope (bass only) affects how the bass sound will play after you hit the pad. Attack determines the amount of time it takes for the bass sound to “fade in” after it has been triggered.
- Page 21 PAGE 10: FILTER Pad Filter allows you to make changes to the tonal characteristics of a sound by removing the higher frequencies from the sound. This allows you to make a particular drum sound darker, with more pronounced bass. The higher the value the more high frequencies will be allowed to pass through.
- Page 22 PAGE 12: OUTPUT Background The PerformancePad Pro includes one independent stereo output. This allows several output assignment options: Mono: Plug into one of the output pair jacks; the PerformancePad Pro is smart enough to know that plugging in one plug means you must want mono. Any pan settings are ignored. Do not plug into both outputs, or stereo will be activated.
-
Page 23: Saving Your Drum Sets
EFFECTS The Effects settings are stored per kit. Each Kit can have separate Reverb, Compression / EQ settings that are specific to that kit. To change Effects settings, press the EFFECTS button while you are in Pattern Mode. Effect settings can only be changed on User Patterns. In order for the Effects settings to be remembered you must save the Drum Set after you make your settings. -
Page 24: Record Setup
RECORD SETUP Several parameters, such as quantization, swing, metronome options, Pattern length, are often adjusted prior to recording a Pattern, General instructions are: Press the RECORD SETUP button. Use the PAGE buttons to select different "pages" of functions; the display's lower right window shows the page number. -
Page 25: Select The Swing Value (Swing Select)
PAGE 2: GATE When entering Bass parts in Step Edit Mode, the Gate parameter specifies the duration of notes, as a percentage of the quantization value. For example, if you have selected a gate time of 99 (which is equivalent to 100% of the quantization value) and a quantization value of ¼... -
Page 26: Velocity Sensitivity
PAGE 6: VELOCITY SENSITIVITY Velocity Sensitivity describes how the pads will output sound depending on the applied velocity (i.e. how hard the pads are struck). This feature allows players with a heavier or lighter touch customize response accommodate their particular playing style. To select the desired dynamic response, use the INC/DEC buttons, the VALUE dial or the number buttons (1 = Fixed 1, 2 = Fixed 2, 3 = Fixed 3, 4 = Fixed 4, 5 = Fixed 5, 6 = Fixed... -
Page 27: Pattern Length
PAGE 9: PATTERN LENGTH This page allows you to specify the length of the selected Pattern in steps. For example, 2 steps of a 4/4 time signature equal 2 bars of 4/4. Use the INC / DEC buttons, the number buttons, or the VALUE dial to select the desired step length for the Pattern. -
Page 28: Editing Patterns - Erase Functions
EDITING PATTERNS – ERASE FUNCTIONS ERASING DRUM EVENTS WHILE RECORDING While the PerformancePad Pro is recording, you can erase any individual drum event or series of events in real time to fix up errors. Erasure occurs only on those beats that coincide with the current quantization and swing values;... -
Page 29: Editing Patterns - Copy/Save Functions
EDITING PATTERNS – COPY/SAVE FUNCTIONS SAVING A PATTERN The following operation will save the selected Pattern, including all sub-patterns (A, B and FILL) to a specific location, overwriting any data which may already exist. Please note that you need to save your Patterns if you wish to access them after you power-cycle the unit. -
Page 30: Editing Patterns - Transposition
EDITING PATTERNS – TRANSPOSITION Each Pattern on the PerformancePad Pro has a Pattern Transposition setting (0 by default). This setting allows you to quickly transpose the selected Pattern’s Bass content. The Pattern Transposition setting will be stored along with all other Pattern parameters once the Pattern is saved into memory (See “Editing Patterns –... -
Page 31: Adding A New Drum To A Step
First, you will need to make sure that you are in Pattern Mode (PATTERN should be displayed in the upper right corner of the screen). To enter Pattern Step Edit Mode, press the STEP EDIT button. BEAT SUB-BEAT PAD NUMBER The display now shows the beat and sub-beat. -
Page 32: Song Mode
SONG MODE After creating the Patterns that make up a Song, it's time to string those Patterns together to create a complete Song. You can use Preset Patterns, User Patterns, or a combination of both to create your Song. There are three ways to create Songs: In real time. -
Page 33: Recording A Song In Real-Time
RECORDING A SONG IN REAL-TIME To record a sequence of Patterns in real-time, follow the steps below: Switch to Pattern Mode (the display should say PATTERN) and select the first Pattern which you would like to use in your Song. Remember to specify A, B or FILL sub- pattern as well. -
Page 34: Manual Song Creation (Song Step Edit Mode)
MANUAL SONG CREATION (SONG STEP EDIT MODE) Another way to sequence your Song is to use Step Edit Mode. In this mode, you can manually enter Pattern numbers for each step of the Song. Select Song mode (the display should indicate SONG in the upper right corner) and select a desired Song number with the number keypad, INC / DEC buttons or the VALUE dial. - Page 35 Removing a Fill from Your Song While in Record mode, there are two ways to remove a Fill from a Song: When the Fill step appears, press the A button for an A Pattern or press the B button for a B Pattern and the Fill will be removed. When the Fill step appears, press and hold the FILL button and press ERASE.
-
Page 36: Setting Song Tempo
SETTING SONG TEMPO There are two ways to set tempo: Method 1 Press STOP if the Song is playing. Press the TAP TEMPO button several times at the desired tempo. The LD32 will average the time between taps and derive a tempo. Method 2 Alternatively, you can press and hold the TAP TEMPO button and use the INC / DEC buttons or VALUE dial to select a new tempo. -
Page 37: Loop A Pattern Indefinitely
LOOP A PATTERN INDEFINITELY In Song Perform mode, pressing and holding FILL until the end of a song step will cause that step to repeat. For example, you can use this feature if a soloist decides to take another few bars. START FROM THE MIDDLE OF A SONG You need not start a Song from the beginning each time;... -
Page 38: Append A Song
APPEND A SONG You can use this feature to append all content from the selected Song to the end of another Song. Appending a Song to an empty destination will create an identical copy of the Song. Note that you can double the Song sequence by appending a Song to itself. -
Page 39: Assign Midi Note Numbers To Drum Pads (Note)
Page 4 / ASSIGN MIDI NOTE NUMBERS TO DRUM PADS (NOTE) This page allows you to specify which MIDI Note Number is associated with a given pad. This number describes both the MIDI Note which will trigger the pad when controlling the PerformancePad Pro externally, as well as the MIDI Note which will be sent out to other MIDI devices when the associated pad is struck. -
Page 40: Tempo Selection (Tempo)
Page 6 / TEMPO SELECTION (TEMPO) This function describes how the PerformancePad Pro will use tempo data when playing back Patterns. If you choose GLOBAL, the PerformancePad Pro will use a global tempo setting and will ignore any tempo data associated with a Pattern. If you choose PERPAT, the PerformancePad Pro will use the tempo data stored with each Pattern. -
Page 41: Check Available Memory (Mem Free)
Page 10 / CHECK AVAILABLE MEMORY (MEM FREE) This page shows the approximate amount of free memory available (expressed as a percentage of the total amount). It is important to check memory from time to time because the PerformancePad Pro always requires some free memory for proper operation. - Page 42 STRATEGIES FOR ASSEMBLING PATTERNS AND SONGS Ideally, you should be able to translate your inspirations into tangible form with a minimum amount of effort. The following tips and techniques help speed up the process of creating Patterns and Songs. Create Fills Quickly with the Copy Function Many times a Fill will simply be a variation on another Pattern, but with a few minor differences to add variety or serve different musical purposes.
-
Page 43: Understanding Rhythmic Notation
UNDERSTANDING RHYTHMIC NOTATION Measures A piece of music is divided into smaller units called measures (also called bars), and each measure is divided into beats. In the PerformancePad Pro, each beat is further sub-divided into 96 sub-beats. Rhythmic Values for Notes With a measure written in a 4/4 time signature, there are 4 beats per measure, and each beat represents a quarter (1/4) note. -
Page 44: Key Features
Step Editing, Stereo Samples, Reverb and Compressor / EQ effects. Power: Input 12VDC 500mA, center pin ground Weight: 7.1 lbs (3.2 kg) Dimensions (W x D x H): 17.2" x 14" x 2.5" (437 mm x 356 mm x 64 mm) www.alesis.com/performancepadpro 7-51-0337-A...