Table of Contents
Advertisement
Español - página E1
OWNER'S MANUAL
Operating and Servicing
Instructions
•
Please read these
instructions carefully before
using your Swivel Glide
•
Let us help you put your
cleaner together or answer
any questions, call:
1-800-321-1134 (USA & Canada)
website: www.dirtdevil.com
For quick reference, please record your vacuum
information below.
Model #:
Mfg. Code:
(Mfg. code located on the lower backside of cleaner)
©1998 All rights reserved #1-113017-000
®
Vision
®
.
11/01
Advertisement
Table of Contents

Summary of Contents for Dirt Devil Swivel Glide Vision
- Page 1 OWNER’S MANUAL Operating and Servicing Instructions • Please read these instructions carefully before using your Swivel Glide ® Vision ® • Let us help you put your cleaner together or answer any questions, call: 1-800-321-1134 (USA & Canada) website: www.dirtdevil.com For quick reference, please record your vacuum information below.
-
Page 2: Table Of Contents
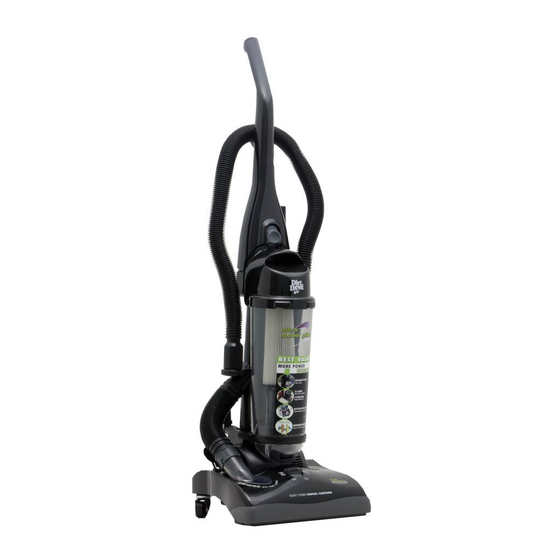
CONGRATULATIONS You are now the proud owner of the Dirt Devil ® Swivel Glide ® Vision ® , with Power You Can See ™ You’ll never buy another bag again with the unique bagless design that includes a see-through dirt container for retrieving lost items. You’ll also enjoy superior cleaning performance with 12 amps of Maximum Vacuum Power. -
Page 3: Important Safety Instructions
THIS CLEANER IS INTENDED FOR HOUSEHOLD USE ONLY IMPORTANT SAFETY INSTRUCTIONS When you use an appliance, basic precautions should be followed, including the following: • READ ALL INSTRUCTIONS BEFORE USING THE APPLIANCE. • A LWAYS FOLLOW THESE SAFETY INSTRUCTIONS. • BRING CLEANER TO UPRIGHT POSITION WHEN USING THE HOSE AND ATTACHMENTS. -
Page 4: Feature Descriptions
Fig. 1 Fig. 2 FEATURES Fig 1 Fig. 2 1. Handle 13. Carrying Handle 14. Stretch Hose Handle 2. Dirt Container Release Lever 15. Long Power Cord 3. HEPA Filter 16. *Power Edger (optional w/Wrap Around Bumper) 4. Headlight 17. Belt Storage 5a.*Power Edger ™... -
Page 5: How To Operate
HOW TO OPERATE match arrows with tabs on clear hose inlet Diagram 2 Diagram 3 Attach Tools Diagram 4 Diagram 1 Attach flexible hose to cleaner. Insert hose handle into side of cleaner. A.Edge Wedge ® B. Power Edger ™ C. -
Page 6: Carpet Settings
HOW TO OPERATE cont. Height adjust knob Diagram 2a Hose Anchor Diagram 1 Attached hose Diagram 3 Extension Wand Diagram 4 Diagram 5 anchor to base. Stretch hose ® Use carrying handle on back of Diagram 2b Hide-a-Hose Remove wand from side of cleaner. Height adjust knob. -
Page 7: Filter Removal And Replacement
FILTER REMOVAL & REPLACEMENT ® Diagram 1 HEPA Diagram 2 HEPA Diagram 3 HEPA Diagram 4 PERMA FILTER Grasp HEPA cover tab and pull Grasp HEPA filter and pull out. Place new filter with gasket fac- Grasp inside ring at top of filter and firmly pull filter up and out. away from cleaner. -
Page 8: Lightbulb Removal And Replacement
LIGHTBULB REMOVAL & REPLACEMENT Diagram 1 Pop Headlight Lens Diagram 2 Remove/Replace Bulb Insert flat head screwdriver into side slot and pry outward. Pull bulb out of socket to remove. Push bulb into socket to replace. LIGHTBULB REMOVA L & REPLACEMENT TOOL REQUIRED: FLATHEAD SCREWDRIVER WARNING: TO REDUCE THE RISK OF ELECTRIC SHOCK - UNPLUG CLEANER BEFORE REMOVING OR REPLACING LIGHTBULB.


