Table of Contents
Advertisement
WARNING:
Cleaner assembly may include small parts.
Small parts can present a choking hazard.
Español - página E1
OWNER'S MANUAL
Operating and Servicing
Instructions
•
Please read these
instructions carefully before
using your upright vacuum.
•
Let us help you put your
cleaner together or answer
any questions, call:
1-800-321-1134 (USA & Canada)
www.dirtdevil.com
For quick reference, please record your vacuum
information below.
Model #:
Mfg. Code:
(Mfg. code located on the lower backside of cleaner)
©1996 All rights reserved #1-1 13018-033
3/02
Advertisement
Table of Contents

Related Manuals for Dirt Devil Swivel Glide


Summary of Contents for Dirt Devil Swivel Glide
- Page 1 WARNING: Cleaner assembly may include small parts. Small parts can present a choking hazard. Español - página E1 OWNER’S MANUAL Operating and Servicing Instructions • Please read these instructions carefully before using your upright vacuum. • Let us help you put your cleaner together or answer any questions, call: 1-800-321-1134 (USA &...
-
Page 2: Table Of Contents
Troubleshooting Guide...Page 9 To the consumer, Royal Appliance Mfg. Co. warrants this vacuum cleaner to be free of defects in material or workmanship commencing upon the date of the original purchase. Refer to your vacuum cleaner carton for the length of warranty and save your original sales receipt to validate start of warranty period. -
Page 3: Important Safety Instructions
• Using improper voltage may result in damage to the motor and possible injury to the user. Proper voltage is listed on the cleaner plate. • Only use attachments and hoses recommended by the manufacturer. Use the vacuum cleaner only as stated in this manual. SAVE THESE INSTRUCTIONS To reduce the risk of electric shock, this appliance has a polarized plug (one blade wider than the other). -
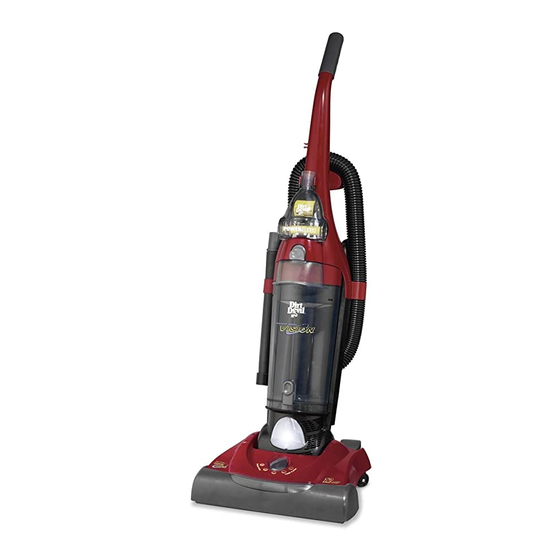
Page 4: Features
Fig. 1 Fig. 4 1. Non-slip grip ™ handle 2. On/Off Switch 3. Front Panel Release Lever 4. *Edge Wedge ™ Tool / Upholstery Tool 5. *Headlight 6. *Power Edger ™ slots 7. *Wrap Around Bumper 7a. *Scuff Guard ™ Bumper 8. -
Page 5: How To Assemble
HOW TO ASSEMBLE 1. Stand unit in upright position and place upper handle onto upright (Diagram 1). 2. Hold cord down and out of the way to avoid pinching. P 3. BACK OF UPRIGHT: add TWO screws (supplied) to secure handle (Diagram 3). Hose Inlet HOSE ASSEMBLY AND TOOL STORAGE... -
Page 6: How To Operate
CARPET SETTINGS NOTE: The cleaner may be in the upright or operating position to adjust carpet setting. 1. Adjusting in the upright position: Rotate the knob to the desired setting. (Diagram 1).Once the carpet setting is selected, and the cleaner placed in the operating position, the setting will be in the c 2. -
Page 7: Paper Bag Removal And Replacement
PAPER BAG REMOVAL & REPLACEMENT NOTE: Unplug cleaner before changing paper bag. Cleaner must have paper bag in place at all times. You can tell your bag needs replacing when you experience less suction when the *full bag indicator changes to yellow or if the light illuminates (see pg. -
Page 8: How To Transport Cleaner
small text BELT OR BRUSH REMOVAL & REPLACEMENT TOOL REQUIRED: PHILLIPS SCREWDRIVER WARNING: TO REDUCE THE RISK OF INJURY FROM MOVING PARTS - UNPLUG CLEANER BEFORE CHANGING BEL T OR BRUSHROLL. SUB-HEADING TO REMOVE BELT Flip cleaner to expose nozzle base as shown in to remove the four screws. -
Page 9: Troubleshooting Guide
Problem Possible Reasons Cleaner won’t run 1. Power cord not firmly plugged into outlet. 2. Blown fuse or tripped breaker. 3. Needs service. 4. Motor Protector tripped. Cleaner won’t pick-up 1. Paper bag is not opened. or low suction 2. Paper bag full. 3.