Table of Contents
Advertisement
Advertisement
Table of Contents

Related Manuals for Pioneer GM-D8604


Summary of Contents for Pioneer GM-D8604
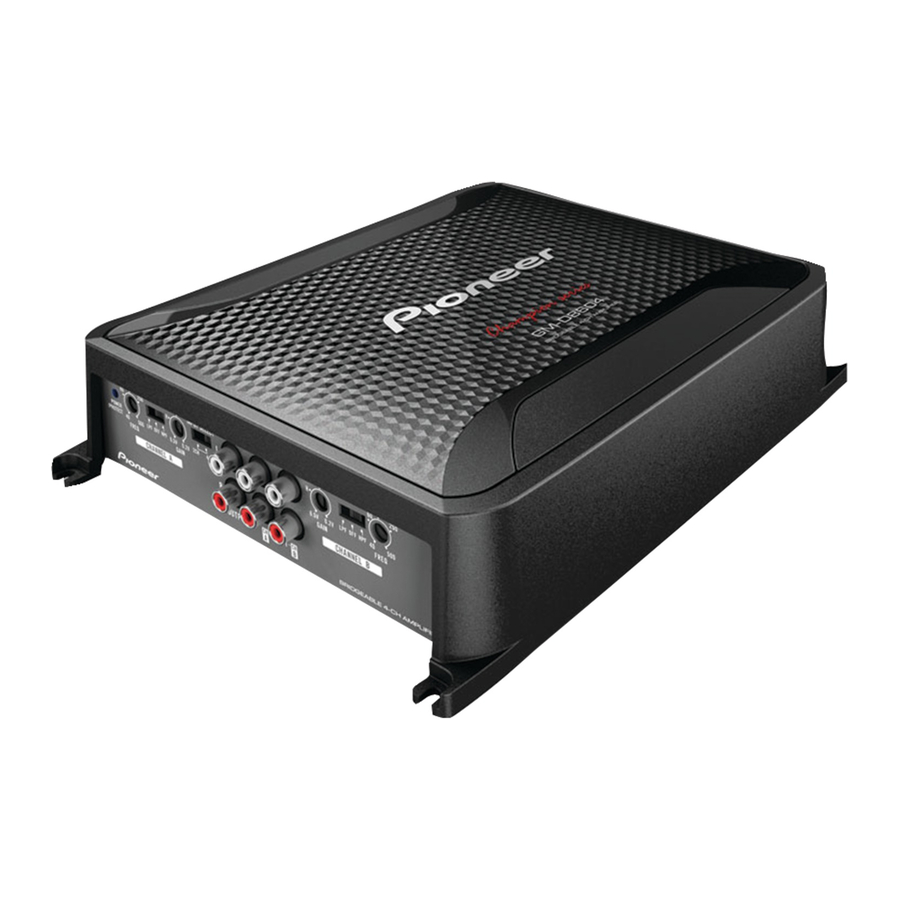
- Page 1 BRIDGEABLE FOUR-CHANNEL POWER AMPLIFIER GM-D8604 Owner’s Manual...
-
Page 2: Before You Start
Section Before you start If you experience problems Thank you for purchasing this PIONEER product Should this product fail to operate properly, please contact your dealer or nearest author- To ensure proper use, please read through this ized Pioneer Service Station. -
Page 3: Before Connecting/ Installing The Amplifier
Section Before you start ! Always install the amplifier on a flat surface. BE SURE TO OBSERVE THE FOLLOWING GUIDELINES: Do not install the amplifier on a surface that ! Do not turn up the volume so high that you is not flat or on a surface with a protrusion. - Page 4 Section Before you start — If the temperature inside the amplifier gets too high. — If a DC voltage is applied to the speaker output terminal. ! The POWER/PROTECT indicator will turn red and the output will be muted in the situations outlined below.
-
Page 5: Setting Gain Properly
! When outputting high volume sound etc., nel A) and CHANNEL B (channel B) helps this function cuts off the output for a few align the car stereo output to the Pioneer seconds as a normal function, but output amplifier. Default setting is the NORMAL is restored when the volume of the head position. - Page 6 ! Despite correct volume and gain settings, the unit sound still cuts out periodically. In such cases, please contact the nearest authorized Pioneer Service Station. Gain control of this unit Preout level: 2 V (Standard: 500 mV) Preout level: 4 V Above illustration shows NORMAL gain set- ting.
-
Page 7: Connection Diagram
Section Connecting the units 7 Car stereo with RCA output jacks (sold sepa- Connection diagram rately) 8 External output If only one input plug is used, do not connect anything to RCA input jack B. 9 Connecting wire with RCA pin plugs (sold se- parately) a RCA input jack A b RCA input jack B... -
Page 8: About Bridged Mode
! Never shorten any wires, the protection circuit tion procedure. may malfunction. ! For any further enquiries, contact your local ! Never wire the speaker negative cable directly- authorized Pioneer dealer or customer to ground. service. ! Never band together multiple speaker’s nega- tive cables. -
Page 9: Connecting The Speakers
Section Connecting the units Connecting the speakers Two-channel output (Mono) The speaker output mode can be four-channel, three-channel (stereo and mono) or two-chan- nel (stereo or mono). Connect the speaker leads based on the mode and the figures shown below. Four-channel output 1 Speaker output (Mono) Three-channel output... -
Page 10: Connections When Using The Speaker Input Wire
Section Connecting the units 2 Connecting wire with RCA pin plugs (sold se- Four-channel / Three-channel output ! Slide INPUT SELECT (input select) switch parately) 3 From car stereo (RCA output) to 4CH position. 4 INPUT SELECT (input select) switch (2CH position) Connections when using the speaker input wire... -
Page 11: Solderless Terminal Connections
Section Connecting the units ! This amplifier automatically selects an input Battery wire and ground wire size signal mode between the RCA level and the Wire length Wire size speaker level by detecting an input signal. less than 4.5 m (14 ft. 9 in.) 8 AWG less than 7.2 m (23 ft. -
Page 12: Connecting The Speaker Output Terminals
Section Connecting the units Use wire cutters or a utility knife to Connecting the speaker output strip the end of the battery wire, ground terminals wire and system remote control wire to ex- Use wire cutters or a utility knife to pose about 10 mm (3/8 in.) of the end of strip the end of the speaker wires to ex- each of the wires, and then twist the ex-... -
Page 13: Before Installing The Amplifier
Section Installation Before installing the amplifier Example of installation on the floor mat or chassis WARNING ! To ensure proper installation, use the supplied Place the amplifier in the desired instal- lation location. parts in the manner specified. If any parts Insert the supplied tapping screws (4 mm ×... -
Page 14: Additional Information
Gain control: RCA ........200 mV to 6.5 V Speaker ......0.8 V to 16 V Maximum input level / impedance: RCA ........6.5 V / 25 kW Speaker ......16 V / 12 kW CAR AUDIO SYSTEMS PIONEER CAR STEREOS...