
Related Manuals for Ryobi RESV1300


Summary of Contents for Ryobi RESV1300
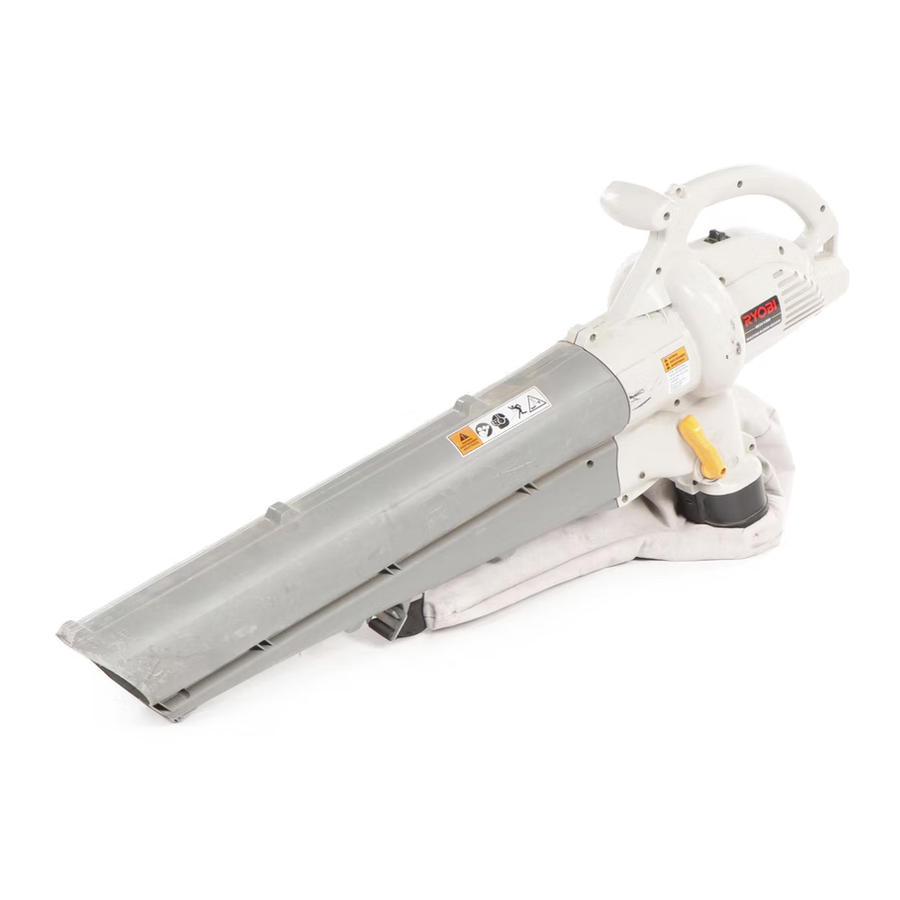
- Page 1 RESV1300 ELECTRIC MULCHINATOR BLOWER / VACUUM OPERATOR’S MANUAL FOR QUESTIONS, CALL 1-800-345-8746 in U.S. or 1-800-265-6778 in CANADA www.ryobi.com IMPORTANT MANUAL DO NOT THROW AWAY...
-
Page 2: Table Of Contents
© Copyright 1999 Ryobi Outdoor Products, Inc. G. Operating the Unit as a Vacuum ... . . 13 H. Operating as a Vacuum ....12-13 All Rights Reserved. -
Page 3: Rules For Safe Operation
RULES FOR SAFE OPERATION DANGER: The purpose of safety symbols is to attract your attention to possible dangers. The safety symbols, Failure to obey a safety warning will result in and their explanations, deserve your careful attention serious injury to yourself or to others. Always and understanding. - Page 4 RULES FOR SAFE OPERATION • Use only extension cords approved for outdoor use, • Children and teens under the age of 15 must not use such as an extension cord of cord type SW-A, SOW- the unit, except for teens guided by an adult. A, STW-A, STOW-A, SJW-A, SJOW-A, SJTW-W or •...
-
Page 5: Safety And International Symbols
• Use only genuine replacement parts approved by extension cords periodically and replace if damaged. Ryobi when servicing this unit. See servicing of Keep handles dry, clean, and free from oil and grease. double-insulated units in the maintenance and repair section, page 14. -
Page 6: Know Your Unit
RULES FOR SAFE OPERATION SYMBOL MEANING • KEEP BYSTANDERS AWAY WARNING: Keep all bystanders, especially children and pets, at least 50 feet (15 m) from the operating area. • BLOWER/VACUUM MODE CHANGE-OVER LEVER A - Vacuum mode B - Blower mode •... -
Page 7: Assembly Instructions
ASSEMBLY INSTRUCTIONS ATTACHING AND REMOVING THE Removing BLOWER/VACUUM TUBE NOTE: It may be necessary to remove the Blower/Vacuum Tube to clear a blocked tube WARNING: To avoid serious personal injury, or impeller. the blower/vacuum tube and vacuum bag must be used when operating this unit WARNING: To avoid serious personal injury, be sure the unit is in the off position and Attaching... -
Page 8: Attaching And Removing The Vacuum Bag
ASSEMBLY INSTRUCTIONS ATTACHING AND REMOVING THE VACUUM Removing NOTE: It is necessary to remove the Vacuum Bag to empty and clean the bag. Attaching NOTE: The Vacuum Bag comes un assembled on this 1. Press the latching tabs on both sides of the vacuum unit. -
Page 9: Installing And Adjusting The Shoulder Strap
ASSEMBLY INSTRUCTIONS INSTALLING AND ADJUSTING THE SHOULDER 5. Place the strap over your head and onto your STRAP shoulder (Fig. 9). 1. Push the strap through the center of the buckle. 2. Pull the strap over the cross bar and down through the slot in the buckle (Fig. -
Page 10: Operating Instructions
OPERATING INSTRUCTIONS CONNECTING THE POWER CORD STARTING AND STOPPING THE BLOWER/VAC Use a minimum 25 foot (7.6 m.) long, 16AWG, outdoor This unit is equipped with a three way OFF/LOW/HIGH electrical cord when using this unit. Other sizes include: switch (Fig. 13). Cord length (ft) •... -
Page 11: Holding The Blower/Vacuum
OPERATING INSTRUCTIONS HOLDING THE BLOWER/VACUUM AIR VENTS Never cover air vents. Keep them free from obstructions Before operating the unit, stand in the operating position and debris. They must always remain clear for proper (Fig. 14). Check for the following: motor cooling (Fig. -
Page 12: Operating The Unit As A Blower
OPERATING INSTRUCTIONS OPERATING AS A BLOWER Use the blower around buildings and for other normal cleaning (Fig. 18). Set the blower/vacuum mode change-over lever to the up position (Blower Mode) (Fig. 16). NOTE: Never use the unit with the lever in the halfway position. -
Page 13: Operating The Unit As A Vacuum
OPERATING INSTRUCTIONS OPERATING AS A VACUUM Empty the Vacuum Bag Set the blower/vacuum mode change-over lever to the WARNING: To avoid serious personal injury, down position (Vacuum Mode) (Fig. 20). be sure the unit is in the off position and unplugged before unzipping or removing the NOTE: Never use the unit with the lever in the halfway vacuum bag. -
Page 14: Maintenance And Repair Instructions
MAINTENANCE AND REPAIR INSTRUCTIONS CLEANING THE VACUUM BAG WARNING: To avoid serious personal injury, be sure the unit is off and 1. Empty the bag after each use to avoid deterioration unplugged before cleaning or performing any and obstructing air flow, which will reduce the maintenance on it. -
Page 15: Specifications
SPECIFICATIONS Motor Amperage ..............12 Amps Blower Air Output . -
Page 16: Warranty
This warranty gives you specific legal rights, and you the RYOBI Operator’s Manual. This warranty does not may also have other rights which vary from state to apply to any damage to the RYOBI Product that is the state. result of improper maintenance or to any RYOBI...