Panasonic CY-VHD9401N Installation Instructions Manual
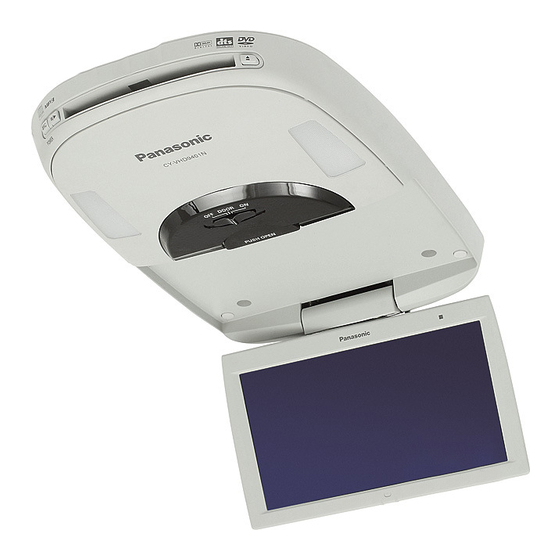
Overhead 9" widescreen color lcd monitor with built-in dvd player
Hide thumbs
Also See for CY-VHD9401N:
- Installation instructions manual (41 pages) ,
- Operating instructions manual (30 pages)
Table of Contents
Advertisement
Quick Links
Overhead 9q Widescreen Color LCD Monitor with Built-in DVD Player
≥ Please read these instructions carefully before using this product and keep this manual for future reference.
≥ Bitte lesen Sie diese Bedienungsanleitung vor der Verwendung dieses Produktes aufmerksam durch und bewahren Sie sie
danach für spätere Nachschlagzwecke sorgfältig auf.
≥ Prière de lire ces instructions attentivement avant d'utiliser le produit et garder ce manuel pour l'utilisation ultérieure.
≥ Leest u deze instructie alstublieft zorgvuldig door voor u dit product in gebruik neemt en bewaar deze handleiding voor
later gebruik.
≥ Läs igenom denna bruksanvisning noga innan produkten tas i bruk. Spara bruksanvisningen för framtida behov.
≥ Si prega di leggere attentamente queste istruzioni prima di usare questo prodotto e di conservare questo manuale per usi futuri.
≥ Lea con atención estas instrucciones antes de utilizar el producto y guarde este manual para poderlo consultar en el futuro.
≥ Læs venligst denne brugsvejledning grundigt, inden dette produkt tages i brug og gem den til senere konsultation.
CY-VHD9401N
Installation Instructions
Einbauanleitung
Instructions d'installation
Installatiehandleiding
Monteringsanvisningar
Istruzioni per l'installazione
Instrucciones de instalación
Installationsanvisninger
Advertisement
Table of Contents

Related Manuals for Panasonic CY-VHD9401N


Summary of Contents for Panasonic CY-VHD9401N
- Page 1 Overhead 9q Widescreen Color LCD Monitor with Built-in DVD Player CY-VHD9401N Installation Instructions Einbauanleitung Instructions d’installation Installatiehandleiding Monteringsanvisningar Istruzioni per l’installazione Instrucciones de instalación Installationsanvisninger ≥ Please read these instructions carefully before using this product and keep this manual for future reference.
-
Page 2: Safety Information
Using the bolts, nuts and screws of the car’s Panasonic shall have no liability for reduction in safety or any accident caused by installing this wire it for you. safety equipment (steering and brake systems, product. -
Page 3: Table Of Contents
≥ Gripping the bulb with too much force may the vehicle. Shock, impact, vibration or main unit weight in this situation would be extremely break it. Wear fi ngerstalls or use some other dangerous. anti-slip method when replacing it. CY-VHD9401N CY-VHD9401N... -
Page 4: Before Installation
≥ If the display unit cannot be locked, be sure to consult your dealer and remedy the situation. CY-VHD9401N CY-VHD9401N... -
Page 5: Installation Guide
≥ Various settings that have been stored in the memory in other on-board equipment (car navigation etc.) may be lost if the battery CY-VHD9401N terminals are disconnected. Therefore, we recommend to make a record of or to back up the settings before disconnecting the terminals. -
Page 6: Installation
3 Base plate Shock, impact, vibration or main unit weight in this situation would be extremely dangerous. ≥ Do not use self-tapping screws to attach the base plate. CY-VHD9401N CY-VHD9401N... -
Page 7: Attachment Example (Without The Under Cover)
(page 46, 47). Note: ≥ Depending on the type of vehicle, there may be differences in the gap between the headliner CY-VHD9401N and the main unit. For gaps, adjust the under cover and screw as necessary. 2 Under cover... - Page 8 4), and be absolutely sure that Failure to heed this caution may result in Screw (option) a 6 the screws are not loose after fastening. an accident and/or injury. CY-VHD9401N CY-VHD9401N...
- Page 9 If some space is required between the base plate and the unit, attach and adjust the under cover (page 40). For details on installing the under cover, consult your dealer. CY-VHD9401N CY-VHD9401N...
- Page 10 Where the wires emerge Caution: in the rear seat side 8 Cord clamp ≥ Wires are never to be hit by the screws (at 1 position) or pinched between the plates. CY-VHD9401N CY-VHD9401N...
-
Page 11: Electrical Connections
NEGA (White) NEGA SWITCH SWITCH SWITCH Video control lead VIDEO-CONT DOOR DOOR DOOR To the video control lead of the Panasonic DVD (Green/yellow stripe) POSI POSI (White) SWITCH SWITCH SWITCH changer (CX-DH801N, option). (Black) (Black) Remote-out cord... -
Page 12: Wiring Diagram (Recommended System)
REMOTE-OUT REMOTE-IN By performing this connection, remote control R (red) (yellow) (Black) signals can be received by this unit (CY-VHD9401N). L (white) (Do not connect the remote control signal receiver supplied with CX-DH801N when this connection VIDEO-CONT has been performed.) -
Page 13: Wiring Diagram (Advanced System)
≥ Make sure that the cable is not strained when R (red) option) ≥ Stereo/mono power amplifi er (option) it is connected. CY-VHD9401N ≥ Do not bend the cable sharply. ≥ 4 channel power amplifi er (option) ≥ Subwoofer (option) ≥ Center speaker (EAB-CF2, option) 25 mm or more ≥... - Page 14 Matsushita Electric Industrial Co., Ltd. Web Site: http://www.panasonic.co.jp/global/ YEFM293998 F0205-0 Printed in Taiwan...