Table of Contents
Advertisement
Quick Links
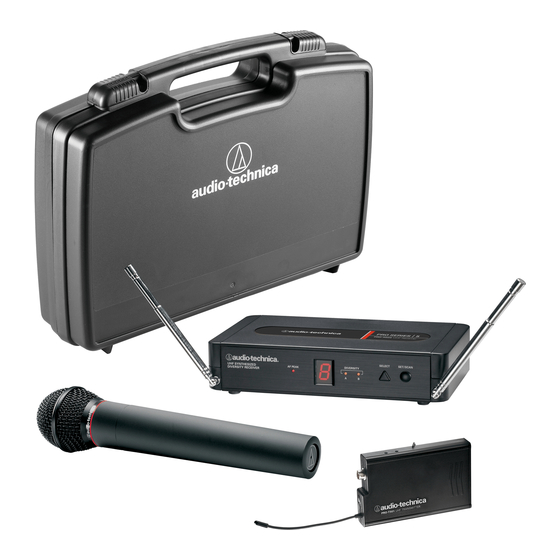
Pro Series 5
UHF Wireless Systems
Installation and Operation
PRO-501
UniPak
Transmitter System
®
PRO-501/G
Guitar System
PRO-501/H
Headworn Microphone System
PRO-501/H92
Miniature Headworn Microphone System
PRO-501/H92-TH
Miniature (beige) Headworn Microphone System
PRO-501/L
Lavalier Microphone System
PRO-502
Handheld Microphone System
Advertisement
Table of Contents

Related Manuals for Audio Technica Pro Series 5


Summary of Contents for Audio Technica Pro Series 5
- Page 1 Pro Series 5 UHF Wireless Systems Installation and Operation PRO-501 UniPak Transmitter System ® PRO-501/G Guitar System PRO-501/H Headworn Microphone System PRO-501/H92 Miniature Headworn Microphone System PRO-501/H92-TH Miniature (beige) Headworn Microphone System PRO-501/L Lavalier Microphone System PRO-502 Handheld Microphone System...
-
Page 2: Receiver Installation
The eight channels (operating frequencies) will void the warranty, and may cause improper operation. that are used in the Pro Series 5 have been selected for multi-channel compatibility. Subject to frequency availability in a particular geographic Notice to individuals with implanted cardiac pacemakers or area, any of these eight channels may be used together. -
Page 3: Receiver Controls And Functions
Pro Series 5 Installation and Operation Receiver Controls and Functions Figure A — Front Panel Controls and Functions 1. ANTENNAS: Position the antennas as shown in Figure A Fully 6. SET/SCAN BUTTON: The Set/Scan button can be used in two extend both antennas by pulling on the endcaps. - Page 4 Pro Series 5 Installation and Operation Transmitter Setup, Controls and Functions Battery Selection and Installation Two alkaline AA batteries are recommended. When inserting the battery, observe correct polarity as marked inside the battery compartment. Trim Control Channel Selector Switch (Volume)
- Page 5 Pro Series 5 Installation and Operation Screwdriver Transmitter Door RF Power Instrument Trim Select Switch Control (Volume) Transmitter Door Channel Selector Microphone Trim (Open Positon) Switch Control (Volume) Transmitter Door Catch Figure D — UniPak Transmitter ® UniPak Transmitter Battery Installation ®...
-
Page 6: System Operation
Return the screwdriver to its storage clip when not in use. PRO-T502 Handheld Transmitter The Pro Series 5 handheld transmitter trim (volume) control (Fig. C on page 4) has factory pre-set audio input levels. Factory setting is full clockwise, maximum gain. - Page 7 Pro Series 5 Installation and Operation 6. For MIC: While again speaking/singing into the microphone at 10. Turn the transmitter off when not in use. Remove the battery if the transmitter is not to be used for a period of time. Unplug the typically loud levels, adjust the mixer’s input trim control so the...
-
Page 8: Specifications
Pro Series 5 Installation and Operation Specifications OvERALL SySTEm UnIPAk TRAnSmITTER ® RF Power Output High: 10 mW; Low: 5 mW UHF Operating Frequency 542.125 MHz to 561.250 MHz Spurious Emissions Under Federal Regulations Number of Channels Dynamic Range >100 dB, A-weighted Frequency Stability ±0.005%, Phase Lock Loop Frequency...