Chamberlain ELITE Series User Manual
Hide thumbs
Also See for ELITE Series:
- Owner's manual (72 pages) ,
- Setup and operation manual (60 pages) ,
- User manual (36 pages)
Table of Contents
Advertisement
Write down the following information
for future reference:
Serial Number:
Date of Purchase:
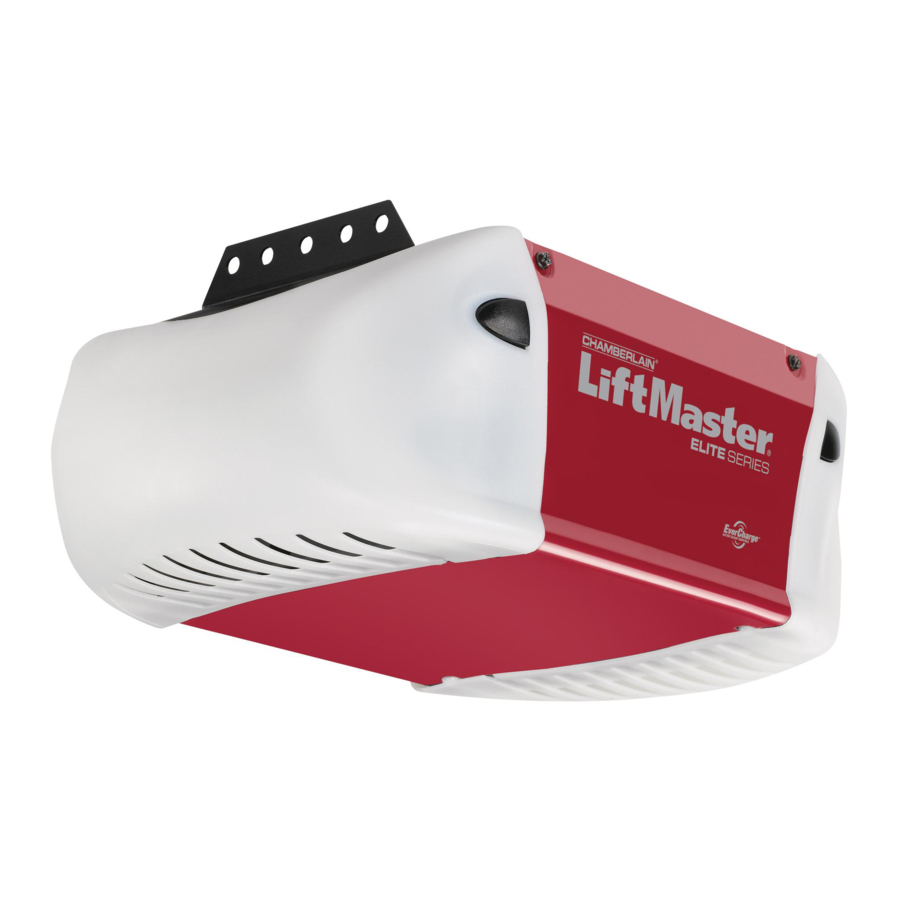
ELITE Series Garage Door Opener
Users Guide
FOR RESIDENTIAL USE ONLY
■ Please read this guide and the enclosed safety materials carefully!
■ The door WILL NOT CLOSE unless the Protector System
aligned.
■ Periodic checks of the garage door opener are required to ensure safe operation.
■ This garage door opener is ONLY compatible with MyQ™ and Security✚ 2.0
accessories.
■ DO NOT enable the Timer-to-Close feature if you are installing the garage door opener
on a one-piece door. The Timer-to-Close is to be used ONLY with sectional doors.
Leave this Users Guide with the homeowner.
®
is connected and properly
CONTACT INFORMATION
Contents
Important Safety Instructions ......... 2-3
Operation....................................4
Using the Door Control ................5
Programming - Door Control Panel .6
To Erase the Memory ..................7
To Open the Door Manually ..........8
Battery Backup* ........................8
Adjustment ..................................9
Program the Travel .................. 10
Maintenance .............................. 12
TM
Troubleshooting ...................... 13-14
Repair Parts .............................. 15
Warranty .................................. 16
The Chamberlain Group, Inc.
Elmhurst, Illinois 60126-1196
®
........ 11
www.liftmaster.com
845 Larch Avenue
*If applicable.
Advertisement
Table of Contents

Related Manuals for Chamberlain ELITE Series


Summary of Contents for Chamberlain ELITE Series
-
Page 1: Table Of Contents
Contents ELITE Series Garage Door Opener Important Safety Instructions ..2-3 Operation........4 Users Guide Using the Door Control ....5 Programming - Door Control Panel .6 Programming - Remote Controls ..7 FOR RESIDENTIAL USE ONLY To Erase the Memory ....7 To Open the Door Manually ..8 ■... - Page 2 They could be caught in garage door or ONLY when operating a sectional door. comply with the cautionary statements that opener mechanisms. accompany it. Read them carefully. SAVE THESE INSTRUCTIONS. NOTE: For complete installation instructions visit www.liftmaster.com to print the entire owner’s manual.
-
Page 3: Important Safety Instructions
Important Safety Instructions IMPORTANT SAFETY INSTRUCTIONS WARNING WARNING To reduce the risk of SEVERE INJURY or DEATH: 10. Safety reversal system MUST be tested every month. Garage 1. READ AND FOLLOW ALL WARNINGS AND INSTRUCTIONS. door MUST reverse on contact with 1-1/2" high (3.8 cm) 2. -
Page 4: Operation
For added control over the light bulbs on your garage door opener, see page 6. codes. Compatible with MyQ™ and Security✚ 2.0™. USING YOUR GARAGE DOOR OPENER NOTE: Older LiftMaster remote controls, door controls, and third party products are not compatible. The garage door opener can be activated through a wall-mounted door control, remote control, wireless keyless entry or MyQ™... -
Page 5: Using The Door Control
Operation The following features are accessible through the screen using the navigation buttons. Using the Door Control LEARN A DEVICE SMART CONTROL PANEL Any compatible remote controls, wireless keyless entry, or MyQ™ accessories can be programmed to the garage door opener by accessing the menu and using the navigation buttons on the Smart Control Panel. - Page 6 Operation Programming - Smart Control Panel* Features How to Set Features: Use the navigation buttons to scroll to the menus. Use the button to select the desired feature. Clock Setup Set the time, choose 12 or 24 hour clock and show/hide clock. Timer to Close Set the Timer-to-Close feature off/on and set the time interval (1, 5, 10 (TTC)
-
Page 7: Programming - Remote Controls
Programming - Remote Controls Your garage door opener has been programmed at the factory to operate with your remote control. Older LiftMaster remote controls are NOT compatible. Programming can be done through the door control or the Learn button on the garage door opener. To program additional remote controls refer to the instructions provided with the additional remote controls or visit ®... -
Page 8: To Open The Door Manually
Operation To Open the Door Manually DISCONNECT THE TROLLEY The door should be fully closed if possible. Pull down on the emergency release handle. To prevent possible SERIOUS INJURY or DEATH from a falling garage door: RECONNECT THE TROLLEY • If possible, use emergency release handle to disengage trolley ONLY when garage door is CLOSED. -
Page 9: Adjustment
Adjustment Introduction Your garage door opener is designed with electronic controls to make setup and adjustments easy. The adjustments allow Without a properly installed safety you to program where the door will stop in reversal system, persons (particularly the open (UP) and close (DOWN) position. DOWN (Close) UP (Open) small children) could be SERIOUSLY... -
Page 10: Program The Travel
Adjustment Program the Travel Without a properly installed safety reversal system, persons (particularly small children) could be SERIOUSLY INJURED or KILLED by a closing garage door. • Incorrect adjustment of garage door travel limits will interfere with proper operation of safety reversal system. •... -
Page 11: Test The Safety Reversal System
Adjustment Test the Safety Reversal System If the door stops and does not reverse With the door fully open, place Press the remote control push on the obstruction, the travel need to be a 1-1/2 inch (3.8 cm) board button to close the door. The door adjusted (refer to Adjustment Step 1). -
Page 12: Maintenance
Maintenance The Remote Control Battery EVERY MONTH • Manually operate door. If it is unbalanced or binding, call a trained door systems technician. • Check to be sure door opens and closes fully. Adjust if necessary, see page 10. • Test the safety reversal system. Adjust if necessary, see page 11. To prevent possible SERIOUS INJURY or DEATH: EVERY YEAR •... -
Page 13: Troubleshooting
Troubleshooting Diagnostic Chart Your garage door opener is programmed with self-diagnostic capabilities. The UP and DOWN arrows on the garage door opener will fl ash the diagnostic codes. DIAGNOSTIC CODE SYMPTOM SOLUTION Up arrow Down arrow Flash(es) Flash(es) The garage door opener will not close and the light Safety sensors are not installed, connected, or wires may be cut. - Page 14 • Garage door opener has been activated through a device or feature such as Timer-to-Close, detects movement in the garage. These features can be disabled using the door control, see garage door monitor or LiftMaster Internet Gateway, see page 4. page 6.
-
Page 15: Repair Parts
Repair Parts PART DESCRIPTION NOTE: For additional parts not shown, visit www.liftmaster.com to download or print NUMBER the full owner’s manual. 1 Light Lens 41A7562 2 Receiver Logic Board - Model 8550 45DCT 3 Travel Module - Model 8550 41A7114-7... -
Page 16: Warranty
Warranty LIFTMASTER FIVE YEAR LIMITED WARRANTY LIFETIME MOTOR AND BELT* LIMITED WARRANTY ONE YEAR LIMITED WARRANTY FOR BATTERY BACKUP SYSTEM* The Chamberlain Group, Inc. (“Seller”) warrants to the first retail purchaser of this product, for the residence in which this product is originally installed, that it is free from defects in...