
Related Manuals for Westinghouse WIM1000


Summary of Contents for Westinghouse WIM1000
-
Page 1: User Manual
USER MANUAL Bar Fridges with ice Box, all reFrigerators and Upright Freezers wiM1000 wiM1200 wrM1300 wrM2400 wFM0700 wFM0900 wFM1800... -
Page 1: User Manual
USER MANUAL Bar Fridges with ice Box, all reFrigerators and Upright Freezers wiM1000 wiM1200 wrM1300 wrM2400 wFM0700 wFM0900 wFM1800... -
Page 2: Table Of Contents
• Bed and Breakfast type environments Freezer operation ..................12 reversing the ice box door opening direction ..........13 record model and serial number here: reversing the door opening direction wiM1000 & wFM0700 ....14 Model: ....................reversing the door opening direction wiM1200, wrM1300, wrM2400, serial number: .................. -
Page 3: Important Safety Instructions
iMpoRtANt SAfEtY iNStRUctioNS Meanings of symbols used in this manual are shown below: WARNING warning • If pressurised aerosol containers bear the word This symbol indicates never to do this ‘flammable’ and/or a small flame symbol, do not store them inside any refrigerator or This symbol indicates always do this freezer. -
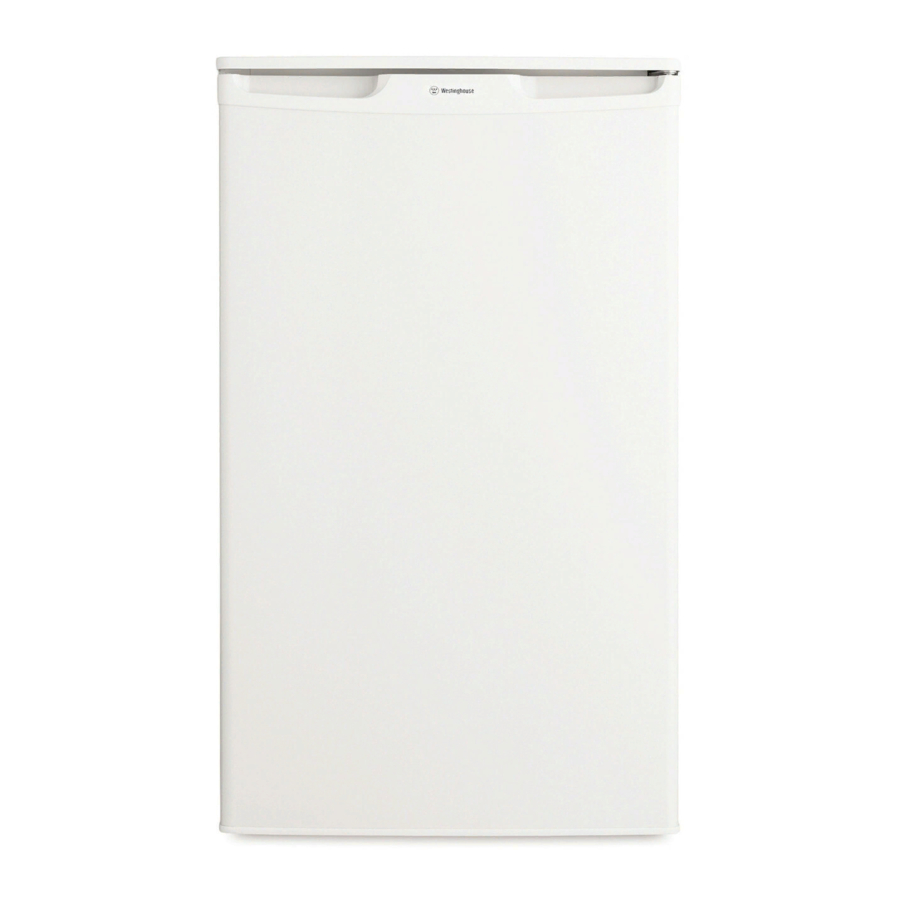
Page 4: Bar Refrigerator With Ice Box Features
BAR REfRigERAtoRS witH icE BoX fEAtURES WIM1000 WIM1200 Ice box door Light lens 17 Door bin Light switch 10 Control knob 18 Plastic door strap Ice box 11 Glass shelf 19 Metal door strap 12 Wine rack 20 Egg tray... -
Page 4: Bar Refrigerator With Ice Box Features
BAR REfRigERAtoRS witH icE BoX fEAtURES WIM1000 WIM1200 Ice box door Light lens 17 Door bin Light switch 10 Control knob 18 Plastic door strap Ice box 11 Glass shelf 19 Metal door strap 12 Wine rack 20 Egg tray... -
Page 5: Bar Refrigerator Without Ice Box Features
BAR REfRigERAtoRS witHoUt icE BoX fEAtURES WRM1300 Control knob Levelling leg Light lens Door bin cover/lid Wire shelf 10 Door bin Light switch 11 Egg tray Drain hole 12 Door gasket/seal Glass crisper cover 13 Door bin bottom Crisper Features may vary depending on model. Not all models will have features listed. accessories FeatUres... -
Page 6: Single Door Refrigerator Features
SiNgLE dooR ALL REfRigERAtoR fEAtURES WRM2400 Control knob Crisper Light lens Levelling leg Fan and housing 10 Door bin cover/lid Light switch 11 Door bin Wire shelf 12 Egg tray Drain hole 13 Door gasket/seal Glass crisper cover 14 Door bin bottom Features may vary depending on model. -
Page 7: Bar Freezer Features
NORMAL BAR fREEZER fEAtURES NORMAL WFM0700 WFM0900 Temperature control Door gasket/seal Freezer bin Ice tray Bottom freezer bin Ice bin Levelling legs Features may vary depending on model. Not all models will have features listed. FeatUres... -
Page 7: Bar Freezer Features
NORMAL BAR fREEZER fEAtURES NORMAL WFM0700 WFM0900 Temperature control Door gasket/seal Freezer bin Ice tray Bottom freezer bin Ice bin Levelling legs Features may vary depending on model. Not all models will have features listed. FeatUres... -
Page 8: Single Door Freezer Features
SiNgLE dooR fREEZER fEAtURES WFM1800 illustrated Control knob Ice tray Freezer bin Ice bin Freezer bin bottom Door gasket Levelling leg Features may vary depending on model. Not all models will have features listed. WFM1800SC has grey outer cabinet. Refrigerator door is stainless steel. WFM1800WC has white cabinet and door. -
Page 9: Installing Your New Refrigerator
iNStALLiNg YoUR NEw AppLiANcE 1. Move the appliance into its final position. AdEqUAtE vENtiLAtioN ARoUNd YoUR REfRigERAtoR Before you move your appliance into the place where it will 2. If the appliance is not tilting back as described earlier, minor operate, check that it will have adequate clearance. -
Page 10: Refrigerator Operation
This product is designed to operate on a power supply of 220/240 volts 50Hz. Connect to a separate Adjusting the control knobs of WIM1000 amd WIM1200 power point with a correctly earthed three pin socket. will adjust the temperature in both the fridge and freezer Do not use double adaptors. -
Page 11: Ice Box Models-Wim1000 & Wim1200
4mm. This compartment should be de-iced at least once a year regardless of the thickness of the frost. Model WIM1000 has the added feature of a drip tray to collect the water. When de-icing, a scraper or plastic utensil may be used. -
Page 11: Ice Box Models-Wim1000 & Wim1200
4mm. This compartment should be de-iced at least once a year regardless of the thickness of the frost. Model WIM1000 has the added feature of a drip tray to collect the water. When de-icing, a scraper or plastic utensil may be used. -
Page 12: Freezer Operation
iNitiAL StARt-Up Your freezer was cleaned and polished before it left the factory. coNtRoLS Before use, dust and wipe over inside and out using a clean The temperature control is located on top of the front right hand NORMAL dry cloth. side of the cabinet on Models WFM0900 and WFM1800. -
Page 13: Reversing The Ice Box Door Opening Direction
REvERSiNg icE BoX dooR opENiNg diREctioN –ModEL wiM1200 Insert the node on the top of the door into the hinging hole If the position your fridge occupies would be better suited to a in the top of the fridge liner. reverse opening arrangement, carefully follow these diagrams and instructions. -
Page 14: Reversing The Door Opening Direction Wim1000 & Wfm0700
REvERSiNg tHE dooR opENiNg diREctioN – ModELS wiM1000 & wfM0700 • Use a flat blade screwdriver to remove the 2 covers at the rear of the lid. In these examples the operation is changed from right side hinging to left side hinging. -
Page 14: Reversing The Door Opening Direction Wim1000 & Wfm0700
REvERSiNg tHE dooR opENiNg diREctioN – ModELS wiM1000 & wfM0700 • Use a flat blade screwdriver to remove the 2 covers at the rear of the lid. In these examples the operation is changed from right side hinging to left side hinging. -
Page 15: Wfm0900 & Wfm1800
• Use a flat blade screwdriver to remove the 2 covers at the REvERSiNg tHE dooR opENiNg diREctioN rear of the lid. – ModELS wiM1200, wRM1300, wRM2400, • Unscrew and lift the lid from the rear to remove. wfM0900 & wfM1800 •... -
Page 15: Wfm0900 & Wfm1800
• Use a flat blade screwdriver to remove the 2 covers at the REvERSiNg tHE dooR opENiNg diREctioN rear of the lid. – ModELS wiM1200, wRM1300, wRM2400, • Unscrew and lift the lid from the rear to remove. wfM0900 & wfM1800 •... -
Page 16: Lamp Replacement
LAMp REpLAcEMENt –ModELS wiM1200, LAMp REpLAcEMENt–ModEL wiM1000 wRM1300 & wRM2400 1. Switch off the power at the power point and remove the cord by pulling the plug. The reversing of doors or replacement of light bulbs is not 2. Slide out the drip tray from beneath the ice box. -
Page 17: General Information
gENERAL iNfoRMAtioN cLEANiNg tHE REfRigERAtoR ALwAYS do tHiS Check the power point is properly earthed – if you are not WARNING warning sure get an electrician to check it. BEFORE CLEANING: Turn the refrigerator off at the power point Switch off and unplug the refrigerator at the power point and unplug the cord to prevent any chance of electrocuting yourself. -
Page 18: Troubleshooting
wHAt to do BEfoRE cALLiNg foR SERvicE pRoBLEM SoLUtioN pRoBLEM SoLUtioN Refrigerator is not • Check that the power cord is plugged into When the motor It is normal to frequently hear the sound of the power outlet properly and that the outlet seems to run more the motor. -
Page 18: Troubleshooting
wHAt to do BEfoRE cALLiNg foR SERvicE pRoBLEM SoLUtioN pRoBLEM SoLUtioN Refrigerator is not • Check that the power cord is plugged into When the motor It is normal to frequently hear the sound of the power outlet properly and that the outlet seems to run more the motor. -
Page 19: Warranty
Warranty FOR SALES IN AUSTRALIA AND NEW ZEALAND APPLIANCE: REFRIGERATION This document sets out the terms and conditions of the product Electrolux authorised representative, the Appliance is transported at the warranties for Electrolux Appliances. It is an important document. owner’s cost and risk while in transit to and from Electrolux or its ASC. Please keep it with your proof of purchase documents in a safe place 6. -
Page 19: Warranty
Warranty FOR SALES IN AUSTRALIA AND NEW ZEALAND APPLIANCE: REFRIGERATION This document sets out the terms and conditions of the product Electrolux authorised representative, the Appliance is transported at the warranties for Electrolux Appliances. It is an important document. owner’s cost and risk while in transit to and from Electrolux or its ASC. Please keep it with your proof of purchase documents in a safe place 6. - Page 20 Top Service encompasses the after sales service provided by The Electrolux Group to consumers including delivery, home service and spare parts. westinghouse. we are part of the Electrolux family. Share more of our thinking at www.electrolux.com Part Number: 1449621 © 2013 Electrolux Home Products Pty Ltd ABN 51 004 762 341...
- Page 20 Top Service encompasses the after sales service provided by The Electrolux Group to consumers including delivery, home service and spare parts. westinghouse. we are part of the Electrolux family. Share more of our thinking at www.electrolux.com Part Number: 1449621 © 2013 Electrolux Home Products Pty Ltd ABN 51 004 762 341...