
Related Manuals for Char-Broil 12601558


Summary of Contents for Char-Broil 12601558
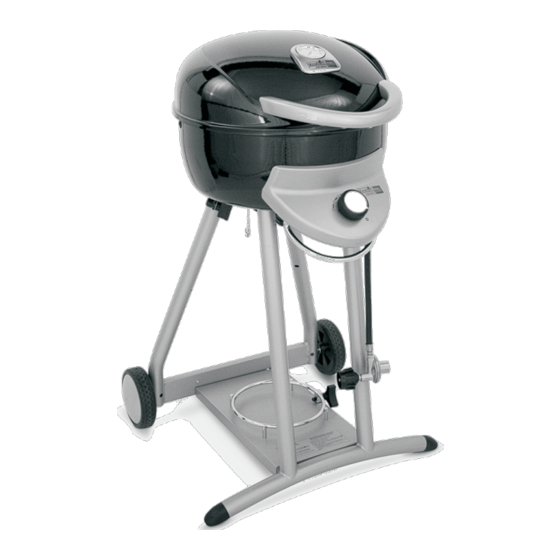
- Page 1 Assembly Guide Model Number: 12601558 12601558-A2 12601579 GAS (LP) (English) © 2011 Char-Broil, LLC • Columbus, GA 31902 • Printed in China • Assembly Instructions © 2011 42804731 • 09/28/2011...
-
Page 2: Assembly Guide
Installer: Leave instructions with the grill. Consumer: Retain instructions for reference. Grill must be installed in accordance with local codes….. Designed for outdoor use only… Read all instructions before operating… TOOLS REQUIRED FOR ASSEMBLY (Not Supplied) Small Adjustable Phillips Head Wrench Screwdriver Visit www.charbroil.com/live... - Page 3 ASSEMBLY GUIDE Grease Tray Guide Assembly Manual, Spanish Assembly Manual, French Product Guide, French Grilling Guide, English Grilling Guide, Spanish, web only Grilling Guide, French Visit www.charbroil.com/live...
- Page 4 After cart assembly, if your cart does not sit level, use these screws to adjust the cart. Axle Nut Axle Bolt 3/8-16 Wheel Retaining Clip install after placing wheel on 1/4-20 Screws the axle. (4 each) Position wheel as shown Visit www.charbroil.com/live...
-
Page 5: Grill Cart Assembly
Lastly, insert the Leg End Caps (A9) into the front legs and secure with 1 each #10x3/8" screw. Ignition Module Bracket #10x3/8" screws 1/4-20x2" screws Place the Lower Body on the carton pad upside down in preparation for the next step. Visit www.charbroil.com/live... -
Page 6: Grill Body Assembly
(B2). Insert 2 Hinge Screws into the holes and secure with 2 to the upright position. 1/4-20 nuts and two Fiber washers from the inside of the grill. Cart Bracket 1/4-20x3/4" Hinge Screws (2 each) Fiber Washer (2 each) 1/4-20 Nuts (2 each) Visit www.charbroil.com/live... - Page 7 Install the Grease Tray (C5) by sliding the tray onto the Grease Tray Rails from the rear of the grill. Note: The grease tray Note: The control Grease knob may be Tray factory assembled Rails Fig. A Grease Tray Rail Stops Visit www.charbroil.com/live...
- Page 8 Cylinder Loosen Tank Retaining Bolt,install cylinder, then tighten. Congratulations! You have successfully completed the assembly of your grill. Prior to using your grill, be sure to follow the leak check instructions found in the Care and Use Guide. Visit www.charbroil.com/live...