Table of Contents
Advertisement
Advertisement
Table of Contents

Related Manuals for Zanussi ZCG551GNC


Summary of Contents for Zanussi ZCG551GNC
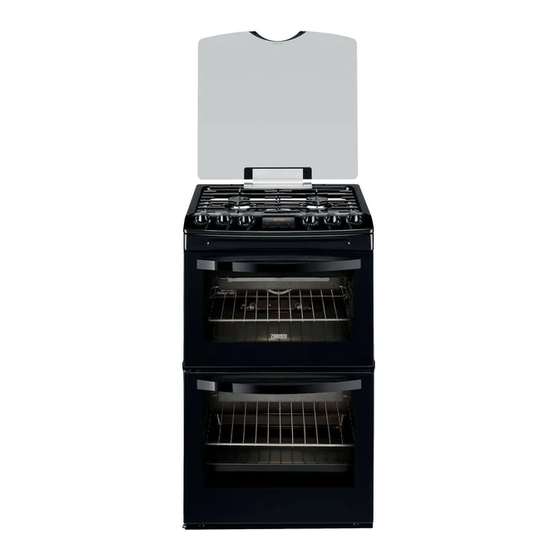
- Page 1 User manual Cooker ZCG551...
-
Page 2: Table Of Contents
It prevents children and ani- rules etc.). mals from accidental operation of the appli- • Be careful when you move the appliance. ance. The appliance is heavy. Always use safety gloves. Do not pull the appliance by the han- dle. www.zanussi.com... - Page 3 • Do not replace or change the mains cable. comes hot during use. There is a risk of Contact the service centre. burns. Do not put metallic objects, for exam- ple cutlery or saucepans lids, on the surface, as they can become hot. www.zanussi.com...
- Page 4 – do not put hot water directly into the appli- • If you use an oven spray, follow the instruc- ance; tions from the manufacturer. Do not spray – do not keep moist dishes and food in the appliance after you finish the cooking. www.zanussi.com...
-
Page 5: Product Description
There is a risk of • Disconnect the appliance from the power suffocation. supply before the replacement of the oven Product description General overview Grill Rating plate Oven lamp Shelf positions of the main oven Shelf positions of the top oven www.zanussi.com... -
Page 6: Before First Use
The main oven only operates after time set. To set the current time use " + " or " - " button. The top oven works without time set. After approximately 5 seconds, the flashing stops and the display shows the time of day set. www.zanussi.com... -
Page 7: Hob - Daily Use
Warning! Do not keep the control knob pushed for more than 15 seconds. If the burner does not light after 15 seconds, release the control knob, turn it into off position and try to light the burner again after minimum 1 minute. www.zanussi.com... -
Page 8: Hob - Helpful Hints And Tips
Oven - Daily use Cooling fan Warning! Refer to "Safety information" chapter. When the appliance operates, the cooling fan switches on automatically to keep the surfaces of the appliance cool. If you switch off the ap- www.zanussi.com... - Page 9 Gas mark 1 - 8 adjustment set the temperature, turn the knob counterclockwise. To grill flat food in the middle of the shelf. To make toast. To Grill activate the grill, turn the knob clockwise. Main Oven Functions The oven has these functions: www.zanussi.com...
-
Page 10: Oven - Clock Functions
Setting the clock functions When the time period is completed, the function indicator flashes and an acoustic signal sounds for 2 minutes. With the functions Duration and End the oven switches off automatically. 3. Push any button to stop the signal. www.zanussi.com... -
Page 11: Oven - Using The Accessories
The temperature and baking times in the Main oven tables are guidelines only. They depend on The main oven is particularly suitable for cook- the recipes, quality and quantity of the ingredi- ing larger quantities of food. ents used. www.zanussi.com... -
Page 12: Tips On Baking
Use a slightly higher oven temperature setting the baking time set Top oven cooking chart Food Shelf position Gas mark Cooking Time (Total Hours) Biscuits 1 - 2 0:10 - 0:20 Small / Queen Cake 1 - 2 0:18 - 0:25 www.zanussi.com... - Page 13 Shelf position Gas mark Cooking Time (Total Hours) Biscuits 1 + 4 0:10 - 0:20 Bread 2 - 3 0:25 - 0:30 Bread rolls/buns 3 - 4 0:15 - 0:20 Small / Queen Cake 1 + 4 0:18 - 0:25 www.zanussi.com...
- Page 14 • Large roasting joints can be roasted directly in the deep roasting pan or on the oven shelf Roasting dishes above the deep roasting pan. (If present) • Use heat-resistant ovenware to roast (please read the instructions of the manufacturer). www.zanussi.com...
- Page 15 • The grilling area is set in centre of the • Grill only flat pieces of meat or fish. shelf. • Make sure that the grilling set or roasting pan is set in middle of www.zanussi.com...
- Page 16 Caution! Do not close the door until the is small evaporation. Adjust flavouring at the large flames come on. end of the cooking time. 6. After 20 minutes turn the main oven control knob to the slow cook setting. www.zanussi.com...
-
Page 17: Oven - Care And Cleaning
It can agent destroy nonstick coating! • Clean the oven interior after each use. Thus you can remove dirt more easily and it does not burn on. • Clean stubborn dirt with a special oven cleaner. www.zanussi.com... - Page 18 The number of glasses can be different. Removing the glass: 1. Open the door. 2. Push the door trim at both sides to release the clips. Refer to the picture. 3. Remove the glass panels. www.zanussi.com...
-
Page 19: What To Do If
Make sure that the burner cap and the gas. uneven. crown are in correct positions. The flame is blow out immediately Thermocouple is not heated suffi- After lightning the flame, keep the after ignition. cient. knob pushed for approximately 5 seconds. www.zanussi.com... - Page 20 The rating plate is on the front tre. frame of the oven cavity. We recommend that you write the data here: Model (MOD.) ......... Product number (PNC) ......... Serial number (S.N.) ......... www.zanussi.com...
-
Page 21: Installation
Mark the position of the wall and this gives anchor point for the stability chain. 180 mm 30 mm Minimal distances Dimension Warning! These instructions are only valid in the countries whose symbols appear on this booklet's cover. Gas Category Gas Supply G20 - 20 mbar www.zanussi.com... -
Page 22: Gas Burners
Important! Use flexible tubing, which comply Pressure test with BS.669 current edition. The Rapid injector is used as a pressure test point. 1. Connect the pressure gauge to the Rapid injector. www.zanussi.com... -
Page 23: Environment Concerns
By ensuring this product where you purchased the product. is disposed of correctly, you will help prevent potential negative consequences for the www.zanussi.com... -
Page 24: Great Britain & Ireland - Guarantee/Customer Service
AEG-Elec- 08445 611 611 • Damage, calls resulting from transport, im- trolux proper use, neglect, light bulbs, removable Zanussi- 08445 612 612 parts of glass, plastic. Electrolux • Costs for calls to put right appliance which is For Customer Service in The Republic of... -
Page 25: Www.electrolux.com
Slavonska avenija 3, 10000 Zagreb Ireland +353 1 40 90 753 Long Mile Road Dublin 12 Italia +39 (0) 434 558500 C.so Lino Zanussi, 26 - 33080 Porcia (PN) Latvija +371 67313626 Kr. Barona iela 130/2, LV-1012, Riga Lietuva +370 5 278 06 03... - Page 26 Electrolux Service, S:t Göransgatan 143, S-105 45 Stockholm Türkiye +90 21 22 93 10 25 Tarlabaşı caddesi no : 35 Taksim İstanbul Россия 8-800-200-3589 129090 Москва, Олимпийский проспект, 16, БЦ "Олимпик" Україна +380 44 586 20 60 04074 Київ, вул.Автозаводська, 2а, БЦ "Алкон" www.zanussi.com...
- Page 27 www.zanussi.com...
- Page 28 www.zanussi.com/shop...