Table of Contents
Advertisement
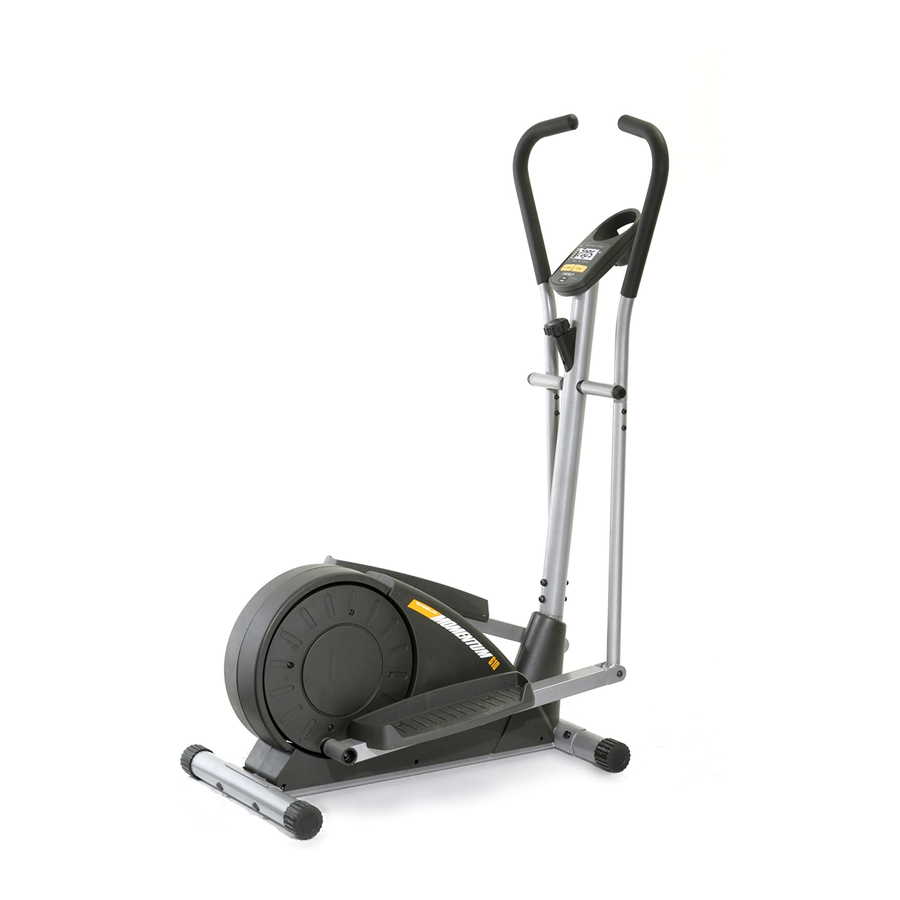
Model No. WLEL1405.1
Serial No.
Serial Number
Decal
QUESTIONS?
As a manufacturer, we are com-
mitted to providing complete
customer satisfaction. If you
have questions, or if a part is
damaged or missing, PLEASE
CONTACT OUR CUSTOMER
SERVICE DEPARTMENT
DIRECTLY.
CALL TOLL-FREE:
1-866-699-3756
Mon.–Fri., 6 a.m.–6 p.m. MST
ON THE WEB:
www.wesloservice.com
CAUTION
Read all precautions and instruc-
tions in this manual before using
this equipment. Keep this manu-
al for future reference.
USER'S MANUAL
Visit our website at
www.weslo.com
new products, prizes,
fitness tips, and much more!
Advertisement
Table of Contents

Related Manuals for Weslo Momentum 610 Elliptical


Summary of Contents for Weslo Momentum 610 Elliptical
- Page 1 Mon.–Fri., 6 a.m.–6 p.m. MST ON THE WEB: www.wesloservice.com CAUTION Visit our website at Read all precautions and instruc- tions in this manual before using www.weslo.com this equipment. Keep this manu- new products, prizes, al for future reference. fitness tips, and much more!
-
Page 2: Table Of Contents
TABLE OF CONTENTS IMPORTANT PRECAUTIONS ..............2 BEFORE YOU BEGIN . -
Page 3: Before You Begin
Congratulations for selecting the new WESLO ® product model number and serial number before call- MOMENTUM 610 elliptical exerciser. The MOMEN- ing. The model number is WLEL1405.1. The serial TUM 610 elliptical exerciser is an incredibly smooth number can be found on a decal attached to the ellip-... -
Page 4: Assembly
ASSEMBLY To hire an authorized service technician to assemble the elliptical exerciser, call toll-free 1-800-445-2480. Assembly requires two persons. Place all parts of the elliptical exerciser in a cleared area and remove the packing materials. Do not dispose of the packing materials until assembly is completed. In addition to the included allen wrenches, assembly requires a Phillips screwdriver , an adjustable wrench... - Page 5 2. While another person lifts the back of the Frame (1), attach the Rear Stabilizer (28) to the Frame with two M10 x 75mm Carriage Bolts (34) and two M10 Nylon Locknuts (33). 3. The Console (23) requires three “AA” batteries (not included);...
- Page 6 6. Identify the Left Handlebar (6), which is marked with a sticker. Insert the Left Handlebar into one of the Handlebar Arms (5); make sure that the Handlebar Arm is turned so the hexagonal holes are on the indicated side. Attach the Left Handlebar to the Handlebar Arm with two M6 x 38mm Button Bolts (50) and two M6 Nylon Locknuts (27).
- Page 7 8. Apply a small amount of grease to the axle on the left Disc Crossbar (16). Slide the Left Pedal Arm (11) onto the axle, and place a Wave Washer (64) on the end of the axle. Next, slide an M10 Washer (35) onto an M10 x 25mm Patch Screw (22), and tighten the Patch Screw into the axle.
-
Page 8: How To Use The Elliptical Exerciser
HOW TO USE THE ELLIPTICAL EXERCISER HOW TO EXERCISE ON THE ELLIPTICAL To dismount the elliptical exerciser, wait until the ped- EXERCISER als come to a complete stop. Note: The elliptical exerciser does not have a free wheel; the pedals To mount the elliptical exerciser, hold the handlebars will continue to move until the flywheel stops. - Page 9 FEATURES OF THE CONSOLE HOW TO OPERATE THE CONSOLE The console features a selection of modes that pro- Make sure there are batteries in the console (see vide instant exercise feedback during your workouts. BATTERY REPLACEMENT on page 11). If there is a The modes are described below.
- Page 10 3. Measure your heart rate, if desired. Make sure you are applying the proper amount of pressure to the pulse sensor. Try the pulse sensor To measure your several times until you become familiar with it. heart rate, stop Remember to stand still while measuring your heart pedaling and rate.
-
Page 11: Maintenance And Troubleshooting
MAINTENANCE AND TROUBLESHOOTING Inspect and tighten all parts of the elliptical exerciser See the drawing below and locate the Reed Switch regularly. Replace any worn parts immediately. (53). Loosen, but do not remove, the indicated M4 x 16mm Screw (42). Slide the Reed Switch slightly To clean the elliptical exerciser, use a damp cloth and toward or away from the Magnet (58) on the flywheel. -
Page 12: To Adjust The Resistance Strap
HOW TO ADJUST THE RESISTANCE STRAP If the resistance knob is turned to the highest setting and there is not enough pedaling resistance, the resistance strap can be adjusted. To adjust the resis- tance strap, first remove the left side shield (see HOW TO ADJUST THE REED SWITCH on page 11). -
Page 13: Conditioning Guidelines
CONDITIONING GUIDELINES The following guidelines will help you to plan your During the first few minutes of exercise, your body exercise program. Remember that proper nutrition uses easily accessible carbohydrate calories for ener- and adequate rest are essential for successful results. gy. -
Page 14: Part List
PART LIST—Model No. WLEL1405.1 R0406A Key No. Qty. Description Key No. Qty. Description Frame M6 x 45mm Flat Head Screw Upright Pedal Arm Bushing Left Side Shield M8 Nylon Locknut Right Side Shield M10 Small Washer Handlebar Arm Pedal Arm Bolt Set Left Handlebar M8 x 22mm Flat Head Screw Idler Assembly... -
Page 15: Exploded Drawing
EXPLODED DRAWING—Model No. WLEL1405.1 R0406A 51 15... -
Page 16: Ordering Replacement Parts
• the MODEL NUMBER of the product (WLEL1405.1) • the NAME of the product (WESLO MOMENTUM 610 elliptical exerciser) • the SERIAL NUMBER of the product (see the front cover of this manual) • the KEY NUMBER and DESCRIPTION of the part(s) (see the PART LIST and EXPLODED DRAWING on pages 14 and 15) WESLO is a registered trademark of ICON IP, Inc.