Table of Contents
Advertisement
Advertisement
Table of Contents

Related Manuals for Samsung GS89F-1S


Summary of Contents for Samsung GS89F-1S
-
Page 1: Microwave Oven
GS89F-1S imagine the possibilities Microwave Oven Thank you for purchasing this Samsung product. Please register your product at www.samsung.com/register Owner’s Instructions & Cooking Guide 800W This manual is made with 100 % recycled paper. GS89F-1S_XEU_DE68-03817U_EN.indd 1 2011-11-21 2:18:35... -
Page 2: Table Of Contents
QuIck Look-up GuIdE Contents If you want to cook some food Quick look-up guide ..................2 Oven ......................3 1. Place the food in the oven. Control panel ....................4 Select the power level by pressing the button one Accessories ....................4 or more times. -
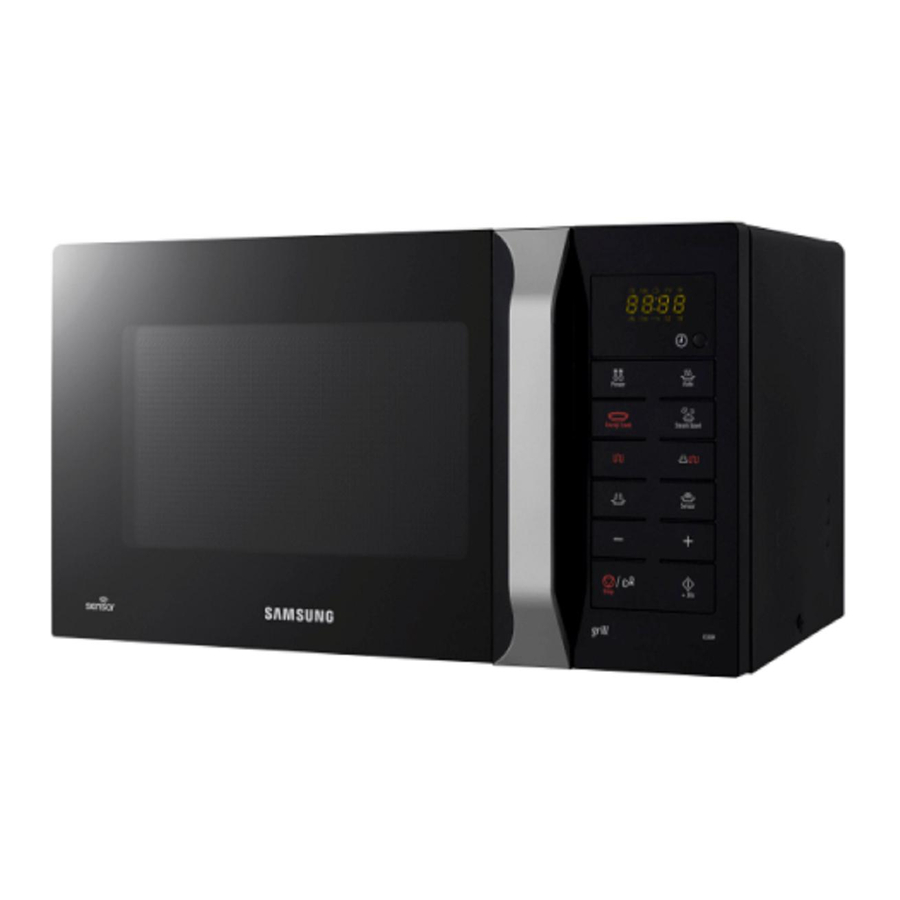
Page 3: Oven
ovEN If you want to grill some food 1. Press the button. 2. Set the cooking time by pressing the ( ) and ( ) buttons. 3. Press the button. 1. DOOR HANDLE 7. DOOR 2. VENTILATION HOLES 8. TURNTABLE 3. -
Page 4: Control Panel
coNTRoL paNEL accESSoRIES MODEL : GS89F Depending on the model that you have purchased, you are supplied with several accessories that can be used in a variety of ways. 1. coupler, already placed over the motor shaft in the base of the oven. purpose : The coupler rotates the turntable. -
Page 5: Using This Instruction Booklet
THIS INSTRucTIoN BookLET LEGENd foR SymBoLS aNd IcoNS You have just purchased a SAMSUNG microwave oven. Your Owner’s Hazards or unsafe practices that may result in severe Instructions contain valuable information on cooking with your microwave personal injury or death. -
Page 6: Important Safety Instructions
(1) door (bent) Do not turn the appliance off by unplugging the power (2) door hinges (broken or loose) plug while an operation is in progress. (3) door seals and sealing surfaces Do not insert fingers or foreign substances, If any foreign (d) The oven should not be adjusted or repaired by anyone other than substance such as water has entered the appliance, a properly qualified microwave service technician trained by the... - Page 7 WaRNING: Microwave heating of beverages can The microwave oven is intended to be used on the counter or counter top use only, the microwave oven result in delayed eruptive boiling,therefore care must shall not be placed in a cabinet. (Counter top model be taken when handling the container;...
-
Page 8: Correct Disposal Of This Product (Waste Electrical & Electronic Equipment)
Appliance should allow to disconnection of the Always use oven mitts when removing a dish from the appliance from the supply after installation. The oven to avoid unintentional burns. disconnection may be achieved by having the plug Do not touch heating elements or interior oven walls accessible or by incorporating a switch in the fixed until the oven has cooled down. -
Page 9: Installing Your Microwave Oven
INSTaLLING youR mIcRoWavE ovEN SETTING THE TImE Place the oven on a flat level surface 85cm above the floor. The surface Your microwave oven has an inbuilt clock. When power is supplied, “:0”, should be strong enough to safety bear the weight of the oven. “88:88”... -
Page 10: What To Do If You Are In Doubt Or Have A Problem
Reset the time. If the above guidelines do not enable you to solve the problem, contact your local dealer or SAMSUNG after-sales service. GS89F-1S_XEU_DE68-03817U_EN.indd 10 2011-11-21 2:18:46... -
Page 11: Power Levels
poWER LEvELS SToppING THE cookING You can choose among the power levels below. You can stop cooking at any time to check the food. 1. To stop temporarily; output Open the door. power level GRILL Result : Cooking stops. To resume cooking, HIGH 800 W close the door and press... -
Page 12: Using The Steam Cleaning
uSING THE STEam cLEaNING 6. Open the Door. The steam provided by steam clean system will soak the cavity surface. After using steam clean function, you can easily clean the cavity of oven. Use this function only after the oven has completely cooled. (Room 7. -
Page 13: Using The Auto Reheat Feature
uSING THE auTo REHEaT fEaTuRE auTo REHEaT SETTINGS The Auto Reheat feature has four pre-programmed cooking time. The following table presents the various Auto Reheat Programmes, You do not need to set either the cooking times or the power level. quantities, standing times and appropriate recommendations. -
Page 14: Using The Auto Power Defrost Feature
uSING THE auTo poWER dEfRoST fEaTuRE auTo poWER dEfRoST SETTINGS The Auto power Defrost feature enables you to defrost meat, poultry, fish The following table presents the various Auto Power Defrost programmes, and Bread Cake. The defrost time and power level are set automatically. quantities, standing times and appropriate recommendations. -
Page 15: Using The Sensor Cook Feature
uSING THE SENSoR cook fEaTuRE SENSoR cook SETTINGS The Five Sensor Cook features include/provide pre-programmed cooking The following table presents 5 Sensor Cook Programmes. It contains its times. recommended weight range per item, standing times after cooking and You do not need to set either the cooking times or the power level. appropriate recommendations. - Page 16 Auto Sensor Cooking Instructions Utensils & Cover For Sensor Cooking The Auto Sensor allows you to cook your food automatically by detecting • To obtain good cooking results with this function, follow the directions the amount of gases generated from the food while cooking. for selecting appropriate containers and covers in the charts in this •...
-
Page 17: Using The Auto Crusty Cook Function
uSING THE auTo cRuSTy cook fuNcTIoN How to clean the crusty plate Clean the crusty plate with warm water and detergent and rinse off with With the Auto Crusty Cook feature, the cooking time is set automatically. clean water. You can adjust the number of servings by pressing the ( ) and ( ) buttons. First, place the crusty plate in the centre of the turntable and close the door. -
Page 18: Using The Manual Crusty Cook Function
uSING THE maNuaL cRuSTy cook fuNcTIoN How to clean the Crusty Plate Clean the crusty plate with warm water and detergent and rinse off with This crusty plate allows you to brown food not only on the top with the grill, clean water. -
Page 19: Grilling
GRILLING food Serving preheating power cooking Recommendations size time time The grill enables you to heat and brown food quickly, without using (min.) microwaves. To this aim, a grill rack is supplied with your microwave oven. frozen 200-250 g 3 min. 450 W Preheat crust plate. -
Page 20: Combining Microwaves And The Grill
comBINING mIcRoWavES aNd THE GRILL SWITcHING THE BEEpER off You can also combine microwave cooking with the grill, to cook quickly and You can switch the beeper off whenever you want. brown at the same time. 1. Press the buttons at the same time. aLWayS use microwave-safe and oven-proof cookware. -
Page 21: Cookware Guide
cookWaRE GuIdE cookware microwave- comments Safe To cook food in the microwave oven, the microwaves must be able to penetrate the food, without being reflected or absorbed by the dish used. • Glass jars Must remove the lid. Suitable for ✓... -
Page 22: Cooking Guide
cookING GuIdE Cooking Guide for frozen vegetables Use a suitable glass pyrex bowl with lid. Cook covered for the minimum MICROWAVES time – see table. Continue cooking to get the result you prefer. Stir twice during cooking and once after cooking. Add salt, herbs or butter Microwave energy actually penetrates food, attracted and absorbed by its after cooking. - Page 23 Cooking Guide for rice and pasta Cooking Guide for fresh vegetables Use a suitable glass pyrex bowl with lid. Add 30-45 ml cold water (2-3 Rice : Use a large glass pyrex bowl with lid – rice doubles in tbsp.) for every 250 g unless another water quantity is recommended – see volume during cooking.
- Page 24 REHEATING REHEATING LIQUIDS Your microwave oven will reheat food in a fraction of the time that Always allow a standing time of at least 20 seconds after the oven has been conventional ovens hobs normally take. switched off to allow the temperature to even out. Stir during heating, if Use the power levels and reheating times in the following chart as a guide.
- Page 25 Reheating Baby Food and Milk Reheating Liquids and Food Use the power levels and times in this table as guide lines for reheating. Use the power levels and times in this table as a guide lines for reheating. food portion power Time Standing...
- Page 26 MANUAL DEFROSTING All frozen food should be defrosted using defrosting power level (180 W). Microwaves are an excellent way of defrosting frozen food. Microwaves food portion Time Standing Instructions gently defrost frozen food in a short period of time. This can be of great (min.) time (min.) advantage, if unexpected guests suddenly show up.
- Page 27 GRILL MICROWAVE + GRILL The grill-heating element is located underneath the ceiling of the cavity. This cooking mode combines the radiant heat that is coming from the grill It operates while the door is closed and the turntable is rotating. The with the speed of microwave cooking.
- Page 28 Grill Guide for frozen food Grill Guide for fresh food Use the power levels and times in this table as guide lines for grilling. Preheat the grill with the grill-function for 3-4 minutes. Use the power levels and times in this table as guide lines for grilling. fresh food portion power 1st side...
- Page 29 SPECIAL HINTS fresh food portion power 1st side 2nd side Instructions time time MeLtInG BUtteR (min.) (min.) Put 50 g butter into a small deep glass dish. Cover with plastic lid. Pork Steaks 250 g 300 W+ Grill only Brush the pork steaks with Heat for 30-40 seconds using 800 W, until butter is melted.
-
Page 30: Cleaning Your Microwave Oven
cLEaNING youR mIcRoWavE ovEN SToRING aNd REpaIRING youR mIcRoWavE ovEN The following parts of your microwave oven should be cleaned regularly to A few simple precautions should be taken when storing or having your prevent grease and food particles from building up: microwave oven serviced. -
Page 31: Wiring Instructions
WIRING INSTRucTIoNS WaRNING : Ensure that the plug and power cord are not damaged before WARnInG use. If you have any reason to remove WARNING THIS APPLIANCE MUST BE EARTHED. the moulded plug from this appliance, This appliance must be earthed. In the event of an electrical short circuit, immediately remove the fuse and dispose earthing reduces the risk of electric shock providing an escape wire for the of the plug. -
Page 32: Cooking Instructions
TEcHNIcaL SpEcIfIcaTIoNS The IEC Power Output rating is an internationally standardised rating, so all SAMSUNG strives to improve its products at all times. Both the design microwave manufacturers now use the same method of measuring power specifications and these user instructions are thus subject to change output. - Page 33 NoTE NoTE GS89F-1S_XEU_DE68-03817U_EN.indd 33 2011-11-21 2:18:53...
- Page 34 NoTE NoTE GS89F-1S_XEU_DE68-03817U_EN.indd 34 2011-11-21 2:18:53...
- Page 35 NoTE NoTE GS89F-1S_XEU_DE68-03817U_EN.indd 35 2011-11-21 2:18:53...
- Page 36 261 03 710 0900-SAMSUNG NETHERLANDS (0900-7267864) (€ 0,10/Min) NORWAY 815-56 480 PORTUGAL 808 20-SAMSUNG (808 20 7267) SPAIN 902 - 1 - SAMSUNG (902 172 678) SWEDEN 0771 726 7864 (SAMSUNG) 0848 - SAMSUNG(7267864, www.samsung.com/ch SWITZERLAND CHF 0.08/min) www.samsung.com/ch_fr/(French) 0330 SAMSUNG (7267864) www.samsung.com...