Table of Contents
Advertisement
Advertisement
Chapters
Table of Contents

Related Manuals for Janome 6019QC


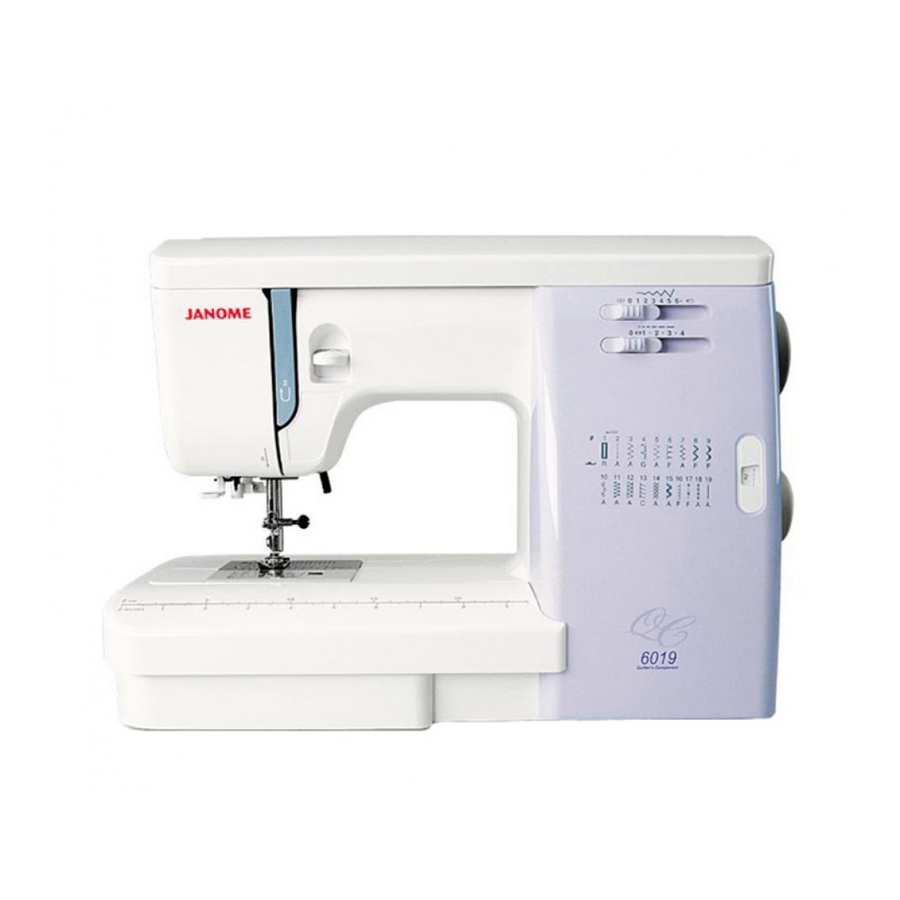
Summary of Contents for Janome 6019QC
- Page 1 INSTRUCTION BOOK...
-
Page 2: Important Safety Instructions
IMPORTANT SAFETY INSTRUCTIONS When using an electrical appliance, basic safety precautions should always be followed, including the followings: Read all instructions before using this appliance. DANGER— To reduce the risk of electric shock: 1. An appliance should never be left unattended when plugged in. Always unplug this sewing machine from the electric outlet immediately after using and before cleaning. -
Page 3: Table Of Contents
TABLE OF CONTENTS Name of Parts ..............2 Sewing on Buttons ............21 Standard Accessories and Storage ........ 3 Automatic Buttonhole ..........22-24 Extension Table and Free Arm Sewing ......4 Corded Buttonhole ............25 Zipper Application ............ 26-28 GETTING READY TO SEW Rolled Hem .............. -
Page 4: Name Of Parts
Name of Parts Pattern indicating window Stitch length lever Stitch width lever Bobbin winder stopper Bobbin winder spindle Accessory storage compartment Spool pin Spool holder Reference chart Top cover Hole for the additional spool pin Bobbin winder thread guide Thread guide (A) 13 -1 Thread guide (B) 13 -2... -
Page 5: Standard Accessories And Storage
Standard Accessories and Storage A: Zigzag foot (set on the machine) F: Satin stitch foot C: Overedge foot D: Rolled hem foot G: Blind hem foot R: Automatic buttonhole foot Accessory storage box Accessories are conveniently stored in the storage box. -
Page 6: Extension Table And Free Arm Sewing
Extension Table and Free Arm Sewing To detach: Pull the extension table to the left. Free arm sewing: The free arm is useful for stitching sleeves, waistbands, pant legs or any tubular garment, also for darning socks or mending knees, elbows and children’s wear. To attach: Slide the extension table along the free arm, inserting the pin into the hole to attach. -
Page 7: Getting Ready To Sew
GETTING READY TO SEW Connecting to the Power Supply 1. Turn the power switch OFF. 2. Insert the machine plug into the machine socket. 3. Insert the power supply plug into the outlet. 4. Turn the power switch ON. Power switch Machine plug Power supply plug Outlet... -
Page 8: Dropping The Feed Dog
Dropping the Feed Dog The feed dog can be lowered by the drop feed lever for sewing on buttons, manual embroidery etc. Push the drop feed lever to the direction A to lower the feed dog. Push the lever to the direction B to raise the feed dog, it will return to the up position when starting the machine. -
Page 9: Raising And Lowering The Presser Foot
Raising and Lowering the Presser Foot The presser foot lifter raises and lowers the presser foot. You can raise it about 0.6 cm (1/4”) higher than the normal up position for easy removal of the presser foot, or to help you to place heavy fabric under the foot. -
Page 10: Changing The Needle
Changing the Needles WARNING: Turn OFF the power switch and unplug the machine. Loosen the needle cramp screw and pull out the needle. Insert a new needle into the needle cramp with the flat side facing back. Push the needle up against the stopper pin and tighten the needle cramp screw firmly. -
Page 11: Winding The Bobbin
Winding the Bobbin • Removing the bobbin Slide the hook cover release button to the right, and remove the hook cover. Lift the bobbin out. Hook cover release button Hook cover Setting the spool of thread Lift up the spool pin. Place the spool of thread on the spool pin with the thread coming off the spool as shown. -
Page 12: Inserting The Bobbin
• Inserting the bobbin Remove the hook cover and place the bobbin in the bobbin holder with the thread running counter-clockwise. Guide the thread into the notch A on the front side of the bobbin holder. Draw the thread to the left sliding it between the tension spring blades. -
Page 13: Threading The Machine
Threading the Machine • Threading the needle thread * Raise the presser foot. * Turn the handwheel to bring the take-up lever to its highest position. * Turn off the power switch. Draw the end of the thread with your left hand and pass it under the thread guide (A) then hook around the thread guide (B) while holding the spool with your right hand. -
Page 14: Automatic Needle Threader
Automatic Needle Threader Lower the presser foot. Depress the needle threader knob as far as it will go. The hook comes out through the needle eye from behind. Needle threader knob Hook Draw the thread down around the threader guide and under the hook. -
Page 15: Drawing Up Bobbin Thread
Drawing Up Bobbin Thread Raise the presser foot and hold the needle thread with your fingers. Needle thread Turn the handwheel one complete rotation toward you and raise the needle to its highest position. Pull the needle thread to pick up a loop of the bobbin thread. -
Page 16: Pattern Selector Dial
Pattern Selector Dial Turn the pattern selector dial to select the desired pattern. The selected pattern will be shown in the pattern indicating window. NOTE: Raise the needle above the fabric when turning the pattern selector dial. Pattern selector dial Pattern indicating window Stitch Width Lever Slide the stitch width lever to set the setting mark at... -
Page 17: Stitch Length Lever
Stitch Length Lever Slide the stitch length lever to set the setting mark at the desired stitch length. The higher the number, the longer the stitch length. NOTES: mark indicates the adjustable allowance for buttonhole stitch density. Raise the presser foot when sliding the stitch length lever. -
Page 18: Utility Stitches Straight Stitch
UTILITY STITCHES Straight Stitch Machine setting Pattern Foot A: Zigzag foot Thread tension 2 ~ 6 Stitch width 0 or 6.5 Stitch length 1.5 ~ 4 • Starting to sew Raise the presser foot and place the fabric on the machine. -
Page 19: Using The Seam Guide Lines
• Using the seam guide lines The seam guides on the needle plate and hook cover help you to measure seam allowance. Note: The number indicates the distance from the center needle position. Number 40 1/2 3/4 1 1/2 Distance 4.0 1.3 1.9 (cm) Center needle position... -
Page 20: Straight Stretch Stitch
Straight Stretch Stitch Machine setting Pattern Foot A: Zigzag foot Thread tension 2 ~ 6 Stitch width 0 or 6.5 Stitch length Any (not necessary to adjust) This strong, durable stitch is recommended where both elasticity and strength are required. Use this stitch when constructing items requiring extra strength such as backpacks, pant legs etc. -
Page 21: Basic Zigzag Stitch
Basic Zigzag Stitch Machine setting Pattern Foot A: Zigzag foot Thread tension 3 ~ 5 Stitch width 1 ~ 6.5 Stitch length 0.5 ~ 3 Zigzag stitch is one of the most useful and versatile stitches. It is used for overcastting, mending, appliqué also used as a decorative stitch. -
Page 22: Overedge Stitch
Overedge Stitch Machine setting Pattern Foot C: Overedge foot Thread tension 3 ~ 7 Stitch width Stitch length CAUTION: Do not set the stitch width less than 5 when using the overedge foot to prevent the needle from hitting the wires on the foot. -
Page 23: Sewing On Buttons
Sewing on Buttons Machine setting Pattern Foot F: Satin stitch foot Thread tension 3 ~ 7 Stitch width Adjust as necessary Stitch length Any (not necessary to adjust) Feed dog Dropped Unthread the needle. Adjust the stitch width to match the needle swing with the span of the holes on the button. -
Page 24: Automatic Buttonhole
Automatic Buttonhole Machine setting Pattern Foot R: Automatic buttonhole foot Thread tension 1 ~ 5 Stitch width 4 ~ 6.5 Stitch length 0.5 ~ 1 NOTES: The size of buttonhole is automatically set by placing the button in the rear of the automatic buttonhole foot R. - Page 25 Draw the needle thread to the left through the hole on the foot. Place the fabric under the foot and lower the needle at the starting point of the buttonhole mark. Then lower the foot. Needle thread Bobbin thread Buttonhole mark Starting point NOTE: Make sure there is no gap between the slider and spring holder, otherwise the left and right...
- Page 26 To adjust the stitch sdensity of the buttonhole: Adjust the stitch density within a range of Slide the stitch length lever toward “1” for coarser stitch. Slide the stitch length lever toward “0” for denser stitch. Stitch length lever To adjust the stitch balance of the buttonhole: If the stitches on each side are not balanced, adjust it by the buttonhole pitch balance adjuster.
-
Page 27: Corded Buttonhole
Corded Buttonholes Machine setting Pattern Foot R: Automatic buttonhole foot Thread tension 1 ~ 5 Stitch width 4 ~ 6.5 Stitch length 0.5 ~ 1 With the buttonhole foot raised, hook the filler cord on the cord spur on the back of the buttonhole foot. Bring the ends toward you under the foot, and hook the filler cord into the forks on the front of the foot to hold them tight. -
Page 28: Zipper Application
Zipper Application Machine setting Pattern Foot E: Zipper foot Thread tension 3 ~ 6 Stitch width Stitch length 1.5 ~ 2 (4 for basting) To attach the zipper foot: (1) Attach the zipper foot with the pin on the right, when sewing on the left side of the zipper. - Page 29 To sew: Fold up the upper seam allowance. Fold back the bottom seam allowance to form a 0.3 cm (1/8˝) fold. Place the zipper teeth next to the fold and pin it in place. Bottom fabric End of the zipper opening Zipper teeth 0.3 cm (1/8˝) Wrong side of the upper fabric...
- Page 30 Detach the foot and re-attach it with the pin on the left. Backstitch across the end of opening to 0.7 – 1 cm (3/8˝). Turn the fabric 90 degrees and stitch through the garment and zipper tape. Stop the machine 5 cm (2˝) before the foot reaches the slider on the zipper tape.
-
Page 31: Rolled Hem
Rolled Hem Machine setting Pattern Foot D: Rolled hem foot Thread tension Stitch width Stitch length 1.5-4 Trim off the corner of the fabric 0.5 cm (3/16˝) by 0.8 cm (5/16˝) to avoid a bulkiness of the hem at the corner. -
Page 32: Blind Hem Stitch
Blind Hem Stitch Machine setting Pattern Foot G: Blind hem foot Thread tension 2 ~ 6 Stitch width 2 ~ 3 Stitch length 1 ~ 3 Fold a hem with the wrong side up forming a 0.4 ~ 0.7 cm (3/16 ~ 5/16˝) allowance. Wrong side of the fabric 0.4 ~ 0.7 cm (3/16 ~ 5/16”) Overcasting... -
Page 33: Sewing Application And Decorative Stitches Appliqué
SEWING APPLICATION AND DECORATIVE STITCHES Appliqué Machine setting Pattern Foot F: Satin stitch foot Thread tension 1 ~ 4 Stitch width 3 ~ 6.5 Stitch length Any (not necessary to adjust) Foot pressure dial Baste or glue applique pieces on the fabric. Stitch around the applique making sure the needle falls along the outer edge of the applique. -
Page 34: Pin Tucking
Pin Tucking Machine setting Pattern Foot G: Blind hem foot Thread tension 2 ~ 6 Stitch width 0 o r 6.5 Stitch length 1.5 ~ 3 Pin tucking is used to decorate chest of blouses, dress shirts etc. Fold the fabric with wrong side together. Position the fabric so that the needle pierces 0.1 ~ 0.2 cm (1/16˝) inside of the folded edge, and lower the foot. -
Page 35: Shell Tucking
Shell Tucking Machine setting Pattern Foot F: Satin stitch foot Thread tension 6 ~ 8 Stitch width 5 ~ 6.5 Stitch length 2 ~ 3 Fold the fabric in bias. Sew along the folded edge so that the needle on the right swing just clear the folded edge to form tucks. -
Page 36: Smocking
Smocking Machine setting Pattern Foot A: Zigzag foot Thread tension 1 ~ 4 Stitch width 3 ~ 6.5 Stitch length Any (not necessary to adjust) Set the thread tension dial at 1 ~ 3, and stitch length dial at 3 ~ 4, sew straight lines 1 cm (3/8˝) apart across the area to be smocked. -
Page 37: Decorative Satin Stitches
Decorative Satin Stitches Machine setting Pattern #8, #9 Foot F: Satin stitch foot Thread tension 1 ~ 4 Stitch width 3 ~ 6.5 Stitch length 0.5 ~ 1 Test the stitch on the actual fabric for the desired patterns and adjust the stitch density for the best sewing results. -
Page 38: Adjusting Stretch Stitch Balance
Adjusting Stretch Stitch Balance The sewing results of the stretch stitch patterns may vary depending upon the sewing conditions, such as sewing speed, type of the fabric, number of layers etc. Always make test sewing on a scrap piece of the fabric that you wish to use. -
Page 39: Cleaning Hook Race And Feed Dog
Cleaning Hook Race and Feed Dog WARNING: Raise the presser foot and needle, and then unplug the machine. DO NOT dismantle the machine other than as explained in this section. Remove the needle and presser foot. Remove the two setscrews and unhook the hook to remove the needle plate. -
Page 40: Troubleshooting
Troubleshooting Condition Cause Reference The needle thread The needle thread is not threaded properly. Page 12 breaks. The needle thread tension is too tight. Page 8 The needle is bent or blunt. Page 9 The needle is incorrectly inserted. Page 9 The needle thread and the bobbin thread are not set under the presser foot when start sewing.