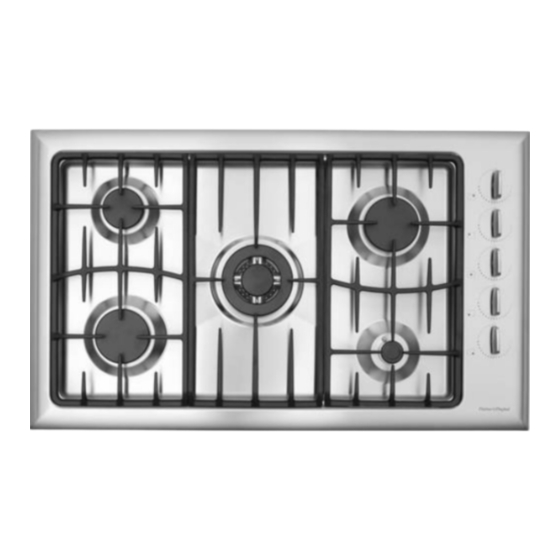
Fisher & Paykel CG603 SERIES Installation Instructions Manual
Fisher & paykel cooktop user manual
Hide thumbs
Also See for CG603 SERIES:
- User manual (22 pages) ,
- Installation instructions manual (9 pages) ,
- Installation instructions manual (96 pages)

Related Manuals for Fisher & Paykel CG603 SERIES


Summary of Contents for Fisher & Paykel CG603 SERIES
-
Page 1: Installation Instructions
Installation Instructions NZ & AU CG603 SERIES CG903 SERIES CG913 SERIES 599284 B 07.2006 NZ & AU... -
Page 2: Safety And Warnings
Ensure that there is a power outlet within reach of the cooktop cable (900 mm from the rear right of the product). This must be accessible after installation. The mains cable should not touch any metal parts. - Page 3 All measurements given in millimetres (mm). Cutout dimensions are given as an ‘ideal measurement’ e.g. for new cutouts, followed by an ‘otherwise acceptable range’ (in brackets) e.g. for existing cutouts or replacement products. CG603 series CG903 series CG603 series CG903 series...
- Page 4 850 mm above the floor and in the region outside the width of the appliance to a distance of 250 mm. This should be accessible with the appliance installed. When protecting a wall with non-combustible material it must be at least 150 mm high. CG603 SERIES CG903 SERIES 130 mm...
-
Page 5: Gas Supply Connection
Installation Instructions Standards Requirements Australian and New Zealand Gas Installation Standards (AS5601, NZS 5261) require a cooktop to be installed so that the surface temperature of any nearby combustible surface will not exceed 65 Typically this is achieved by: Having the cooktop spaced away from the wall (see “Clearances”... -
Page 6: Conversion To Different Gas Type
Installation Instructions Natural Gas For Natural Gas usage the gas supply is connected to the regulator which is supplied loose with a built in test point - 1kPa (4” WG) and the inlet connection of 1/2 “ B.S.P. (male thread). Do not over tighten. The test point pressure should be preset to 1.0 kPa with the wok and semi - rapid burners operating at maximum. -
Page 7: Minimum Setting Or Turn Down
Installation Instructions Turn on main electrical supply and light the burners. Important! Reset the minimum setting (see ‘Minimum Setting or Turndown’). Check all burners have good flame (see fig.3,4,5). figure 1 figure 3 Note: CG913TM models may require progressive venturi adjustment on the wok burner: Fig.3 Lifting Off - move the venturi closer to the orifice. -
Page 8: Customer Care
Installation Instructions Gas Rate Summary Burners CG603 Auxiliary Burner (RH front) Semi-Rapid Burner (LH & RH rear) Wok Burner (LF front) Rapid Burner (LH front) CG903 Auxiliary Burner (RH front) Semi-Rapid Burner (LH & RH rear) Fish Burner (Centre) Wok Burner (LH front)