Advertisement
Quick Links
Advertisement

Related Manuals for Goldmund PH3


Summary of Contents for Goldmund PH3
-
Page 1: User Manual
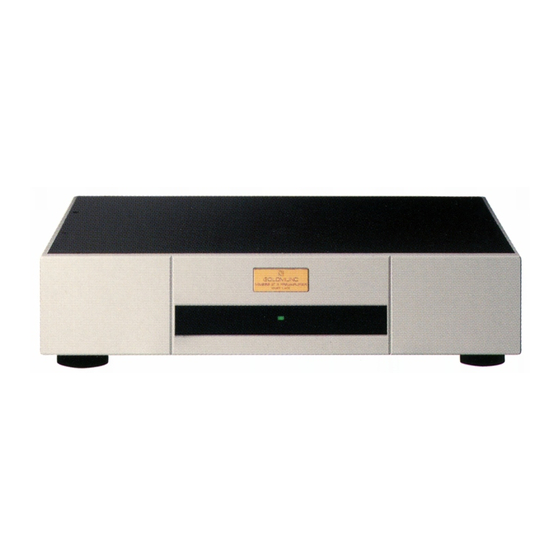
USER MANUAL GOLDMUND PH3 Phono Preamplifier... - Page 2 The guiding principle at Goldmund is to produce a precise sound with the latest possible loss of quality through the different stages. Goldmund will never adopt a technology before it is sufficiently developed to satisfy the high quality standards we set.
- Page 3 Only careful installation and use can provide the satisfaction you are expecting. The installation instructions must be carried out in full and the mentioned precautions taken to get the expected result and to avoid impairing performance. User manual – Goldmund PH3 Phono Preamplifier...
- Page 4 CHOICE OF PHONO PREAMPLIFIER LOCATION AND COOLING The Goldmund PH3 phono preamplifier does not generate a significant amount of heat. The performance of the phono preamplifier is however directly related to its thermal stability. The PH3 must therefore be located to allow adequate cooling of the heatsink without over- ventilation.
- Page 5 200V and 250V. At the 110V position, the main line must deliver between 95V and 125V. If your AC line is usually outside of these tolerances, please consult your GOLDMUND dealer. Please check the value of the AC line fuse. This fuse is located in the power cord receptacle.
- Page 6 Note: Both inputs can be connected simultaneously if no hum is generated. In that case, the front panel selecting the inputs acts a source selector between the two cartridges or tone- arms. Plug the output interconnects from the RCA female sockets (labeled “output”) to the preamplifier. User manual – Goldmund PH3 Phono Preamplifier...
- Page 7 After this delay, the output of the preamplifier is connected to the output connectors. Note: The GOLDMUND PH3 phono preamplifier should remain connected at all times. If the power cord is accidentally disconnected, a special safety circuit switches the preamp to muting, to avoid any disturbance to reach the power amplifier and the speakers, even in case of a power failure in the building.
- Page 8 One selector controls the right input, the other one the left input. Switch position Load applied on the input 10 Ohms 20 Ohms 50 Ohms 100 Ohms 470 Ohms 1.5 kOhms 4.7 kOhms 15 kOhms 47 kOhms User manual – Goldmund PH3 Phono Preamplifier...
- Page 9 The following values are parallel capacitors load applied to the MM inputs. One selector controls the right input, the other the left one. Switch position Load applied on the input 20 pF 50 pF 100 pF 220 pF 470 pF 1 nF 2.2 nF 4.7 nF User manual – Goldmund PH3 Phono Preamplifier...
-
Page 10: Sound Quality Optimization
OPERATING UP THE PH3 FRONT PANEL CONTROLS On the front panel of the GOLDMUND PH3 Phono Preamplifier you will find only one switch and two Leds. To start playing the Phono Preamplifier, turn the power switch ON. The Phono Preamplifier is operative immediately and the green Led indicates it is operating normally. -
Page 11: Technical Data
Gain Stage response: - 3dB 0.12Hz - 760 kHz at 70dB gain (without RIAA correction). Slew rate: > 80 V/us. Rise time: < 400 ns. Distortion: < 0.007% (20Hz-20kHz at 4V rms output). Output Impedance: 50 Ohms. Max output level: 32Vpp POWER. User manual – Goldmund PH3 Phono Preamplifier...