Table of Contents
Advertisement
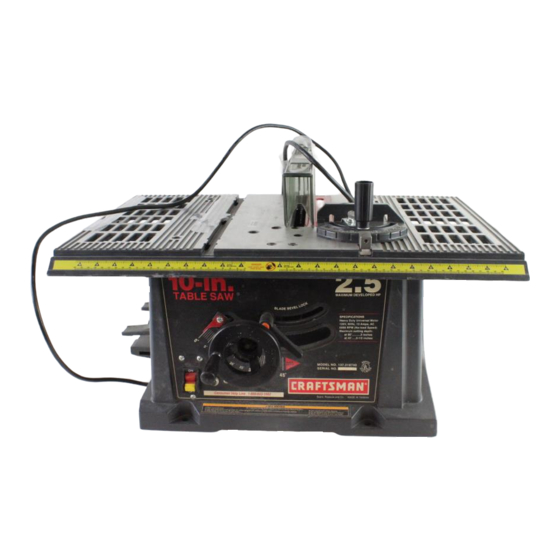
Owner's
ual
®
2.5 HP (Maximum
Developed)
10" inch Blade
5000 R.P.M.
TABLE
ModemNo.
137.218740
CAUTION:
Before using this Table Saw,
read this manual and follow
all its Safety Rules and
Operating
Instructions.
• Safety Instructions
. Installation
, Operation
o Maintenance
, Parts List
, EspaSol
Customer
Help
Line
1-800=843-1682
Sears,
Roebuck
and Co., Hoffman
Estates,
IL 60179
USA
Part No. 137218740002
Advertisement
Table of Contents

Related Manuals for Craftsman 137.218740


Summary of Contents for Craftsman 137.218740
- Page 1 Owner's ® 2.5 HP (Maximum Developed) 10" inch Blade 5000 R.P.M. TABLE ModemNo. 137.218740 CAUTION: • Safety Instructions . Installation Before using this Table Saw, read this manual and follow , Operation all its Safety Rules and o Maintenance Operating Instructions.
- Page 2 GENERAL SAFETY _NSTRUCTIONS WEA_YOUR ALWAYS WEAR EYE SECTION PAGE PROTECTION. Any table BEFORE USING THE TABLE SAW saw can throw foreign Warranty ..............objects into the eyes which Product Specifications ............. Safety is a combination of common sense, staying alert could cause permanent eye and knowing how to use your table saw.
- Page 3 GROUNDING INSTRUCTIONS 24. DO NOT operate the tool if you are under the influence PROVIDE ADEQUATE SUPPORT to the rear and This tool is intended for use on a circuit that has a of any drugs, alcohol or medication that could affect receptacle like the one illustrated in FIGURE A.
- Page 4 UNPACKING YOUR TABLE SAW: UNPACKING AND CHECKING CONTENTS AVAILABLE ACCESSORIES TOOLS NEEDED Visit your Sears Hardware Department or see the Sears Power and Handtool Catalog for the following accessories: Medium screwdriver ITEM ITEM NUMBER Adjustable wrench Saw blades ..... See catalog or store #2 Phillips screwdriver Table Saw and Bench Power Tool...
- Page 5 ASSEMBLY DNSTRUCTmONS Fig. D Blade Guard Table Insert Rip Fence Miter Gauge MOUNTING SAWTO WORK SURFACES (FIG. C) A sawdust fall-through hole must be provided in the work surface where the saw is to be mounted. Suppodrod Position the saw on the work surface and mark the location of the four table saw mounting holes.
- Page 6 RIP FENCE (FIG. G) Raise the blade arbor (3) (FIG. I) to the maximum BLADE GUARD ASSEMBLY (FIG. K, L, M, N) Position the blade guard arm (9) (FIG. N) to the rear. Thread the fence handle (1) into the cam hole (2) height by turning the blade raising hand wheel Using a straight edge, check to see that the blade counterclockwise.
- Page 7 STORAGE BRACKET ASSEMBLY (FIG. Q) Fig. R RIP FENCE INDICATOR ADJUSTMENT (FIG. S) Fig. U For convenient storage of accessories, install the bracket 90° The rip fence indicator (6) points to the on the side of the table saw housing. Insert a pan Ilead measurement scale (8).
- Page 8 ADJUSTING THE BLADE TO BE PARALLEL TO BLADE PARALLEL TO THE MITER GAUGE GROOVE (FIG. V) THE MITER GAUGE GROOVE (FIG. W) If the front and rear measurements are not the same, remove the combination square and loosen the four adjusting screws (1) on the top of the table BASIC SAW OPERATIONS Fig.
- Page 9 COMPOUND MITER CROSSCUTTING (FIG. DD) RIPPING (FIG. Z, AA) Fig. AA This sawing operation is combining a miter angle with a Keep both hands away from the blade and the path bevel angle. of the blade. Set the miter gauge to the desired angle. Use only Do not allow familiarity gained from the frequent use of the left side groove.
- Page 10 USING WOOD FACING ON THE RIP FENCE (FIG. FF) DADO CUTS (FIG, HH) The dado table insert is included with this saw. When performing some special cutting operations, add a wood facing (1) to either side of the rip fence (2): Remove saw blade, blade guard, installed dado, Use a smooth straight 3/4"...
- Page 11 TROUBLESHOOTING GUIDE i--- To avoid injury from an accidental start, turn the switch "OFF" and always remove the plug from the power source -d 03 >, before making any adjustments. <r. ° Consult your local Sears Service Center if for any reason the motor will not run.
- Page 12 MODEL NO. 137.271060 When servicing use only CRAFTSMAN replacement parts Use of any other parts may create a HAZARD or cause product damage Any attempt to repair or replace electrical parts on this Table Saw may create a HAZARD unless...