Table of Contents
Advertisement
Quick Links
Please read this manual first for correct installation and operation. This manual should be retained for future
reference. The information in this manual was current when published. The manufacturer reserves the right
to revise and improve its products. All specifications are therefore subject to change without notice.
PRECAUTIONS
1.
Do not install the camera near electric or magnetic fields.
Install the camera away from TV/radio transmitters, magnets, electric motors, transformers and audio
speakers since the electromagnetic fields generated from these devices may distort the video image.
2.
Never disassemble the camera beyond the recommendations in this manual nor introduce
materials other than those recommended herein.
Improper disassembly or introduction of corrosive materials may result in equipment failure or other
damage.
3.
Try and avoid facing the camera toward the sun.
In some circumstances, direct sunlight may cause permanent damage to the sensor and/or internal
circuits.
4.
Keep the power cord away from water and other liquids and never touch the power cord with
wet hands.
Touching a wet power cord with hands or touching the power cord with wet hands may result in electric
shock.
5.
Never install the camera in areas exposed to water, oil or gas.
Water, oil or gas may result in equipment failure, electric shock or, in extreme cases, fire.
6.
Cleaning
Do not touch the surface of the sensor directly with the hands. Use a damp soft cloth to remove any
dirt from the camera body. Use lens tissue or a cotton tipped applicator and ethanol to clean the sensor
and the camera lens. Please do not use complex solvents, corrosive or abrasive agents for cleaning.
7. Do not operate the camera beyond the specified temperature, humidity or power source ratings.
Use the camera at temperatures within 0℃ ~ 45℃ (32℉~113℉) and humidity between 20~80%.
The input power source is 12VDC/24VAC.
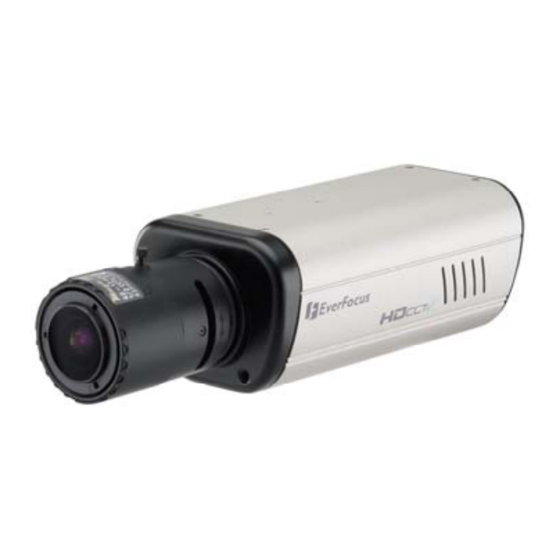
2 Megapixel Full HD-CCTV
Operation Instructions
Model No.
Camera
EQH5200
Advertisement
Table of Contents

Related Manuals for EverFocus EQH5200


Summary of Contents for EverFocus EQH5200
- Page 1 2 Megapixel Full HD-CCTV Camera Operation Instructions EQH5200 Model No. Please read this manual first for correct installation and operation. This manual should be retained for future reference. The information in this manual was current when published. The manufacturer reserves the right to revise and improve its products.
-
Page 2: Table Of Contents
TABLE OF CONTENTS 1. PRODUCT OVERVIEW .......................2 1.1 Main Features ............................... 2 1.2 Package Contents............................2 1.3 Specifications ..............................3 1.4 Dimensions ..............................3 2. NAMES AND FUNCTIONS OF PARTS ..................4 2.1 Front panel..............................4 2.2 Top/Bottom Mounting ............................. 4 2.3 Back panel and connections ........................... -
Page 3: Product Overview
1. PRODUCT OVERVIEW Deliver 2 megapixel full HD 1080i quality digital images over standard coaxial cable with the EQH5200! Wire new megapixel systems with familiar and easy to install coax and BNC connectors, or reuse the existing coax cable infrastructure to efficiently upgrade analog systems to megapixel digital performance without the need to design and deploy an IP network. -
Page 4: Specifications
1.3 Specifications Pickup Device 1/2.5" 2 megapixel CMOS sensor Sensitivity 0.02lux/F=1.2(AGC ON) S/N Ratio Greater than 50dB (AGC off) Video Format Main Output HD-SDI/HD-CCTV Resolution Main Output 1920x1080/2 Megapixel/1080i or 1280x720/1 Megapixel/720p Video Mode Main Output Field select 1080i or 720p Main Output Connector BNC-F Video Format Test Output... -
Page 5: Names And Functions Of Parts
2. NAMES AND FUNCTIONS OF PARTS 2.1 Front panel Light Sensor TAKE CARE NOT TO OBSTRCUT THIS OPENING WITH THE BODY OF THE LENS! The light sensor is for optional control of D/N switching levels in some applications. See section 5.6 for details. -
Page 6: Back Panel And Connections
2.3 Back panel and connections ○ ○ ○ ○ ○ ○ ○ OSD Menu joystick: Use the joystick to move the cursor Upwards/Downwards. This is used to ○ select the item to be set. Tilt the stick to the right or left. This is used to select or adjust the parameters of the selected item. -
Page 7: Installation
Power LED: The power LED lights up when power is ON. ○ DC Auto Iris Lens Connector: This connector is used to connect with the DC type auto iris lens ○ using a standard 4 pin male connector Pin 1 Pin 2 Pin 3 Pin 4... -
Page 8: Osd Menu & Configuration
4. OSD Menu & Configuration Access the user setup menu screen: Press inward on the end of the joystick The menu screen will appear on the monitor. Navigating with the joystick Angle the joystick or to move the cursor up or down. Angle the joystick or to adjust the mode or value of a setting. - Page 9 Menu Tree Lens — Manual ; DC Shutter — Auto ; 1/50 ; 1/60 ; 1/100 ; 1/120 ; 1/250 ; 1/500 ; 1/700 ; 1/1000 ; 1/1600 ; 1/2500 ; 1/5000 ; 1/8000 Iris — 0.0EV ; +0.5EV ; +1.0EV ; +1.5EV ; +2.0EV ; -0.5EV ; Exposure -1.0EV ;...
- Page 10 Neg_Image — On ; Off Return TV Out — NTSC ; PAL ; Return English German Russian Language French Spanish Trad. Chinese Simp. Chinese Japanese Return Default — Yes ; No Return Sharpness — 1~5 Image Adjust Brightness — 1~31 Contrast —...
-
Page 11: Exposure
Press Set button to enter SETUP Menu. In SETUP menu, use the joystick to make settings. User can do camera settings including Exposure, White balance, Day/Night, Special and Image adjust. Please select the item by moving the joystick UP or DOWN then press SET to enter the settings. Move the joystick to the last option which is “Return”... -
Page 12: Anti-Flicker
4.1.6 Anti-Flicker Selections are Auto, 50Hz and 60Hz. Camera will auto adjust the shutter to reduce the flicker caused by fluorescent light when manual lens is used. 4.2 White Balance Control The screen color can be adjusted by using the White Balance function. Please select one of the 5 modes below by moving the joystick UP or DOWN then press “Set”... -
Page 13: Special
NOTE: AGC selection must be set as middle or high in order to employ the auto switching function. 4.4 Special In this section, user can do special settings including Resolution, Camera Title, D-Effect, TV-Out, Language and Default. Please select the item by moving the joystick UP or DOWN then press SET to enter the settings. -
Page 14: Tv Standard
.3 NEG_IMAGE 4.4.3 Select Neg_Image On or Off by moving the joystick LEFT or RIGHT. Allows user to create a negative of the original image. A negative image is a tonal inversion of a positive image, in which light areas appear dark and vice versa. - Page 15 Fax: +1-626-844-8838 Fax: +1-631-436-5027 India Office Suite 803, 8th Floor, Housefin Bhavan, C-21 Bandra Kurla Complex, Bandra (East), Mumbai 400 051 Tel: +91 22 6128-8700 Ihr EverFocus Produkt wurde entwickelt und Your EverFocus product designed hergestellt qualitativ hochwertigen manufactured with high quality materials and Materialien und Komponenten, die recycelt und components which can be recycled and reused.