Table of Contents
Advertisement
Quick Links
Advertisement
Table of Contents

Related Manuals for Energy indoor / outdoor loudspeaker


Summary of Contents for Energy indoor / outdoor loudspeaker
- Page 1 i n d o o r / o u t d o o r l o u d s p e a k e r...
-
Page 2: Table Of Contents
Because Energy Speaker Systems strives to continuously improve its products, we reserve the right to change product specifications without notice. -
Page 3: Features & Benefits
o w n e r s m a n u a l T e m p e s t FEATURES & BENEFITS Diagram 1: INDOOR OUTDOOR SWITCH Indoor-Outdoor Bass Boost Switch: Audio experts have known for years that sound, and bass frequencies in particular, lose impact in outdoor environments.To compensate, many people will turn up the volume, overdriving their system, and damaging the speakers' components. - Page 4 "Tempest" employs a weather resistant injection-molded 5-1/4” (13.3cm) polypropylene woofer, made from a unique composite material, developed by Energy Speaker Systems.The result is smoother response, controlled upper range roll off and tighter dispersion in the critical midrange. Eight Ohm Impedance: "Tempest"...
-
Page 5: Recommended Wiring And Amplifier Power
o w n e r s m a n u a l RECOMMENDED WIRING & AMPLIFIER POWER Selection of Proper Wire: We recommend the use of high quality speaker cable.The speaker cable you select will ideally be fitted with high quality connectors such as 5/16” (8mm) spade lugs. In most installations, ordinary lamp cord (16-18 gauge) has enough resistance to degrade the signal between amplifier and speakers, particularly in lengths over 10-feet (3m). -
Page 6: Painting The Grille
T e m p e s t Preparation: (1) Separate the parts of the speaker. Remove the brackets and the knobs. Hook the grille with a bent paper clip, or the tip of a corkscrew, and gently pull it away from the cabinet. -
Page 7: Placing The "Tempest"For The Best Sound Quality
o w n e r s m a n u a l PLACING "TEMPEST" FOR THE BEST SOUND QUALITY The broad "Tempest" dispersion pattern delivers high quality sound over a large listening area. However, if a single pair is used to provide coverage of a very large room or patio, you may have small areas of louder sound near the speakers.The best way to avoid this in a large space is to use additional pairs of "Tempest"... -
Page 8: Connecting Your "Tempest" Speakers
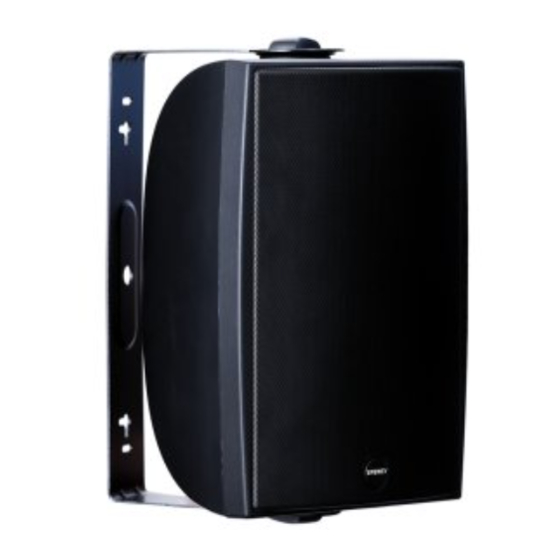
T e m p e s t Tools Required: • A wire stripper • A carpenter's level • Three screws or bolts suitable for the mounting surface • A pencil or pen * Any other hardware required for safe mounting to the surface selected •... - Page 9 o w n e r s m a n u a l Diagram 3: EAVE MOUNTING CONNECTING YOUR "TEMPEST" SPEAKERS The following will assist you in connecting the individual speakers to your amplifier or receiver: (1) First turn your amplifier or receiver off to avoid damage which may result from accidental shorting of the speaker leads.
- Page 10 T e m p e s t Diagram 2: CONNECTING YOUR SPEAKERS – – – – – – – – – – – – – FINAL ADJUSTMENTS (1) After checking that the speaker is in-phase and works correctly, angle the speaker for the best sound.
-
Page 11: Specifications
o w n e r s m a n u a l SPECIFICATIONS RECOMMENDED AMPLIFIER POWER NOMINAL IMPEDANCE FREQUENCY RESPONSE SENSITIVITY WIRING REQUIREMENTS TEMPERATURE EXTREMES DIMENSIONS -W X H X D (WITHOUT BRACKET) (WITH BRACKET) WEIGHT (SPEAKER AND BRACKET) Diagram 3: OVERALL DIMENSIONS 5- 100watts per channel 8 Ohms 65 Hz to 21 kHz, plus or minus 3 dB (on axis) -
Page 12: Limited Warrantypolicy
T e m p e s t o w n e r s m a n u a l LIMITED WARRANTY POLICY Warranty Protection Energy warrants this product to the retail purchaser against any failure resulting from original manufacturing defects in workmanship or materials.The warranty is in effect for a period of (5) years from date of purchase from an authorized Energy dealer and is valid only if the original dated bill of sale is presented when service is required. -
Page 13: Warning! Please Read
o w n e r s m a n u a l T e m p e s t WARNING IMPORTANT TECHNICAL NOTE. PLEASE READ BEFORE OPERATING SPEAKERS. THE WARRANTY ON SPEAKERS IS VOID IF THE VOICE COILS ARE BURNED, OR DAMAGED, AS RESULT OF OVERPOWERING OR CLIPPING.