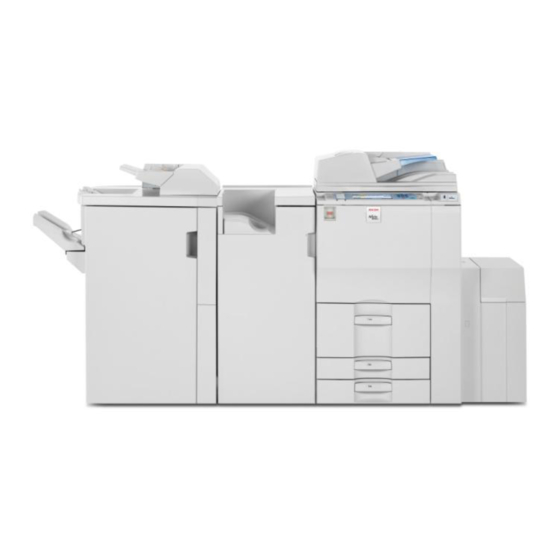
Ricoh Aficio MP 8001 SP Troubleshooting Manual
Troubleshooting guide
Hide thumbs
Also See for Aficio MP 8001 SP:
- Installation manual (16 pages) ,
- Service manual (1351 pages)
Summary of Contents for Ricoh Aficio MP 8001 SP
- Page 1 Ricoh Product Line Segment 2 thru 6 MP/5000/5001, MP C5000/C6000/C6501, MP7000/8000, MP6001/7001, MP8001/9001, MP907EX...
-
Page 2: Troubleshooting
Trouble Shooting • Maintenance – Replacing Toner – Clearing Paper Jams – Replacing Staples – Loading Paper – Cleaning Glass Platen and Lid Ricoh MP2800/3300/4000/5000 Ricoh MPC2851/3351/4000/4001 Ricoh MP 5000/5001/6000/7000/8000 Ricoh MP 6001/7001/8001/9001 Ricoh MP C6000/6501/7500/7501... - Page 3 Replacing Toner B/W 2. Take the new toner bottle from 1. Open the front cover of the box. the machine.
- Page 4 Loading the Tandem Paper Tray Carefully pull out paper tray until it stops to open tray. When closing paper tray, do not slam the drawer, Square the paper and place in LEFT side of paper tray. Do not exceed the paper mark indicator.
- Page 5 Loading & Using the By-pass Tray Place originals in feeder or on glass Adjust paper guide to fit paper size Paper should be snug not tight Pull open the Bypass tray Place paper in tray...
-
Page 6: Cleaning The Automatic Document Feeder [Adf]
Cleaning the Automatic Document Feeder [ADF] If the exposure glass or ADF belt is dirty, copy clarity may be reduced. Clean these parts if they are dirty. To clean the ADF, clean 1 and 2 as shown in this diagram with a soft damp cloth. Do not use wet rags or spray any liquids in the feeder. -
Page 7: Cleaning The Exposure Glass
Cleaning the exposure Glass Maintaining Your Machine If the exposure glass or ADF belt is dirty, copy clarity may be reduced. Clean these parts if they are dirty. To clean the exposure glass, clean 1 and 2 as shown in this diagram: If lines appear on your copies there is something on the leading glass edged (outlined below) use the cloth provided to clean the edge . -
Page 8: Using The Document Feeder
Using the Document Feeder Adjust Document guide for the size of document in Place Documents in the feeder feeder. Make the guide is snug and not tight to avoid jams. Using the Document Feeder Do not use the following types of paper: Bent, folded, or creased paper -Curled or twisted paper -Wet paper... - Page 9 3. Hold the bottle horizontally, 4. Remove the outer cap. and then shake it five or six times without removing the outer But do not remove the inner cap of the toner bottle. cap.
- Page 10 6. Insert the new toner bottle. Push 5. Pull the lever out toward it in until the green lever clicks. you, until it is at 90°.
- Page 11 7. Return the lever under the 8. Close the front cover of the toner bottle to its original position machine.
- Page 12 Precautions • Do not expose the toner bottle to light for a long time. If you do, toner becomes damaged and print quality might be reduced. • Our products are engineered to meet the highest standards of quality and functionality. When purchasing expendable supplies, we recommend using only those provided by an authorized dealer.
- Page 13 Changing Toner – Color Device Copier panel will indicate when toner is low and which color needs to be Replaced. Instructions are located on inside of front door, on the toner box And on copier panel. Follow directions carefully and only add toner when indicated on copier panel.
-
Page 14: Replacing Toner Cartridges
Replacing Toner Cartridges Note: Copier Panel will indicate when toner requires replacement and which color needs to be replaced. • Open the front cover of the machine. • Pull out the toner cartridge slowly. • • Remove new toner cartridge from the box. •... -
Page 15: Replacing Toner
Replacing Toner • Hold the toner cartridge and shake it five or six times. Peel off the seal. Check the orientation of the toner cartridge and insert it carefully. Close the front cover of the machine. -
Page 16: Clearing Paper Jams
Clearing Paper Jams 8.5” Full-Color W-VGA Touch Screen Control Panel Designed For Real-World Users User Interface (UI) In the event of a paper mis-feed, toner or replacement situation, etc., the animated Guidance provides clear, step-by-step instructions for important operations. It is important that you follow the step by step guides for clearing/removing paper from the copier. - Page 17 Clearing Jams MP 3300, 2800, 2500, 2851, 3351, 3500 4000, 4001, 4500, 5000, 5001...
-
Page 18: Replacing Staples
Replacing Staples (You may need to pull out the internal finisher tray to access the stapler) Pull out the Staple Unit (Gently pull out the stapler cartridge) Open the finisher door Holding both sides of the cartridge, pull up the upper Push the new refill into the cartridge until it clicks. - Page 19 Replacing Staples Push the cartridge down until it clicks to close. Push the upper unit gently into the cartridge Return the staple unit to its original position, and then close the finisher front cover Pull out the ribbon.
-
Page 20: Bypass Tray
Bypass Tray... - Page 21 Service Calls – On Line Registration • Launch Internet Explore and type in the following information in the address line www.ikon.com/Support > Press Enter • Click on Supplies • Click on Register Complete the two page Registration Form Verify your information is accurate on the Summary Page before submitting Submit when correct...
-
Page 22: Meter Reading
Meter Reading Touch the [Counter] key to view all Press the [User Tools/Counter] key Press the [User Tools/Counter] key to complete the operation Press the [Start] key to print a list of the counters...


