Advertisement
Quick Links
Stand
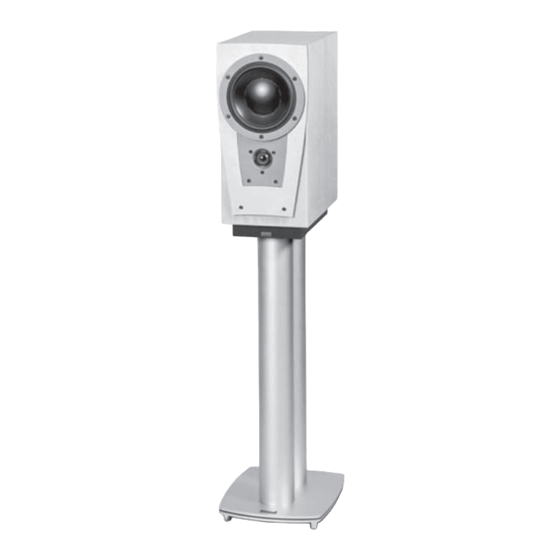
Dynaudio Contour S 1.4 / Confidence C1
Assembly instructions
See step 1 to 3
See step 4
The compact Contour and Confidence models are designed to offer exceptional performan-
ce while taking up minimal space. The Contour S 1.4 and the Confidence C1 are intended
for use with the Dynaudio Stand
included bolts. Acoustically this serves as a great advantage while offering the most ele-
gant appearance.
Please take note of the instructions below in order to achieve a firm and solid assembly.
1.
Ensure the drivers are protected with the original speaker grille.
2.
Place the loudspeaker cabinet upside down on a clean, even surface. Normal floor
carpeting is ideal and helps to avoid surface damage to the cabinet.
3.
Screw the thread-end (as supplied with the loudspeakers) into the threaded holes of
the cabinet's black plinth.
4.
Screw one column onto the thread-end and tighten by hand.
5.
Screw the second column onto the other thread-end and tighten by hand.
6.
At this stage, the columns can optionally be filled with damping material (sand, etc.).
7.
Place the three base plate layers on top of the columns and align the holes.
8.
Using the Allen bolts supplied with the Stand
columns.
9.
Attach the spike-assembly to the four base plate nuts.
10.
Carefully turn the completed assembly around and position on the floor. Please note
that the combined stand/loudspeaker is now quite heavy and unevenly balanced,
due to the cabinet weight.
Ensure the spikes will not cause any damage.
The loudspeaker cabinet is now firmly attached to the Stand
We wish you many years of enjoyment listening to music!
Sales & Marketing
Dynaudio International GmbH, Ohepark 2, 21224 Rosengarten, Germany, Phone +49 - 4108 - 4180 - 0
© Dynaudio International GmbH, Assembly Instructions Stand
4
See step 5
4
and offer a direct connection to the stand's post via the
4
, attach the base plates to both
4
0406. All text and image copyrights reserved. Subject to change without notice.
See step 7 to 9
4
.
Confidence C1
Same instructions
apply for Contour S 1.4
Advertisement


