
Related Manuals for Baby Lock A-LINE Lauren BL450A


Summary of Contents for Baby Lock A-LINE Lauren BL450A
- Page 1 Getting to Know: A-LINE SERIES Model BL450A Baby Lock Consumer Helpline: 800-313-4110 www.babylock.com...
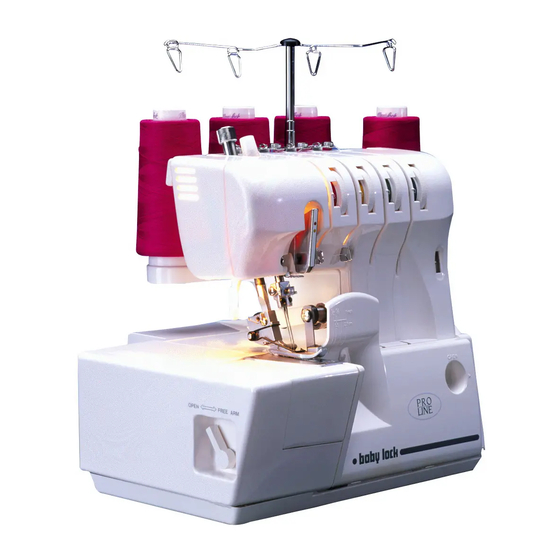
- Page 2 Model BL450A Introducing Lauren, the easy-to-use serger from the Baby Lock A-Line series of sewing machines. Lauren loves to give projects a finished look with reinforced stitches and decorative edging. Practical and steady, Lauren will make sure every thread stays in place with a professional look.
-
Page 3: Extension Bar
Setting Up Your Serger When threading, it’s important to consider the type of thread you use for serging. Remember, a serger creates a finished look with reinforced stitches, so strong thread is an important ingredient. A top quality, long staple, polyester or poly/cotton blend is the best choice. -
Page 4: Manual Threading
Manual Threading thread guides. Threading the Upper Looper 1. Pass thread through top thread guide hanger from back to front. 2. Bring thread down and pass through thread guide and under pretension disc. 3. Bring thread straight down through the slot so that it passes between the tension discs. -
Page 5: Threading The Lower Looper
Manual Threading Remove the free arm cover and thread the lower looper thread as illustrated below. Remove free arm cover by swinging the extension table out with the lever in locked position. The free arm cover will stay attached to the extension table. Threading the Lower Looper A. -
Page 6: Threading The Right Needle
Manual Threading Threading the Right Needle marked thread guides. a-c. Refer to steps 1-3 in threading upper looper thread. Position thread into right side opening of guide. Pass thread behind right side of guide plate. Use the tweezers to thread the right needle eye front to back. -
Page 7: Threading The Left Needle
Manual Threading Threading the Left Needle A-C Thread first 3 steps same as first 3 steps in threading upper and lower looper. guide and pull thread up. across top and down. Position thread into left side opening of guide. Pass thread under left side of guide plate. front to back. - Page 8 Tying-on Threading Methhod The Lauren serger comes with thread already threaded through the thread paths. Simply tie the ends of your 1. Place the thread spools or cones on the spool pins and bring the new thread through the thread guide hanger, back to front.
-
Page 9: End Of Seam
Serging Serging is somewhat different than sewing with a conventional sewing machine. You can serge without fabric under the foot to create a thread chain for decorative purposes. The machine won’t jam. With the Lauren serger, it isn’t necessary to lift the presser foot to insert the fabric; just place it at the toe of the foot and start to serge. Be careful not to pull the fabric –... - Page 10 Tension Guidelines It is easiest to become familiar with tension adjustments if you practice using different thread colors, that match to tension dials to a higher number to tighten the tension or to a lower number to loosen the tension performance. Three-thread Seaming Four-thread Seaming 3 - or 4 - Thread Seaming...
- Page 11 This adorable tote can be constructed quickly and easily using a serger. It’s even reversible for a totally different look! 4. Set your serger for 3-thread wide stitch with left needle, upper looper Skill Level: Beginner thread and lower looper thread between 2.0-4.0.
- Page 12 7. With right sides together, serge one 8-1/2” x 16-1/2” outside top piece to one of the outside base sections. Press the seam. Repeat for the second half. (Fig. 3) 8. Place the two outside pieces together and serge along both sides and across the bottom leaving the top edge open.