Ricoh Aficio MP 201SPF Quick Manual
Quick guide
Hide thumbs
Also See for Aficio MP 201SPF:
- Service manual (542 pages) ,
- Quick manual (6 pages) ,
- Operating instructions manual (1660 pages)
Advertisement
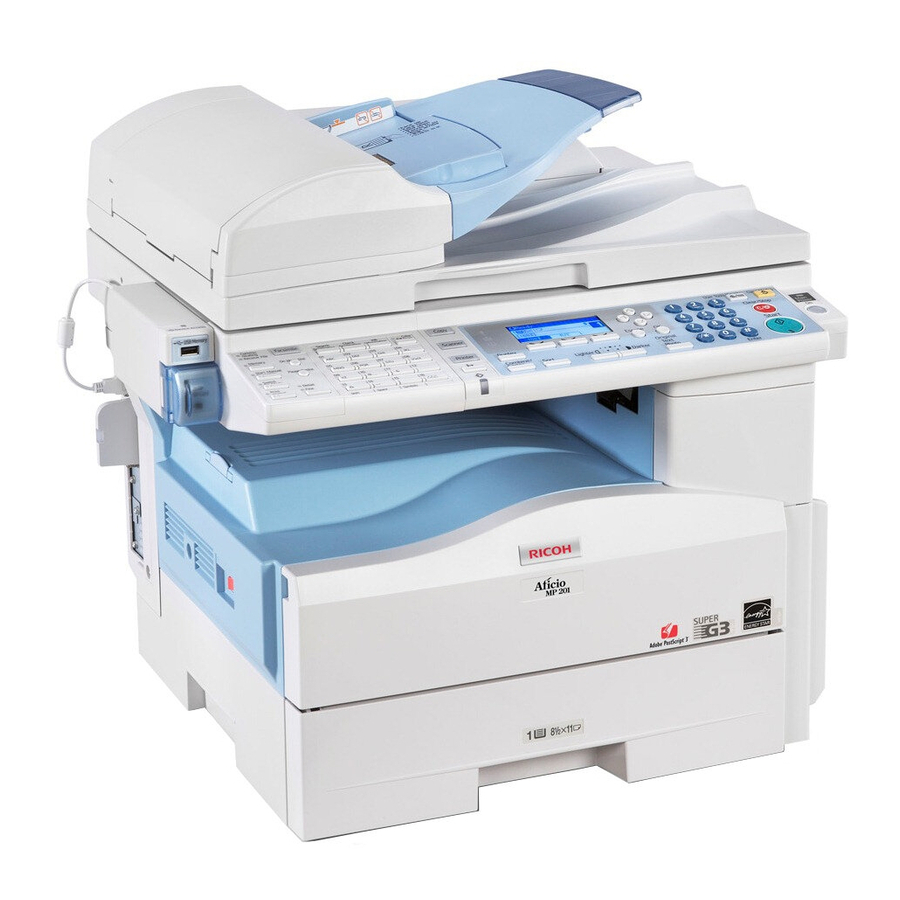
Ricoh MP 201SPF Quick Guide
Originals should be face-up in the document feeder, face-down on glass
Push the Clear Modes button before carrying out jobs
Copy
B
C
ASIC
OPY
1.
Select the Copy button
2. Place your originals in the document feeder
3. Select the number of copies using the blue number keys
4. Press the Sort button if you wish to have your copies collated or sorted.
5. Press the green Start button
©
Page 1 of 5
Advertisement

Related Manuals for Ricoh Aficio MP 201SPF


Summary of Contents for Ricoh Aficio MP 201SPF
- Page 1 Ricoh MP 201SPF Quick Guide Originals should be face-up in the document feeder, face-down on glass Push the Clear Modes button before carrying out jobs Copy ASIC Select the Copy button 2. Place your originals in the document feeder 3. Select the number of copies using the blue number keys 4.
-
Page 2: 2-Sided Copies
IDED OPIES UPLEX 1. Place your originals in the document feeder 2. Press the Duplex button 3. Press the arrow up or down keys to select style of 2 sided you would like 4. Press the OK key to confirm your selection, the word Programmed will appear at the top of the display 5. -
Page 3: Send Fax 2-Sided Original
the next original and press the Start button for the remaining originals. If you only have a one page document, press the pound key “#” and the fax machine will start sending the document immediately. SIDED ORIGINAL 1. Press Tx Mode (on the panel) 2. -
Page 4: Send Document To E-Mail Address/Folder
To continue programming, continue from step 5 Address Book Management OR to exit, press User Tools button ELETE UMBERS IN THE DDRESS 1. Press the User Tools /Counter button 2. Select System Settings by using the arrow keys and press OK 3. -
Page 5: Change File Format When Scanning
7. Press the pre programmed button(s) on the left hand side where your e-mail address or folder has been programmed 8. Place your originals in the document feeder 9. Press Start button Note: when scanning you can look up the pre-programmed email addresses by pressing the Check Destination button, choose one of the search options (i.e.