Table of Contents
Advertisement
Quick Links
Advertisement
Table of Contents

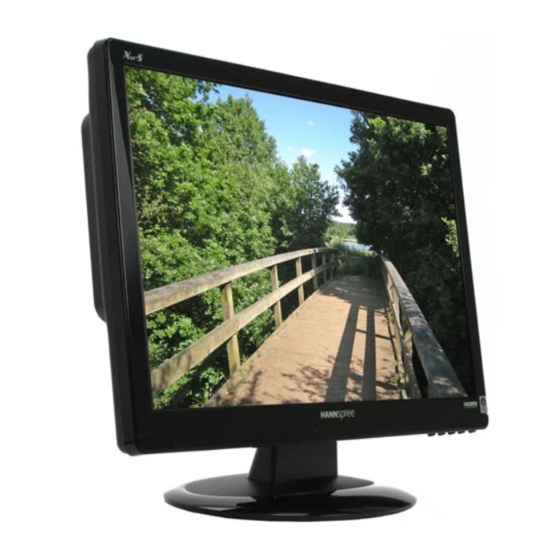
Summary of Contents for HANNspree Verona
- Page 1 22” Liquid Crystal Display Monitor 2438501293P...
-
Page 2: Regulatory Information
REGULATORY INFORMATION Before operating the monitor, please read this manual thoroughly. This manual should be retained for future reference. FCC Class B Radio Frequency Interference Statement This equipment has been tested and found to comply with the limits for a Class B digital device, pursuant to part 15 of the FCC Rules. -
Page 3: Recycling Information
RECYCLING INFORMATION HANNspree Inc. cares about environmental protection strategies and in using manufacturing methods and treatments that lend themselves to conservation and recycling devices at the end-of-life. Our products, whenever possible, contain recyclable materials which can be recycled into new devices. When necessary for operation, other materials may be classified as hazardous or poisonous substances. -
Page 4: Safety Notice
SAFETY NOTICE Changes or modifications not expressly approved by the party responsible for compliance could void the user's authority to operate the equipment. Shielded interface cables and AC power cord, if any, must be used in order to comply with the emission limits. The manufacturer is not responsible for any radio or TV interference caused by unauthorized modification to this equipment. -
Page 5: Special Notes On Lcd Monitors
• Never push any object into the slot on the monitor cabinet. It could short circuit parts causing a fire or electric shock. Never spill liquids on the monitor. • Do not attempt to service the monitor by yourself; opening or removing covers can expose you to dangerous voltages and other hazards. - Page 6 • Due to the nature of LCD screens, an after image of the previous displayed content may remain if this image has been the displayed for several hours. The LCD screen should recover if the image is changed or powered off for several hours.
- Page 7 The information in this manual is subject to change without notice. To the extent allowed by applicable law, Hannspree, Inc. (“Hannspree”) shall not be liable for direct, indirect, special, exemplary, incidental or consequential damages arising from any defect or omission in this manual, even if advised of the possibility of such damages in advance.
-
Page 8: Table Of Contents
Content Safety Precautions ................8 First Setup ..................9 Quick Installation ................9 Front View of the Product ..............10 Rear View of the Product..............10 Using On Screen Display (OSD) Functions........11 Supporting Timing Modes..............14 Technical Information................15 Care and Maintenance ...............16 Troubleshooting ..................16... -
Page 9: Safety Precautions
Safety Precautions This monitor is manufactured and tested on a ground principle that a danger to the monitor as well as to the user. Carefully go over the following WARNINGS before installation and keep this guide handy. WARNINGS: This monitor should be operated only at the correct power sources indicated on the label on the rear end of the monitor. -
Page 10: First Setup
First Setup Congratulation for purchasing this monitor of high performance! This monitor comes with the following accessories : Power cable D-Sub cable (15 pin) Audio cable HDMI Cable (Optional) DVI-D/HDMI Cable (Optional) Warranty and Service Manual CD ROM (including User’s manual) Quick Installation 1. -
Page 11: Front View Of The Product
Front View of the Product OSD TURN ON/OFF CONFIRM SELECTION SCROLL DOWN/DECREASE POWER ON/OFF SCROLL UP/INCREASE LED INDICATOR Rear View of the Product POWER INPUT HDMI INPUT (HDMI 19 PIN) VGA INPUT (D-SUB 15 PIN) AUDIO INPUT... -
Page 12: Main Menu
Using On Screen Display (OSD) Functions Display main menu. Exit from OSD menu. Auto adjust the image when at root menu. Select the desired item when in OSD menu. When not in OSD menu, it is to immediately activate Contrast/ Brightness. - Page 13 Short Cuts Function from the button(s) Auto Image Adjust: To auto adjust Horizontal Position,Vertical Position, Phase (Fine Tune) and Clock (H. Size) of the screen. Contrast : To adjust the foreground white level of screen image. : increase contrast, : decrease contrast. DCR ON/OFF : : Contrast ratio will be 2500:1, when DCR turn on.
- Page 14 H./V. Position : To adjust the horizontal and vertical position of the video. H. Position : : move screen to the right, : move screen to the left. V. Position : : move screen up, : move screen down. Fine Tune : To adjust the delay time of data and clock.
-
Page 15: Supporting Timing Modes
Supporting Timing Modes 720 x 400 @ 70Hz 640 x 480 @ 60Hz 640 x 480 @ 67Hz VESA 640 x 480 @ 75Hz VESA 800 x 600 @ 56Hz VESA 800 x 600 @ 60Hz VESA 800 x 600 @ 72Hz VESA 800 x 600 @ 75Hz 832 x 624 @ 74. -
Page 16: Technical Information
Technical Information LCD Panel 22.0” TFT Energy Star compliant VESA Power Management DPMS compatible < 1 W WSXGA 1680 x 1050 max. Vertical Frequency 60Hz Displayable Resolution max. Pixel Dimension 0.282 x 0.282 mm LCD Display Color 16.7M Tilt 0°~20° Active Display Area 473.76 mm x 296.1mm Operating: 0°C ~ +40°C... -
Page 17: Care And Maintenance
Care and Maintenance Care Avoid exposing your monitor directly to sunlight or other heat source. Place your monitor away from the sun to reduce glare. Put your monitor in a well ventilated area. Do not place any heavy things on top of your monitor. Make certain your monitor is installed in a clean and moisture-free area.


