Advertisement
Quick Links
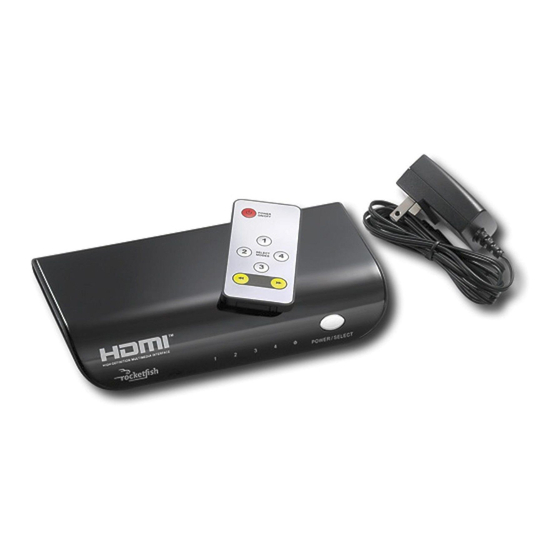
HDMI Switch Box
Features
• Allows up to 4 HDMI components
to be connected to one HDMI input
simultaneously
• 1080p compatible
• Supports auto-switching and includes
IR remote
• Supports Dolby® TrueHD and DTS®-HD
Lossless audio formats
Package contents
• Plug-and-play, easy to install
• HDMI switch box
• 5V DC 1A power adapter
• Remote control with battery
Front
1
2
3
4
#
Description
1
Device LEDs: The LED of the selected device lights green.
2
Power LED: Lights red when the switch box is turned on.
3
POWER/SELECT: Press and hold for 3 seconds to turn the switch box on or off .
Press and release quickly to switch between devices.
RF-GPS3019
RF-GPS3019_09-0143_QSG_V1_EN.ind1 1
RF-GPS3019_09-0143_QSG_V1_EN.ind1 1
Back
External display
(HDTV, projector, etc.)
AC adapter
POWER / SELECT
Connecting your HDMI switch box
1 Connect an HDMI cable from the
HDMI output of each component
to one of the HDMI inputs on the
switch box.
2 Connect an HDMI cable from the
HDMI output on the switch box to
an HDMI input on your TV.
3 Connect the included power
adapter to the DC input jack on the
HDMI switch box and plug it into a
standard 110V AC outlet.
USER GUIDE
HDMI device 3
HDMI device 1
HDMI device 4
HDMI device 2
Using your HDMI switch box
Remove the plastic tab that extends
past the bottom edge of the remote
control. This tab protects the battery.
The remote control will not work until it
is removed.
Your HDMI switch box operates in
three modes: Auto-detect (default),
manual, and remote control.
Notes:
•
When remote control or manual mode
is used, auto-detect mode becomes
disabled. Use the remote control or
press POWER/SELECT on the switch
box to select an HDMI device.
•
To return to auto-detect mode, turn the
Remote control mode
switch box OFF, then ON or connect a new
1 Press POWER ON/OFF on the remote
HDMI device.
control. The power LED lights red.
•
Your HDMI switch box memorizes the last
2 Press a number button or
HDMI device used. The switch box detects
switch between devices.
and connects to that HDMI device fi rst.
To replace the battery in your remote
Auto-detect mode
control:
Your HDMI switch box will automatically
1 Remove the battery holder from the
switch to the most recently powered-on
remote control.
device. When a device is powered off , the
switch box will automatically switch to
the next device that is powered on in the
following sequential order:
Note: Not all HDMI devices support auto-
switching. If the switch box fails to switch
to the desired input when the device is
2 Remove the old battery, then insert
turned on, use the remote control or manual
a CR2025 battery into the battery
switching mode.
holder, positive (+) side up.
Manual mode
3 Slide the battery holder back into the
Press POWER/SELECT on your switch
remote control.
box to switch to a diff erent device. The
corresponding LED lights green.
/
to
3/6/2009 2:47:13 PM
3/6/2009 2:47:13 PM
Advertisement

Related Manuals for RocketFish RF-GPS3019


Summary of Contents for RocketFish RF-GPS3019
- Page 1 When remote control or manual mode is used, auto-detect mode becomes disabled. Use the remote control or press POWER/SELECT on the switch box to select an HDMI device. RF-GPS3019 USER GUIDE RF-GPS3019_09-0143_QSG_V1_EN.ind1 1 RF-GPS3019_09-0143_QSG_V1_EN.ind1 1 3/6/2009 2:47:13 PM 3/6/2009 2:47:13 PM...
- Page 2 One-Year Limited Warranty • Modifi cation of any part of the Product, including the antenna This warranty also does not cover: Rocketfi sh Products (“Rocketfi sh”) warrants to you, the original purchaser of this new RF-GPS3019 Symptom Possible solution • Damage due to incorrect operation or maintenance (“Product”), that the Product shall be free of defects in the original manufacture of the material or...