RocketFish RF-G1185 Quick Setup Manual
4-port switcher, hdmi
Hide thumbs
Also See for RF-G1185:
- Quick start manual ,
- Quick setup manual (2 pages) ,
- Manual d'installation rapide (2 pages)
Advertisement
Quick Links
PACKAGE
FEATURES
CONTENTS
• Full HD 1080p video compatibility
• Auto HDMI port switching for simple operation
• 4-port HDMI Switcher
• HDCP compliant to ensure playback of any content
• AC power adapter
• DTS® HD, Dolby® TrueHD lossless digital audio compatibility
• Remote control and battery
• One front panel HDMI input for easy connection of portable HDMI devices
• Quick Setup Guide
• 3D video compatibility
• Gold plated connectors for maximum signal transfer and corrosion resistance
• Remote control for manual HDMI port switching when needed
• Compatibility with CEC-enabled HDMI devices
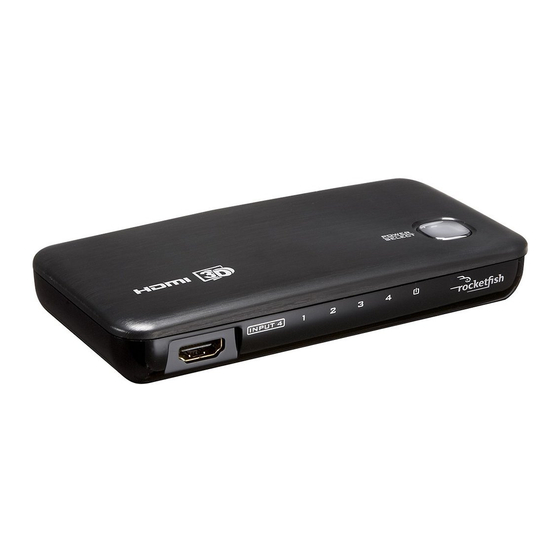
Front
HDMI INPUT 4
Power LED
(OPTION: Camcorder)
1
2
3
4
INPUT 4
Input LEDs
Back
DC power connector
DC5V
OUTPUT
INPUT 3
INPUT 2
HDMI OUTPUT
HDMI INPUT 1-3
(HDTV or projector)
(Cable/satellite/DVR set-top box/Blu-ray
Disc /DVD player or game console)
SETTING UP YOUR SWITCHER
1 Using high-speed HDMI cables, such as Rocketfish brand HDMI cables, connect one
end of the HDMI cable to the HDMI port on each source device, then connect the
other end of each cable to one of the HDMI INPUTS on your switcher.
2 Connect a high-speed HDMI cable from an available input on your HDTV (or
projector) to the HDMI OUTPUT on your switcher.
3 Connect the AC power adapter to the DC power connector on your switcher, then
plug the adapter into a power outlet.
Remote
POWER/SELECT
button (top)
POWER
ON/OFF
1
2
4
SELECT
MODES
3
RF-G1185
To remove battery
INPUT 1
CR2025
Push
In addition to the flexibility of additional HDMI inputs, this product also provides
automatic HDMI port switching. The included remote control is for manual HDMI port
switching when needed.
Camcorder
HDMI
INPUT 1
HDMI INPUT 4
Note: If you want to watch 3D video, make sure that your TV or projector supports the same HDMI
3D video format as your source. A 3D image cannot be delivered to a TV or projector that does not
support 3D video formats. You also need to use HDMI cables that are compatible with 3D video,
such as Rocketfish high-speed HDMI cables.
Open
USING YOUR SWITCHER
1 Press the POWER ON/OFF button on the remote control or press and hold the
POWER/SELECT button on your switcher for at least two seconds. The power LED lights
red.
2 Turn on your TV or projector, then switch to the HDMI input that your switcher is
connected to. See the documentation that came with your TV or projector.
3 Turn on the HDMI device that you want to view. The auto-switching feature of your
switcher should automatically switch to that input, and the corresponding LED lights
green unless the HDMI source device is not compatible with auto-switching technology.
If needed, press the number on the remote control you want to switch to, or repeatedly
press the POWER/SELECT button on your switcher to toggle through the HDMI inputs
until the correct input is selected and the corresponding LED indicator lights green.
QUICK SETUP GUIDE
RF-G1185, 4-Port Switcher
Blu-ray or
Game
DVD Player
Satellite
console
HDMI
INPUT 2
HDMI
INPUT 3
HDMI
OUTPUT
DC connector
HDTV
or
Projector
Advertisement

Related Manuals for RocketFish RF-G1185


Summary of Contents for RocketFish RF-G1185
-
Page 1: Quick Setup Guide
2 Turn on your TV or projector, then switch to the HDMI input that your switcher is 1 Using high-speed HDMI cables, such as Rocketfish brand HDMI cables, connect one connected to. See the documentation that came with your TV or projector. -
Page 2: Specifications
• Start your PC/Laptop with the HDMI cable connected to a TV www.rocketfishproducts.com that is on. ROCKETFISH is a trademark of Best Buy and its affiliated companies • Start the PC/Laptop while the TV is off, then turn on the TV. Distributed by Best Buy Purchasing, LLC 7601 Penn Ave South, Richfield, MN 55423 U.S.A.