
Related Manuals for Belkin OmniView F1DB102P2


Summary of Contents for Belkin OmniView F1DB102P2
-
Page 1: Kvm Switch
OmniView E Series ® KVM Switch User Manual F1DB102P2 F1DB104P2 F1DB102P2-B F1DB104P2-B... -
Page 2: Table Of Contents
Installation ... 7 Pre-Configuration ...7 Installation Guide...7 Powering Up the Systems ... 10 Using your E Series KVM Switch ...11 Selecting a Computer Using the Selector Button ... 11 Selecting a Computer Using Keyboard Hot-Key Commands ... 11 LED Display ... 12 AutoScan Mode ... -
Page 3: Introduction
This User Manual will provide details about your new E Series KVM Switch, from installation and operation to troubleshooting—in the unlikely event of a problem. Thank you for purchasing the Belkin OmniView E Series KVM Switch. We appreciate your business and have confidence that you will soon see for yourself why Belkin is the number-one-selling brand in KVM switches worldwide. -
Page 4: Overview
Switch, allow for simple, manual port selection. • LED Display An LED display on the front panel of the E Series KVM Switch serves as a status monitor. An LED illuminates to indicate the console that currently controls the corresponding computer. -
Page 5: Equipment Requirements
Overview Equipment Requirements Cables: Connecting the E Series KVM Switch to a computer requires a Belkin KVM Cable Kit. Belkin E Series Cable Kits: F1D9002-XX (PS/2-style) F1D9002x06 (PS/2-style) (-XX denotes length in feet) F1D9002-XX (PS/2-style) -
Page 6: System Requirements
• LCD (with VGA support) Optional Power Supply An optional 9V 600mA power supply is available (Belkin part number F1D065-PWR). This is only required in rare cases where the power output from the connected computer is not adequate to power the KVM Switch. -
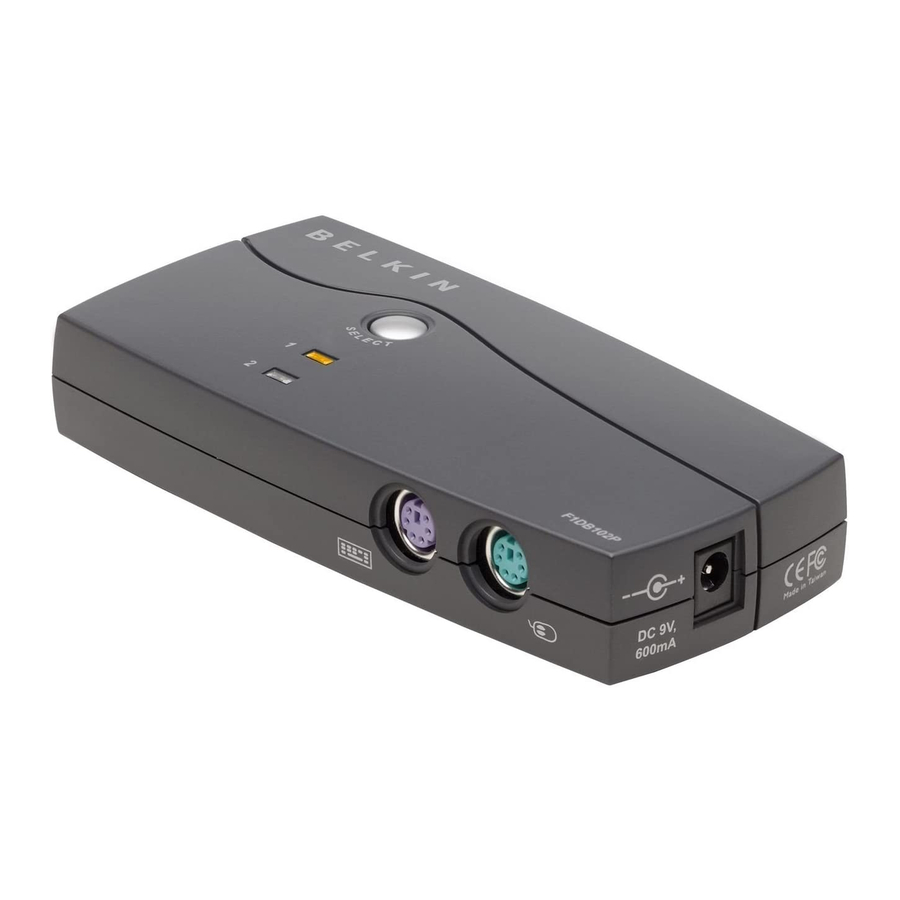
Page 7: Unit Display Diagrams
Overview Unit Display Diagrams Front/Rear View of the 4-Port E Series KVM Switch: Direct-Access Port Selector Front/Rear View of the 2-Port E Series KVM Switch: Port Selector LED for Selected Port Identification Console Monitor Port Ports ������� �� � �� �... -
Page 8: Specifications
VGA (HDDB15 female) HDDB15 female 32° to 104° F (0~40° C) -4° to 140° F (20~60° C) 0-80% RH, non-condensing 2 years (F1DB102P2) 5.2 x 2.5 x 1 in (F1DB104P2) 8.5 x 3.2 x 1 in. (F1DB102P2) 7.2oz (F1DB104P2) 4.2oz. -
Page 9: Installation
Before attempting to connect anything to the E Series KVM Switch or your computers, ensure that everything is powered off. Plugging and unplugging cables while computers are powered on may cause irreversible damage of the computers and/or the KVM Switch. Belkin is not responsible for damage caused in this way. - Page 10 Connecting the Console Step 1 Connect the monitor to the E Series KVM Switch. Using the cable that is attached to your monitor, connect it to the HDDB15 female port on the rear left side of the E Series KVM Switch labeled “Console”. (Refer to diagram below.) �������...
- Page 11 Connect the PS/2 mouse and keyboard connectors to the mouse and keyboard ports on the computer. (Refer to diagram below.) Step 4 Connect the Belkin E Series Cable Kit for PS/2 to the desired PC port on the rear of the E Series KVM Switch. (Refer to diagram below.) �������...
-
Page 12: Powering Up The Systems
Installation Powering Up the Systems Verify that all computers connected to the E Series KVM Switch are powered on. If any connected computers have not been powered on, it is okay to do so at this time (computers can be powered on simultaneously). The E Series KVM Switch emulates both a mouse and keyboard on each port and allows your computer to boot normally. -
Page 13: Using Your E Series Kvm Switch
Press the “Down” arrow key to switch to the next active port. You can switch directly to any port by entering the number of the port you wish to access. For example, if you press “Scroll Lock”, “Scroll Lock”, “2”, the KVM Switch will switch to the computer connected on Port 2. -
Page 14: Led Display
LED Display The LED display on the front panel of the E Series KVM Switch serves as a status monitor. An LED illuminates to indicate that the console currently controls the corresponding computer. As a port selector is pushed, the LED next to it will light up. -
Page 15: Keyboard Hot-Key-Command Shortcut Reference
Note: Each command needs to be preceded by “Scroll Lock”, “Scroll Lock”. Command Function Previous active computer Next active computer [1,2,3,4] Switch to port “x” (1, 2, 3, 4) Activates AutoScan Turn on/off beep sound Note: You will have approximately three seconds to complete each hot-key sequence. -
Page 16: Frequently Asked Questions
A: No, the KVM Switch does not require any drivers or software to be installed in your computers. Simply connect all your computers to the Belkin KVM Cable Kits, and then attach one keyboard, monitor, and mouse to the console port, and it is ready for use. -
Page 17: Troubleshooting
Troubleshooting Troubleshooting Troubleshooting My computer does not boot up when connected to the KVM Switch, but works fine when I connect the keyboard, video, and mouse directly to the computer. • Make sure that the keyboard and mouse cables are connected tightly between the KVM Switch and the computer. - Page 18 • De-activate power-management schemes on the PC with which you are experiencing problems. • If you hot swapped or changed your KVM configuration, make sure you power off all attached computers. Then, reinstall the KVM Switch as described on pages 8-10 of this manual. • Try a different mouse.
-
Page 19: Glossary
Glossary The following definitions are used throughout this User Manual. AutoScan: A mode of operation where the KVM Switch scans from one port to another, on an ongoing basis, as configured by the user. Console: The all-in-one term for the keyboard, video monitor, and mouse connected to a KVM switch. -
Page 20: Information
(except for shipping charges for the product). What is not covered by this warranty? All above warranties are null and void if the Belkin product is not provided to Belkin for inspection upon Belkin’s request at the sole expense of the purchaser, or if Belkin determines that the Belkin product has been improperly installed, altered in any way, or tampered with. - Page 21 Belkin reserves the right to review the damaged Belkin product. All costs of shipping the Belkin product to Belkin for inspection shall be borne solely by the purchaser. If Belkin determines, in its sole discretion, that it is impractical to ship...
- Page 22 +44 (0) 1933 35 2000 +44 (0) 1933 31 2000 fax © 2007 Belkin International, Inc. All rights reserved. All trade names are registered trademarks of respective manufacturers listed. Windows, Windows Vista, NT, and Microsoft are either registered trademarks or trademarks of Microsoft Corporation in the United States and/or other countries.