Table of Contents
Advertisement
Quick Links
Advertisement
Table of Contents

Related Manuals for Ryobi R18BT150C4P


Summary of Contents for Ryobi R18BT150C4P
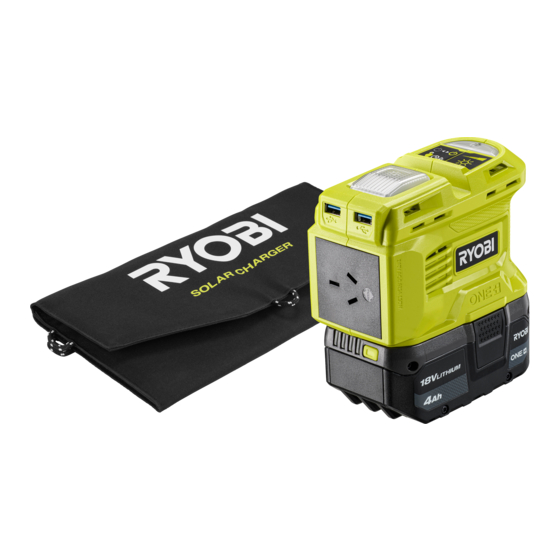
- Page 1 FRONT PAGE R18BT150C4P...
-
Page 2: Intended Use
Failure to follow the warnings and instructions may result in ■ Use RYOBI 18V ONE+ battery packs only. Do not use electric shock, fire, and/or serious injury. battery packs from other manufacturers. -
Page 3: Maintenance
and behind windows that are screened, tinted, or with Read and understand all instructions dividers or obstructed views. before operating the product. Follow all warnings and safety instructions. ■ Use the product flat on the ground, on a level surface, or hung on a vertical surface. -
Page 4: Product Specifications
PRODUCT SPECIFICATIONS Battery inverter Model R18BT150C Battery pack RB1840C Charger Supply 18 V d.c. 16 A max AC output 230 V 50 Hz, 150 VA USB-A output 5 V d.c / 3 A 9 V d.c / 2 A 12 V d.c / 1.5 A USB-C output 5 V d.c. -
Page 5: Led Indicator Descriptions
(flashing) CHARGE LIGHT If the battery inverter is connected to the RYOBI 21W solar panel, the red LED on the the solar controller mounted in the solar panel storage case turns on to indicate a power output. Red LED... - Page 6 Fig.1 Battery port Power button RB1840C Insert the battery pack into the battery Press the power button for 2 seconds to turn on the battery inverter. The area/ port. Make sure that the latches on the warning light button turns on. Press the power button again for 2 seconds to battery pack click into place.
- Page 7 Fig.2 Adaptor 12 V adaptor 12 V socket Using a USB-C to USB-A cable, insert the USB-C connector Using a USB-C to USB-A cable, insert the USB-C connector into the USB-C port and insert the USB-A connector to the into the USB-C port and insert the USB-A connector to the adaptor.
- Page 8 Fig.3 Open the top, middle, and bottom flaps until the solar panel is completely unfolded. Cable storage pocket Hanger Zipper Solar panels USB-A port Using the zipper, open the pocket on Connect a device to the USB-A port the top flap. to charge the device.
- Page 9 Fig.4 USB-A port USB-C PD port Using a USB-C to USB-A cable, insert the USB-A connector into the USB-A port of the solar panel. Insert the USB-C connector to the USB-C charging port of the battery inverter. The USB-A port automatically detects the power delivery and turns off the battery inverter if it is on.
- Page 12 Techtronic Industries Australia Pty Ltd 31 Gilby Road, Mount Waverley, VIC 3149 Melbourne, Australia Techtronic Industries N.Z. Limited Unit C, 70 Business Parade South, Highbrook, Auckland 2013, New Zealand RYOBI is a trade mark of Ryobi Limited, and is used under license. 961479095-01...