Table of Contents
Advertisement
Quick Links
Download this manual
See also:
User Manual
Quick Installation Guide
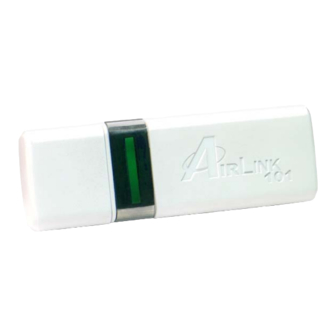
300N Wireless USB Adapter
Model # AWLL6080
Section 1
Install Utility Software
This Quick Installation Guide only provides the basic instructions. For more
advanced features such as configuring encryption settings, please refer to the
User's Manual on the provided CD.
Note: Be sure to power off your computer before inserting the USB adapter.
Step 1
Insert the USB adapter into an available USB port and turn on your
computer.
Step 2
After turning on the computer, Windows will launch the Found New
Hardware Wizard. The Found New Hardware Wizard appears differently
depending on your operating system. Click Cancel to quit the wizard and insert
the Installation CD into your CD drive.
Rev. 1.2
Package Content:
•
Wireless USB Adapter
•
USB Cable
•
Driver & Utility CD
•
Quick Installation Guide
Step 3
The Autorun screen will pop up. Select Install Utility and Driver from the
menu.
Note: If the Autorun screen doesn't appear automatically go to Start, Run, and
type D:\Utility\Setup.exe (where D is the letter of your CD drive) and click OK.
Advertisement
Table of Contents

Related Manuals for Airlink101 AWLL6080


Summary of Contents for Airlink101 AWLL6080
-
Page 1: Quick Installation Guide
Quick Installation Guide 300N Wireless USB Adapter Model # AWLL6080 Section 1 Install Utility Software This Quick Installation Guide only provides the basic instructions. For more advanced features such as configuring encryption settings, please refer to the User’s Manual on the provided CD. - Page 2 Windows Vista users: At this point, you may get a warning message like the one below. Make sure that you click Allow to continue with the installation. Step 4 Click Next at the welcome screen. Step 5 Click Next to accept the default destination folder. Step 6 Click Continue Anyway at the Windows Logo Screen.
- Page 3 For Windows Vista, click the Install this driver software anyway button when the security warning appears. Step 7 Click Yes, I want to restart my computer now and then Finish to restart your computer. Step 8 After the computer is restarted, Windows will ask to connect to Windows Update, select No, not this time and click Next.
-
Page 4: Configuring The Wireless Adapter
Step 10 Click Continue Anyway at the Windows Logo Screen. (For Windows 2000, click Yes at the Digital Signature Not Found prompt). For Windows Vista, click the Install this driver software anyway button when the security warning appears. Step 11 Click Finish. - Page 5 When the new wireless network connection properties window appears, go to the Wireless Networks tab, uncheck the Use Windows to configure my wireless network settings check box and click OK. Step 1 To open the utility, double click on the Wireless Monitor icon in the system tray at the bottom right-hand corner of your screen.
-
Page 6: Wi-Fi Protected Setup
WPS, you will need to set up the wireless security manu- ally and you can skip this section. In the instructions below, we are going to use the Wireless Monitor, and the AirLink101 AR680W 300N wireless router configuration page as an example.. - Page 7 Step 2 Choose your configuration method, either Push Button or Pin Code, and click Next. Step 3a Write down the PIN if you choose Pin Code method and click Next. Step 3b If you choose Push Button method, click on the Wi-Fi Protected Setup button.
-
Page 8: Technical Support
(e.g., cordless telephones and microwaves) as well as network overhead lower actual data throughput rate. Specifications are subject to change without notice. All products and trademarks are the property of their respective owners. Copyright ©2007 AirLink101®...