Advertisement
Quick Links
Advertisement

Related Manuals for NCR 7360-K302


Summary of Contents for NCR 7360-K302
- Page 1 Kit Instructions NCR 2ST Self-Service Receipt Printer 7360-K302 Issue A...
- Page 2 NCR, therefore, reserves the right to change specifications without prior notice. All features, functions, and operations described herein may not be marketed by NCR in all parts of the world. In some instances, photographs are of equipment prototypes. Therefore, before using this document, consult with your NCR representative or NCR office for information that is applicable and current.
- Page 3 Revision Record Issue Date Remarks Aug 2019 First Issue...
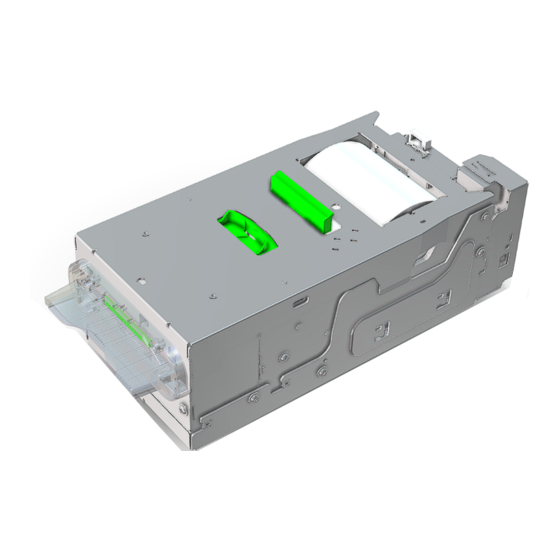
- Page 4 This publication provides procedures for installing an NCR 2ST Self-Service Receipt Printer to an NCR FastLane SelfServ™ Checkout (7360) unit. Note: For more information about the NCR 2ST Self-Service Receipt Printer, refer to NCR 7360-F302) 2ST Self-Service Receipt Printer Hardware User Guide (B005-0000-2447).
- Page 5 NCR 2ST Self-Service Receipt Printer Installation Procedures Installing the 2ST Self-Service Receipt Printer involves the following procedures: • Removing the Receipt Printer on the facing page. • Installing the Receipt Printer on page 5.
- Page 6 NCR 2ST Self-Service Receipt Printer Removing the Receipt Printer To remove the Receipt Printer, follow these steps: 1. Shut down the NCR FastLane SelfServ™ Checkout (7360) software system. 2. Unlock the NCR FastLane SelfServ™ Checkout (7360) External Door. 3. Do any of the following: a.
- Page 7 NCR 2ST Self-Service Receipt Printer 7. Slide printer toward the back of the shelf to disengage from tab hooks. 8. Lift the printer off the shelf.
- Page 8 NCR 2ST Self-Service Receipt Printer Installing the Receipt Printer To install the Receipt Printer, follow these steps: 1. Remove the existing printer. For more information, refer to Removing the Receipt Printer on page 3. 2. Insert the new printer by aligning slots on bottom of printer with tabs on the printer shelf.
- Page 9 5. Attach printer cable to the back of printer and secure cable with a cable clip. 6. Install paper into printer. 7. Push printer shelf into the unit until it locks in place. 8. Close and then lock the NCR FastLane SelfServ™ Checkout (7360) exterior door.