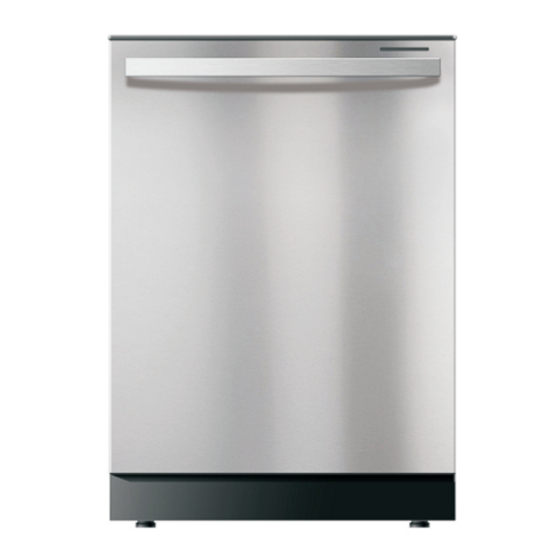
Table of Contents
Advertisement
Quick Links
Installation
Instructions
ZDM6502
BEFORE YOU BEGIN
Read these instructions completely and
carefully.
IMPORTANT
governing codes and ordinances.
• Note to Installer – Be sure to leave these instructions
for the consumer's and local inspector's use.
• Note to Consumer – Keep these instructions with your
Owner's Manual for future reference.
• Skill Level – Installation of this dishwasher requires
basic mechanical and electrical skills. Proper
installation is the responsibility of the installer.
Product failure due to improper installation is not
covered under the Appliance Warranty.
• Completion Time – 1 to 3 Hours. New installations
require more time than replacement installations.
–
Observe all
Dishwasher
IMPORTANT
MUST be installed to allow for future removal from
the enclosure if service is required.
If you received a damaged dishwasher, you should
immediately contact your dealer or builder.
FOR YOUR SAFETY
Read and observe all CAUTIONS and WARNINGS
shown throughout these instructions. While performing
installations described in this booklet, gloves, safety
glasses or goggles should be worn.
WARNING
To reduce the risk of electrical shock, fire,
or injury to persons, the installer must
ensure that the dishwasher is completely
enclosed at the time of installation.
READ CAREFULLY.
KEEP THESE INSTRUCTIONS.
If you have an installation problem, contact your
dealer or installer. You are responsible for providing
adequate electrical, exhausting and other connecting
facilities.
–
The dishwasher
Advertisement
Table of Contents

Summary of Contents for Crosley ZDM6502
- Page 1 Installation Instructions ZDM6502 Dishwasher IMPORTANT BEFORE YOU BEGIN – The dishwasher Read these instructions completely and MUST be installed to allow for future removal from carefully. the enclosure if service is required. If you received a damaged dishwasher, you should IMPORTANT immediately contact your dealer or builder.
-
Page 2: Parts Supplied
Installation Preparation PARTS SUPPLIED: Four flat head wood screws to secure dishwasher to underside of countertop (in literature package). Screw Type 2 Top 2 Side Screw type hose clamps and one drain hose. 4 Wood Screws Drain Hose Hose Clamp Mounting Clips Mounting Clips @ 2 side mounting clips. -
Page 3: Drain Requirements
Installation Preparation • The dishwasher must be installed so that drain hose is no more than 10 feet in length for proper drainage. • The dishwasher must be fully enclosed on the top, sides and back, and must not support any part of the enclosure. -
Page 4: Prepare Electrical Wiring
Installation Preparation PREPARE ELECTRICAL WIRING WARNING FOR PERSONAL SAFETY: Remove house fuse or open circuit breaker before beginning installation. Do not use an 1-1/2" Dia. extension cord or adapter plug with this Hole (Max.) appliance. 2½~3½ in. (65 ~ 90mm) Electrical Requirements from •... -
Page 5: Before You Begin
Installation Instructions PREPARE HOT WATER LINE CAUTION: • The line may enter from either side, rear or fl oor Opening the door will cause the dishwasher within the shaded area shown in Figure F. to tip forward. Do not open the door until you are ready •... -
Page 6: Step 2 Adjust Leveling Legs
Installation Instructions STEP 4 INSTALL POWER CORD STEP 2 ADJUST LEVELING LEGS Skip this step if dishwasher will be direct wired. Use • Move the dishwasher close to the installation loca- an appropriate p ower cord kit These are available from tion and lay it on its back. -
Page 7: Step 6 Install Drain Hose
Installation Instructions STEP 6 INSTALL DRAIN HOSE STEP 8 SLIDE DISHWASHER PARTIALLY INTO CABINET • Install the screw type hose clamps to the drain hose. DO NOT PUSH AGAINST FRONT PANEL WITH KNEES. • Install the drain hose to the drain hose installation DAMAGE WILL OCCUR. -
Page 8: Step 9 Position Dishwasher Under Countertop
Installation Instructions STEP 9 POSITION DISHWASHER UNDER COUNTERTOP Reposition Dishwasher • Check to be sure that wires are secure under the by Grasping Both dishwasher and not pinched or in contact with door Sides With Hands springs or other dishwasher components. TIP: Check tub insulation blanket, if equipped. -
Page 9: Step 11 Secure Dishwasher To The Countertop
Installation Instructions Open the door remove the tub cap on both sides of STEP 11 SECURE DISHWASHER the tub. Install screw through the dishwasher side TO THE COUNTERTOP hole to the wall of cabinet. Reinstall tub cap. For countertops made of wood or that will not be damaged by drilling,use Method 1. -
Page 10: Step 13 Connect Drain Line
Installation Instructions STEP 13 CONNECT DRAIN LINE DRAIN LINE INSTALLATION • Connect drain line to air gap, waste tee or disposer FOLLOW ALL LOCAL CODES AND ORDINANCES. using either previously determined method. The drain hose molded end will fi t 5/8", 3/4" or 1" Method 1 –... -
Page 11: Step 14 Connect Power Supply
Installation Instructions STEP 14 CONNECT POWER STEP 15 PRE-TEST CHECKLIST SUPPLY Review this list after installing your dishwasher to avoid charges for a service call that is not covered Skip this step if equipped with power cord. by your warranty. Verify that power is turned off at the source. -
Page 12: Step 16 Dishwasher Wet Test
Installation Instructions STEP 16 DISHWASHER WET TEST STEP 17 REPLACE TOEKICK Turn on power supply (or plug power cord into outlet, if equipped). Turn on your dishwasher (please refer to the Owner's Manual for instructions). Close door, select RINSE ONLY cycle and press START/CANCEL.


