Table of Contents
Advertisement
Advertisement
Table of Contents

Related Manuals for Targus AMW50US


Summary of Contents for Targus AMW50US
- Page 1 User Guide...
-
Page 2: System Requirements
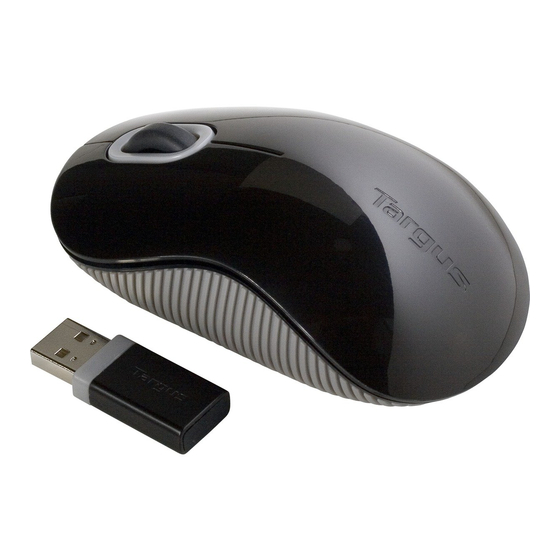
Targus Wireless Optical Mouse Introduction Thank you for your purchase of the Targus Wireless Optical Mouse. The USB receiver conveniently attaches to the mouse for ease of use while traveling or on the go. software is required. Contents • Targus Wireless Optical Mouse •... -
Page 3: Installing The Batteries
Targus Wireless Optical Mouse Installing the Batteries 1. Remove the battery cover from the top of the mouse by using the notch on the back. Carefully lift the cover up as shown in the diagram. 2. Remove the battery safety clip by squeezing the center of the clip and sliding it back, towards the rear of the mouse. -
Page 4: Establishing The Connection
(-) ends of each battery match the polarity indicators inside the battery compartment. 4. Replace the battery cover, carefully fit the cover until it clicks into place. Establishing the Connection (A) Remove the USB receiver from the bottom of the mouse. - Page 5 Targus Wireless Optical Mouse (B) Plug the USB receiver into an available USB port on your computer. (C) This mouse is a plug and play device. It will automatically operate when the USB receiver is connected to the computer. Low Battery Power Indicator The light illuminates from the seam between the left and right buttons.
- Page 6 This can be downloaded from the following location: Visit www.targus.com to download and install the driver. Once installation is complete, open the driver software and select the desired setting for the scroll-wheel button. Close the driver software application and you’re ready to go.
-
Page 7: Technical Support
Targus warrants this product to be free from defects in materials and workmanship for one year. If your Targus accessory is found to be defective within that time, we will promptly repair or replace it. This warranty does not cover accidental damage, wear and tear, or consequential or incidental loss. -
Page 8: Fcc Statement
United States and/or other countries. All trademarks and registered trademarks are the property of their respective owners. All rights reserved. Features and specifications are subject to change without notice. © 2009. Targus Group International, Inc. and Targus, Inc., Anaheim, CA 92806 USA... - Page 9 Apple Inc., registered in the U.S. and other countries. Logitech is a registered trademark of Logitech Inter- national in the United States and other countries. All trademarks and registered trademarks are the property of their respective owners. ©2009 Targus Group Inter- national, Inc.